
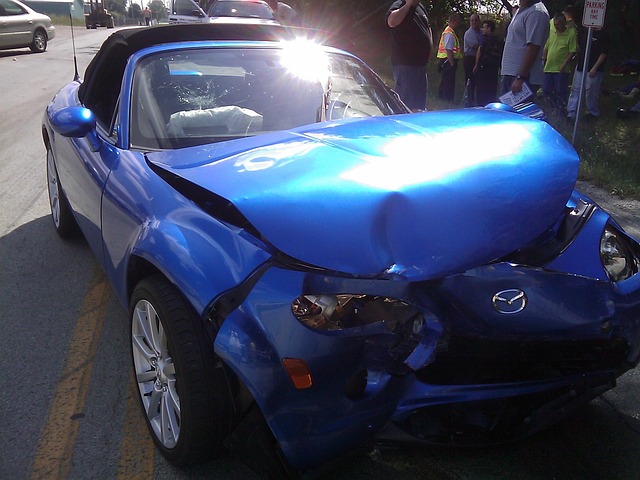
An OEM bumper replacement goes beyond aesthetics, focusing on structural integrity and seamless fit through precise paint matching and skilled installation by trained technicians. This specialized approach, involving meticulous preparation, advanced technology, and factory-like finishing, differentiates OEM replacements from generic aftermarket parts for superior collision repair results, ensuring the repaired area blends perfectly with the car's body while maintaining its aesthetic appeal and value.
Looking to enhance your vehicle’s appearance with an OEM bumper replacement? This comprehensive guide delves into the process, from understanding the basics to mastering the installation. We explore paint matching as a key aspect, ensuring a seamless, factory-like finish.
Learn about the step-by-step installation process, best practices, and crucial tips for a successful DIY project or professional upgrade. Discover how OEM bumper replacements can transform your car’s aesthetics, boosting its overall value and protection.
- Understanding OEM Bumper Replacement: The Basics
- Paint Matching: Ensuring a Seamless Finish
- Installation Process: Step-by-Step Guide and Best Practices
Understanding OEM Bumper Replacement: The Basics
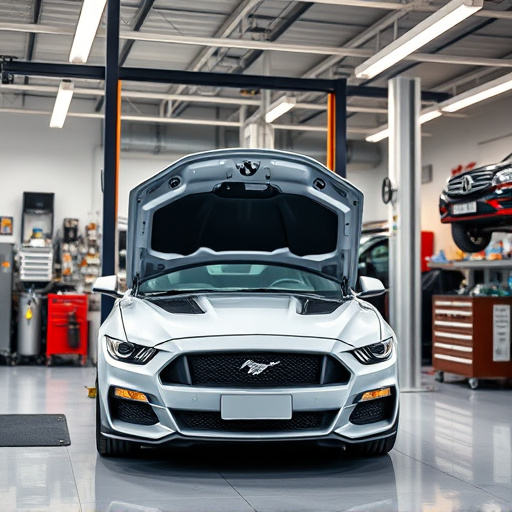
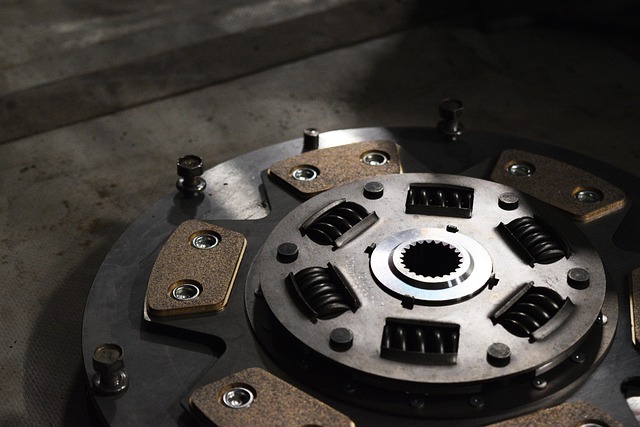
When considering an OEM bumper replacement, understanding the process is key. It involves more than just swapping out a damaged or worn-out bumper; it’s about restoring your vehicle to its original aesthetic and structural integrity. OEM stands for Original Equipment Manufacturer, meaning the new bumper is designed to match the exact specifications of your make and model, ensuring seamless fitment. This tailored approach sets it apart from generic aftermarket alternatives that may not provide a precise match.
An OEM bumper replacement typically includes two main components: paint matching and installation. Paint matching ensures the new bumper blends seamlessly with your vehicle’s existing color, maintaining its overall appearance. The installation process involves skilled technicians who carefully remove the old bumper, prepare the surface, and precisely fit the new OEM bumper in place. This level of expertise is crucial for a successful and long-lasting repair, especially in an automotive body shop specializing in collision repair.
Paint Matching: Ensuring a Seamless Finish
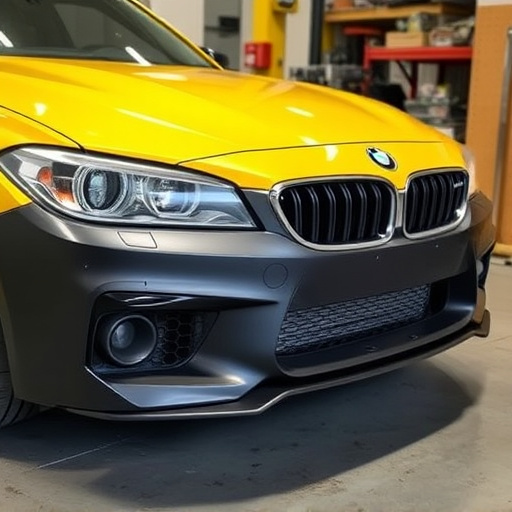
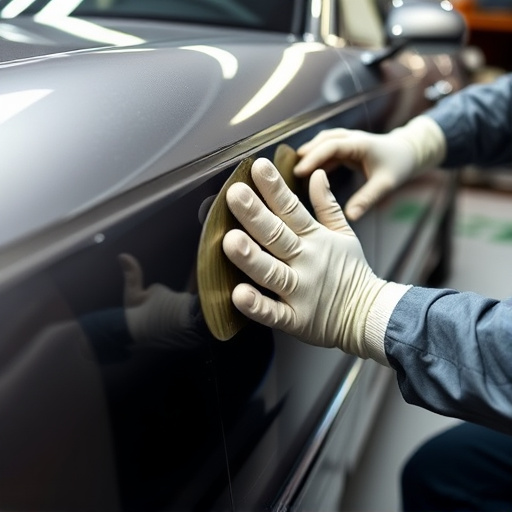
When it comes to an OEM bumper replacement, paint matching is a crucial step in achieving a seamless finish. At a reputable collision repair shop, technicians use advanced technology and expertise to precisely match the original paint code of your vehicle. This meticulous process ensures that the new bumper not only looks identical but also blends flawlessly with the rest of your car’s body, maintaining its aesthetic appeal and value.
A skilled bumper repair service understands the intricacies of car body restoration. They carefully prepare the surface, apply the correct base coats, and then meticulously spray the paint to create a finish that replicates the factory-like perfection. This attention to detail is what sets apart a quality collision repair shop from others, ensuring your vehicle not only looks new but also retains its original specifications, making it practically impossible to distinguish the repaired area from the rest of the car body.
Installation Process: Step-by-Step Guide and Best Practices
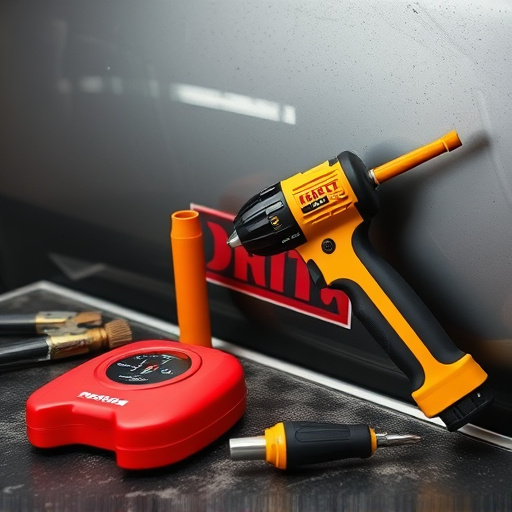
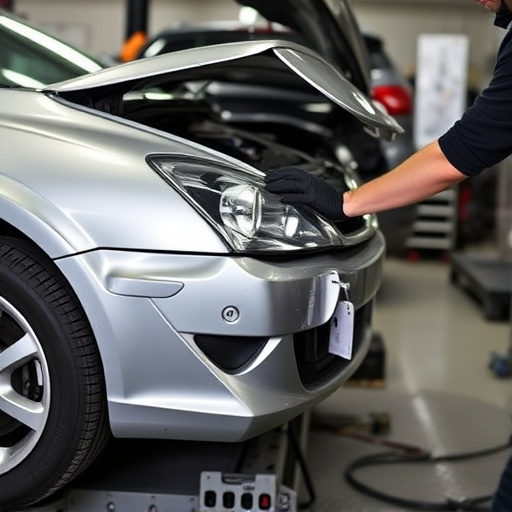
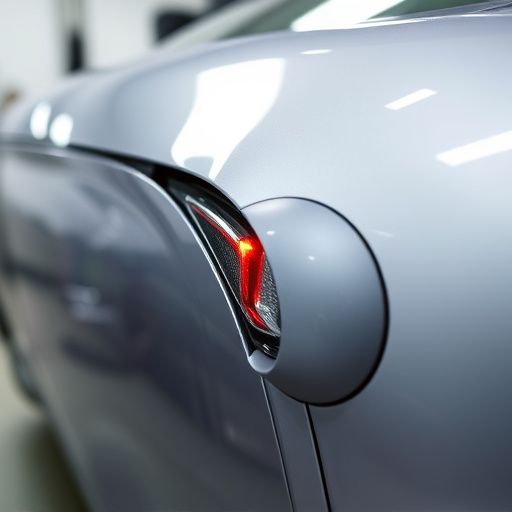
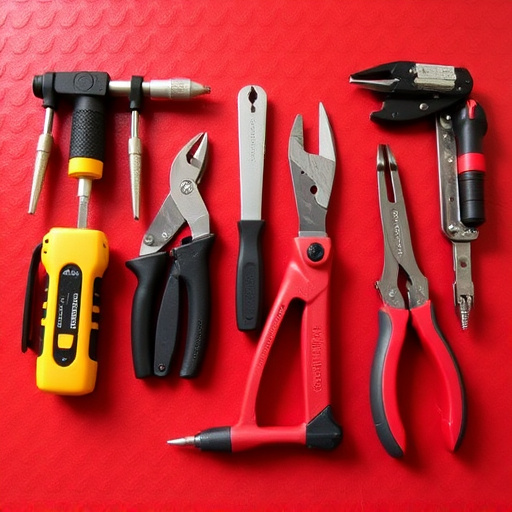
The installation process for an OEM bumper replacement involves several steps and best practices to ensure a seamless fit and quality finish. Begin by thoroughly cleaning and preparing the vehicle’s surface, removing any debris or old adhesive residue. This step is crucial for achieving a proper bond between the new bumper and the car’s body. Next, carefully remove the damaged or outdated bumper, taking note of its mounting points and any associated components.
With the old bumper removed, it’s time to fit the replacement. Align the new bumper accurately with the vehicle’s structure, ensuring all mounting holes correspond perfectly. Apply a suitable adhesive or bonding agent as per the manufacturer’s instructions. Once applied, securely fasten the bumper using the appropriate hardware, tightening it according to the recommended torque specifications. After installation, inspect the work for any gaps or misalignments and make adjustments as needed. Finally, apply a layer of high-quality car paint that matches your vehicle’s original shade for an invisible repair that blends seamlessly with the rest of the car body, effectively completing the OEM bumper replacement process. Remember, these steps are part of broader car collision repair and auto body work services designed to restore your vehicle to its pre-accident condition.
OEM bumper replacements offer a seamless solution for damaged car fronts, ensuring both aesthetic and structural integrity. By understanding the process, from paint matching to installation, you can achieve a factory-like finish that enhances your vehicle’s appearance without breaking the bank. This comprehensive guide equips you with the knowledge to navigate the OEM bumper replacement journey confidently, resulting in a restored and refined vehicle exterior.