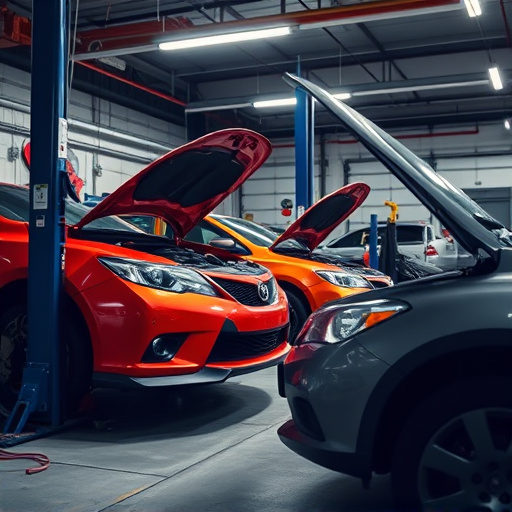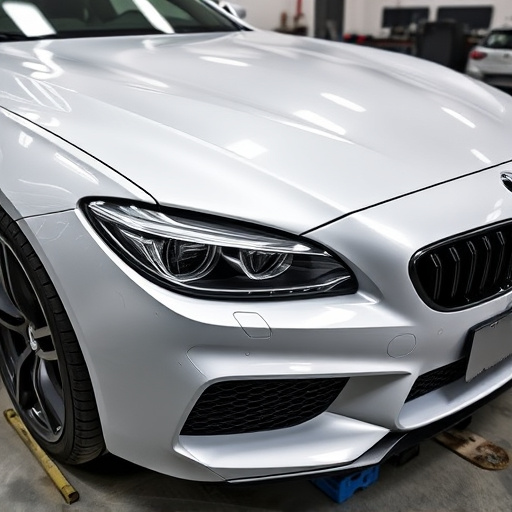
Tesla bumper cameras are crucial for Autopilot functionality, but failures due to debris, dust, or software issues disrupt this feature. Auto body shops with specialized skills diagnose and fix these problems, which may involve replacing cameras, calibrating them, or updating software. For a failed Tesla bumper camera, start by inspecting it for common issues like clouded lenses or sensor misalignment. Seek professional repair services for accurate diagnosis and resolution. Replacing the camera involves careful disassembly, installing a compatible replacement from an authorized dealer, reconnecting electrical connections, and reassembling securely, with final testing ensuring optimal vehicle performance.
Tesla’s advanced Autopilot system relies on its bumper cameras for safe navigation. However, these cameras can fail, leading to a disruption in Autopilot engagement and raising safety concerns. This article guides you through understanding Tesla bumper camera failures, identifying common causes, and offers a step-by-step repair process. Learn how to tackle this issue yourself or identify when professional assistance is needed, ensuring your Tesla’s Autopilot remains reliable for enhanced driving experience.
- Understanding Tesla Bumper Camera Failure and Autopilot Engagement
- Diagnosing the Issue: Common Causes of Failed Autopilot Engagement
- Step-by-Step Guide to Tesla Bumper Camera Repair
Understanding Tesla Bumper Camera Failure and Autopilot Engagement
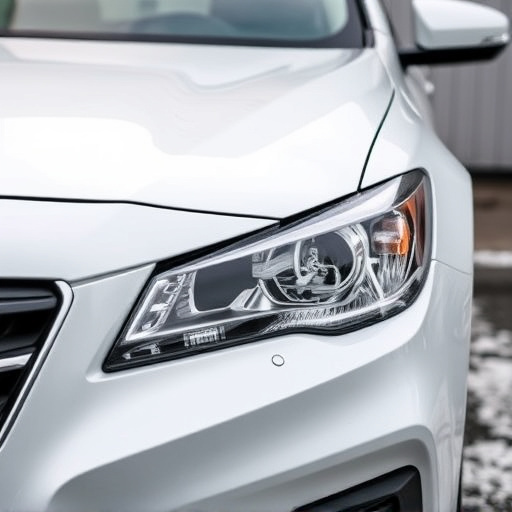
The Tesla bumper camera is a vital component of the vehicle’s Autopilot system, responsible for providing clear and unobstructed views to enable advanced driver assistance features. When this camera fails, it can lead to issues with Autopilot engagement, causing drivers to lose access to these safety features. Understanding the nature of the problem is the first step towards effective Tesla bumper camera repair.
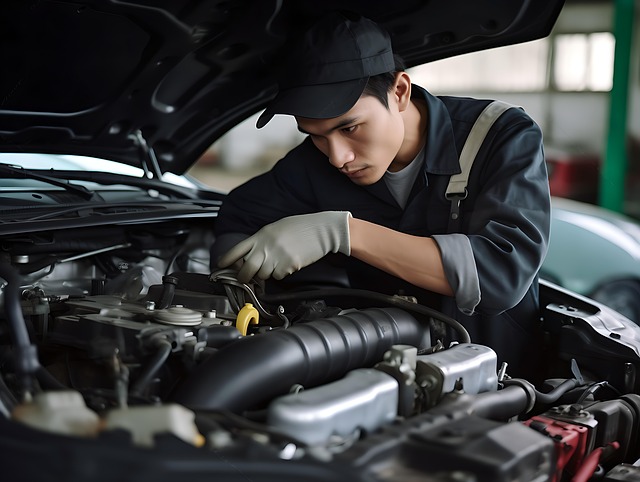
Camera failures can result from various factors, including debris impact, dust accumulation, or even software glitches. In an auto body shop, skilled technicians can diagnose and address these issues. Repairs may involve replacing the damaged or faulty camera, ensuring proper calibration, and sometimes updating the vehicle’s software to restore seamless Autopilot engagement, much like restoring a car body to its original condition after a dent repair.
Diagnosing the Issue: Common Causes of Failed Autopilot Engagement
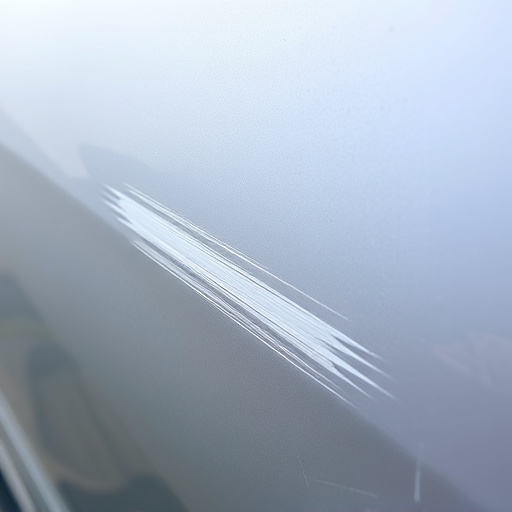
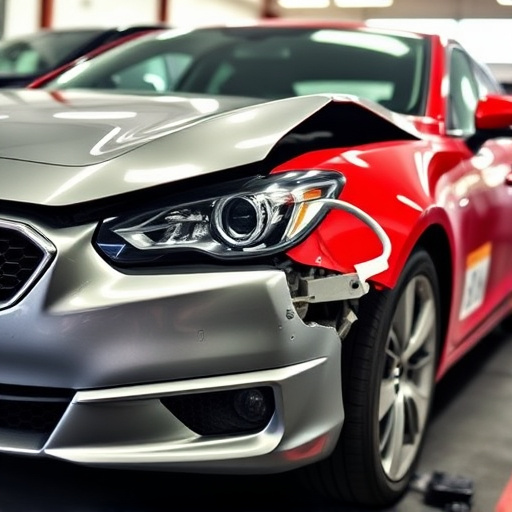
Diagnosing the issue behind a failed Autopilot engagement in your Tesla starts with understanding common causes. One of the primary components relied upon for this advanced driver-assistance system (ADAS) is the bumper camera, which captures crucial data for navigation and safety. If the Autopilot won’t engage, it could be due to a clouded or damaged camera lens, obstructions like dirt or debris, or even sensor misalignment caused during an accident or harsh driving conditions. In some cases, software glitches or outdated mapping data might also contribute to the problem.
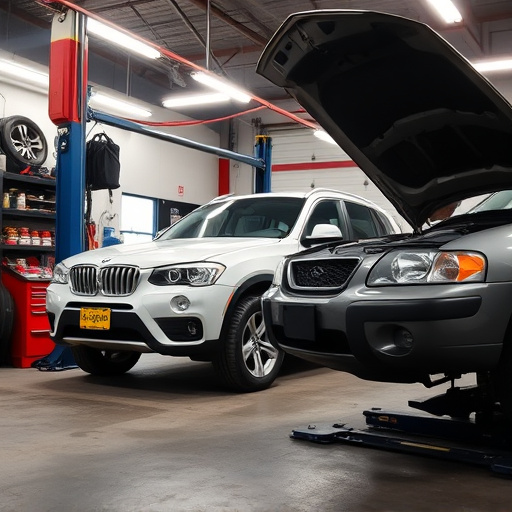
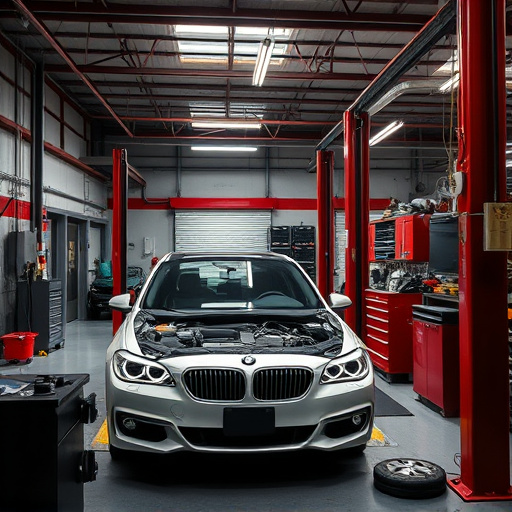
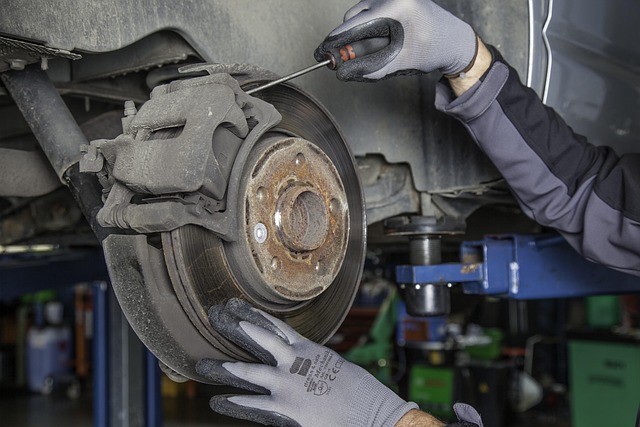
For accurate diagnosis, consider seeking professional auto repair services that specialize in Tesla bumper camera repair and related frame straightening and vehicle paint repair procedures. Experts will inspect the camera for any physical damage, clean it thoroughly to eliminate obstructions, and ensure proper alignment. They may also run diagnostics to check the health of the Autopilot software and update mapping data as needed. By addressing these potential causes, you can restore seamless Autopilot engagement and enhance your driving experience.
Step-by-Step Guide to Tesla Bumper Camera Repair
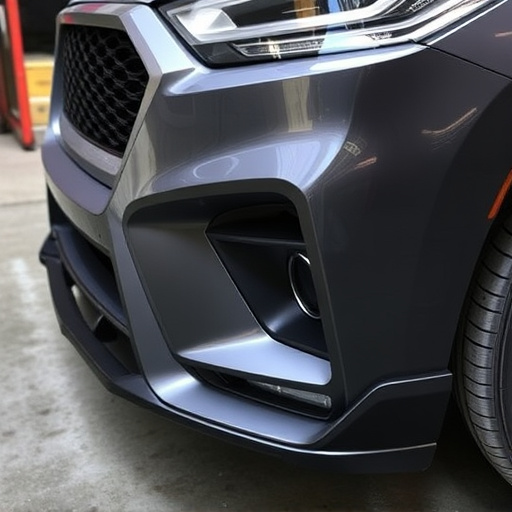
Replacing a failed Tesla bumper camera is a crucial step for owners aiming to restore their vehicle’s Autopilot functionality. Here’s a step-by-step guide to help you through the process, focusing on both efficiency and precision. Begin by removing any debris or damage from the bumper, ensuring the surface is clean and free of obstructions. Next, carefully disassemble the bumper, taking note of how it comes apart—this knowledge will be invaluable during reassembly.
Once the bumper is removed, locate the camera assembly. Carefully disconnect the electrical connections while supporting the surrounding components to prevent further damage. With the old camera replaced, procure a compatible Tesla bumper camera from an authorised dealer or supplier. Reassemble the bumper, ensuring each component is secured properly. Test the new camera’s functionality and the Autopilot system to confirm successful installation, highlighting your expertise in automotive collision repair for optimal vehicle performance.
The journey towards repairing a failed Tesla bumper camera and restoring Autopilot engagement is both practical and empowering. By understanding the common causes of such issues, you can effectively diagnose and address the problem. Following the step-by-step guide ensures a meticulous repair process, allowing you to take control of your vehicle’s safety features. With these steps in mind, Tesla owners can now confidently tackle bumper camera repairs, enhancing their driving experience and ensuring Autopilot functionality for years to come.