


The Tesla splitter shield, vital for vehicle aesthetics and function, is susceptible to damage from accidents, debris, and parking lot mishaps. Repairs range from using adhesives for minor issues to structural fasteners for severe cases. Adhesives offer seamless bonds ideal for corrosion while fasteners provide adjustability. A meticulous repair process involves inspecting damage, choosing the right adhesive or fastener, cleaning, applying, sealing (for adhesives), torquing (for fasteners), and curing. This ensures both visual appeal and structural integrity, suitable for DIY or professional collision repair.
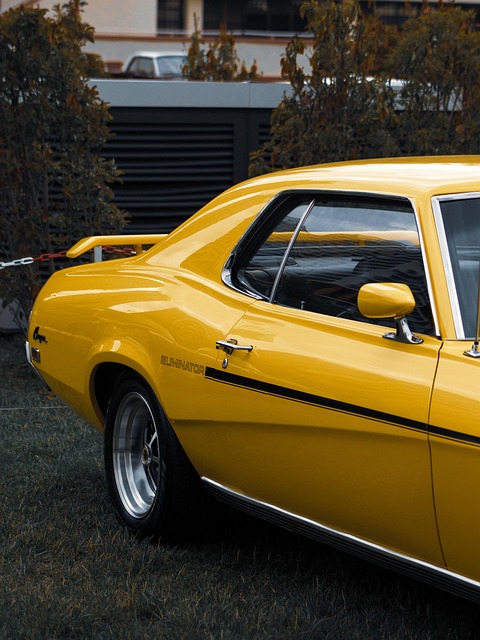
Tesla vehicles are renowned for their sleek design, but even the most carefully crafted exteriors can suffer damage. The Tesla splitter shield, a key component enhancing both aerodynamics and aesthetics, is not immune to scrapes, cracks, or even complete detachment. This article explores effective repair methods for Tesla splitter shields, focusing on adhesives and fasteners. We’ll guide you through understanding common causes of damage and choosing the right approach based on severity, ensuring your vehicle’s exterior looks as good as new.
- Understanding Tesla Splitter Shield Damage and Its Causes
- Adhesive vs Fasteners: Choosing the Right Repair Method
- Step-by-Step Guide to Effective Splitter Shield Repair Using Adhesives or Fasteners
Understanding Tesla Splitter Shield Damage and Its Causes
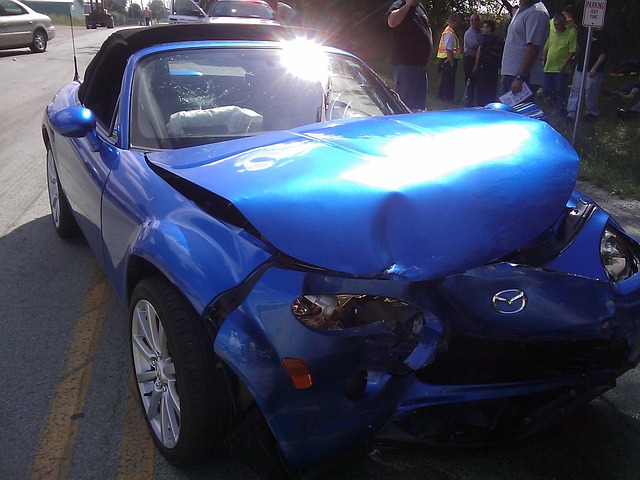
The Tesla splitter shield, a distinctive component that enhances both aesthetics and functionality of the vehicle’s front end, is susceptible to damage over time. This can occur due to various factors, with car accidents being one of the most common causes. In the event of a collision or impact, whether from another vehicle, debris on the road, or a mishap in a parking lot, the force can deform or crack this shield. Other forms of damage might include nicks and scratches from curbs or other objects, as well as wear and tear from exposure to harsh weather conditions.
Understanding these potential causes is crucial for effective Tesla splitter shield repair. Proper diagnosis involves assessing the type and extent of the damage—cracks, dents, or severe deformation—which dictates the chosen repair method. Adhesives offer a seamless and non-invasive solution for smaller damages, while fasteners like screws are more suitable for larger repairs that require structural integrity to be fully restored.
Adhesive vs Fasteners: Choosing the Right Repair Method
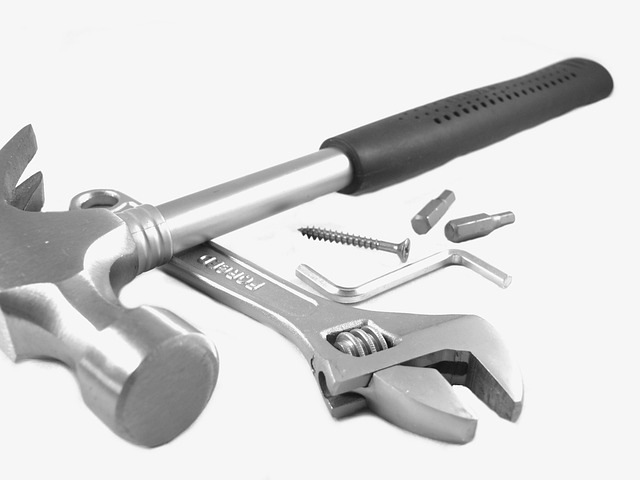
When it comes to repairing a Tesla splitter shield after a vehicle collision repair, choosing between adhesives and fasteners is a crucial decision. Both methods have their merits when it comes to auto body repair, but each presents unique advantages and limitations for specific applications. Adhesives offer a seamless, strong bond that can be ideal for structural integrity, especially in areas visible to the eye. They’re also beneficial for surfaces prone to rust or corrosion. On the other hand, fasteners like bolts and screws provide adjustability and accessibility during repair, making them suitable for complex shapes and hard-to-reach crevices.
For Tesla splitter shield repairs, understanding the nature of the damage is key. If the split is minor and doesn’t compromise structural integrity, adhesives can be a quick and effective solution for car scratch repair. However, for larger cracks or severe damage, fasteners may offer a more durable fix, enabling better alignment and stability. Ultimately, the choice between these two vehicle collision repair methods depends on the specific needs of your Tesla splitter shield repair project.
Step-by-Step Guide to Effective Splitter Shield Repair Using Adhesives or Fasteners
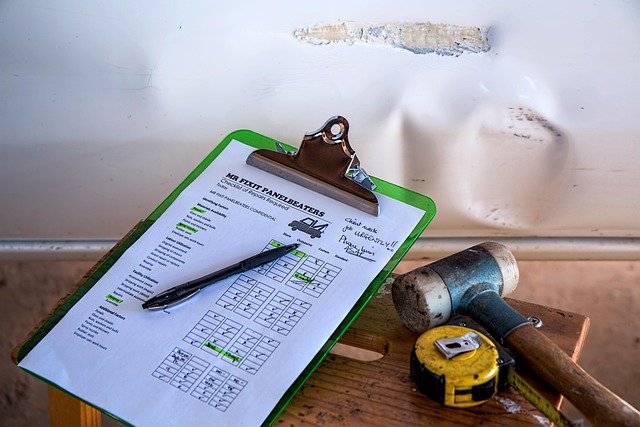
For a successful Tesla splitter shield repair, whether using adhesives or fasteners, follow this step-by-step guide. Begin by inspecting the damaged area to determine the extent of the repair needed. Next, gather your tools and materials, ensuring you have compatible adhesives or strong fasteners suitable for automotive use. Clean the surface thoroughly to remove any dirt or debris, as a clean area promotes better adhesion.
Proceed by applying a thin layer of adhesive or fastener along the cracked or damaged parts, carefully aligning them back together. For adhesives, use a suitable sealer to protect against water and UV damage. With fasteners, ensure they are securely fastened with appropriate torque specifications. Let the repair dry or cure completely according to product instructions before testing its integrity. This method allows for efficient Tesla splitter shield repair, either in-house through collision repair services or at an automotive body shop, ensuring your vehicle’s aesthetic appeal and structural integrity.
When it comes to Tesla splitter shield repair, understanding both damage causes and available repair methods is key. By weighing the pros and cons of adhesives versus fasteners, car owners can make an informed decision based on their specific needs. Following a detailed step-by-step guide ensures a successful and lasting fix, restoring both functionality and aesthetics to your Tesla’s front facade. Remember, the right repair method can make all the difference in ensuring a durable and visually appealing solution for your splitter shield.