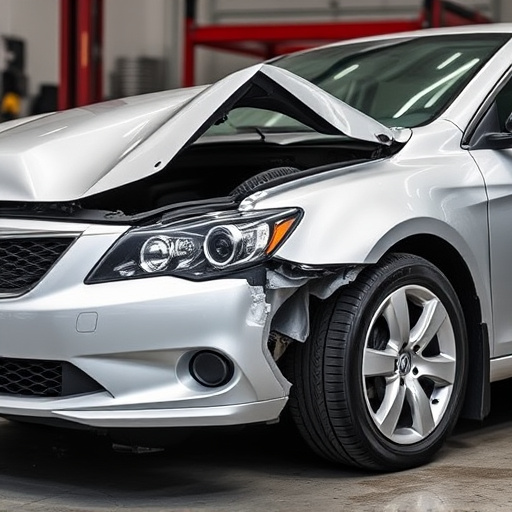

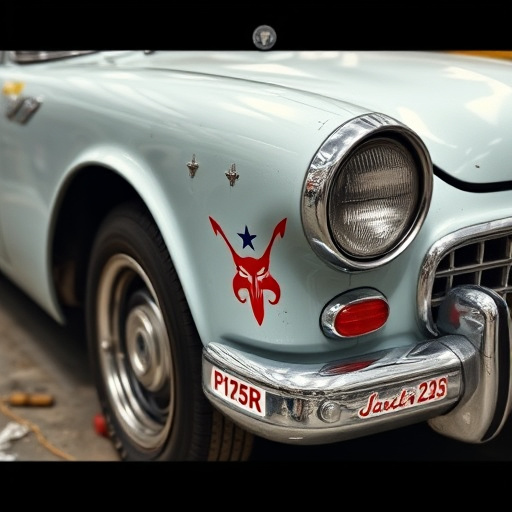

Tesla premium paint repair restores your vehicle's original factory finish using advanced coatings and specialized techniques. Essential tools include a dent puller, microfiber cloth, touch-up paint kit, and a small sander with varied grit sandpaper. Follow a simple step-by-step process to prepare the surface, apply primer, match and apply premium paint, then inspect for a flawless finish.
Looking to restore your Tesla’s sleek finish? Mastering Tesla premium paint repair is essential for maintaining its vibrant appearance. This comprehensive guide delves into the fundamentals of paint repair, equipping you with the knowledge to achieve flawless results. From gathering the right tools and materials to a detailed step-by-step process, we’ll show you how to transform minor scratches and dents into a like-new surface. Elevate your DIY skills and keep your Tesla shining bright.
- Understanding Tesla Premium Paint Repair: The Basics
- Tools and Materials for a Flawless Fix
- Step-by-Step DIY Guide to Perfect Results
Understanding Tesla Premium Paint Repair: The Basics

Understanding Tesla Premium Paint Repair: The Basics
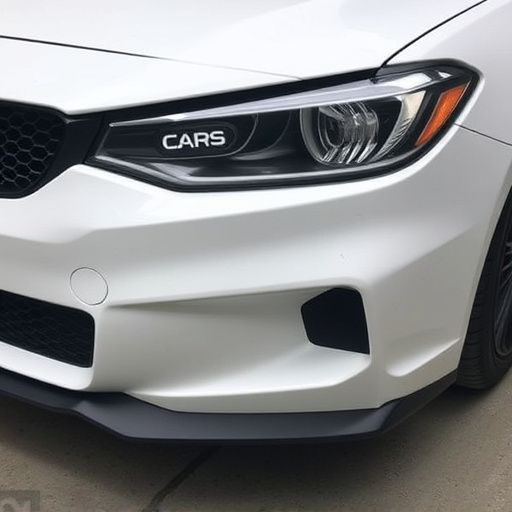
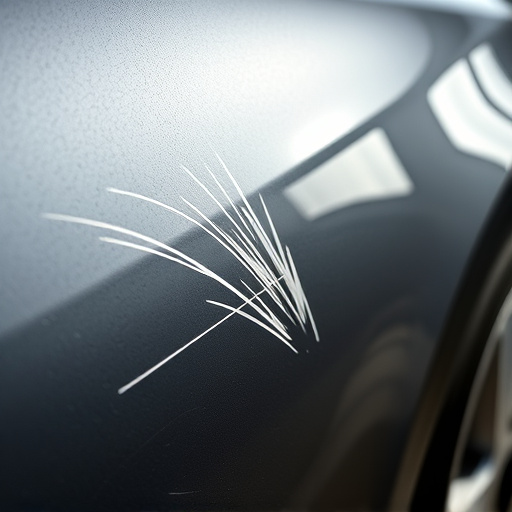
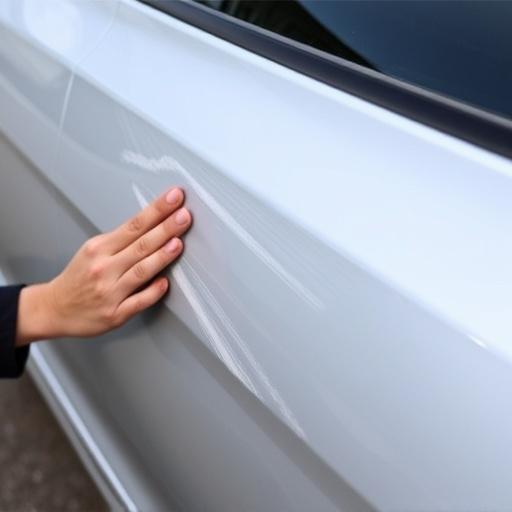
Tesla premium paint repair is a specialized process designed to restore the pristine condition of your Tesla’s finish. Unlike standard car paint services, it requires a deep understanding of advanced coatings and materials used in Tesla vehicles. The goal is not just to fix dents or scratches but to match the exact specifications of Tesla’s original factory paint job, ensuring no visible repairs once completed. This meticulous approach involves techniques such as color matching, compound application, and clear coat restoration, all aimed at enhancing the car’s overall aesthetic appeal.
Auto detailing plays a crucial role in this process, as it prepares the damaged area for repair by cleaning and decontaminating the paint surface. Similarly, auto glass repair techniques are sometimes integrated to address chips or cracks that might compromise the integrity of the paint job. By combining these methods, Tesla owners can achieve a showroom-like finish, ensuring their vehicles stand out not just in appearance but also in overall quality and value.
Tools and Materials for a Flawless Fix
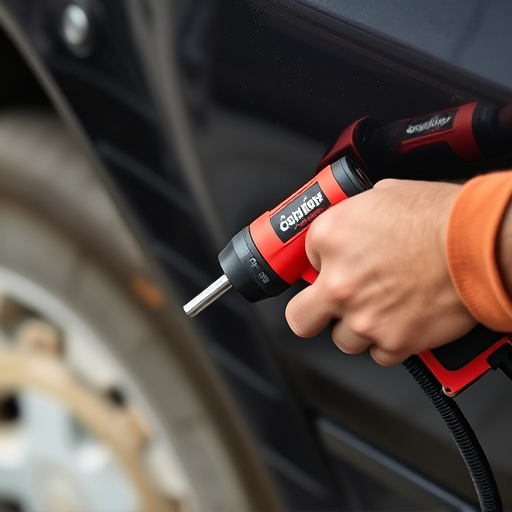
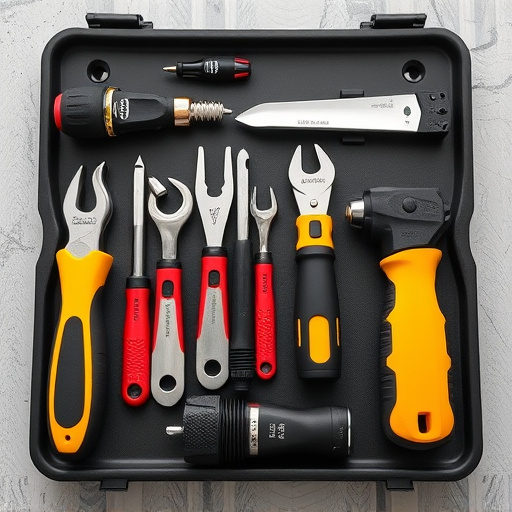
Achieving a flawless Tesla premium paint repair requires a well-equipped toolkit and high-quality materials. For a successful fix, you’ll need specific items tailored to the task at hand. Start with a set of precision tools like a dent puller, which is essential for removing minor dents and scratches without damaging the paint. A detailed microfiber cloth is another must-have; it serves as both a cleaning tool and a buffer for achieving a smooth finish.
Additionally, secure a kit containing touch-up paints that precisely match your Tesla’s color code. This includes a base coat, clear coat, and possibly a primer. For more extensive repairs or to address deep scratches, consider acquiring a small sander and sandpaper of varying grits. Never underestimate the power of proper preparation; using these tools and materials correctly will ensure your Tesla’s paint job looks as good as new, enhancing its overall aesthetic appeal and value in the process.
Step-by-Step DIY Guide to Perfect Results

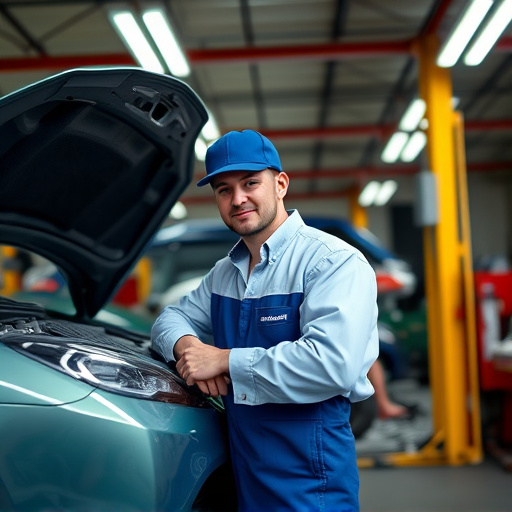
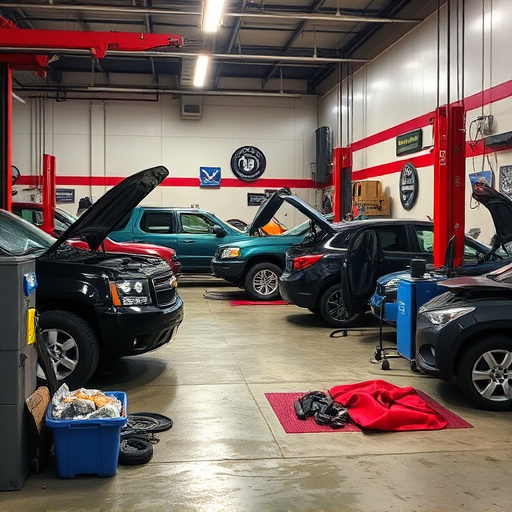
Repairing your Tesla’s premium paint yourself can save you a trip to an expensive auto collision center or auto bodywork shop. Here’s a step-by-step guide for achieving perfect results:
1. Prepare the Surface: Start by thoroughly washing and drying your Tesla. Then, inspect the damaged area for any loose debris or contaminants. Use 300-grit sandpaper to lightly sand the affected spot, creating a smooth surface for repair.
2. Apply Primer: Using a high-quality automotive primer specifically designed for Teslas (or similar luxury cars), apply an even coat over the repaired area and allow it to dry completely. This step ensures proper adhesion of the paint.
3. Paint Application: Choose a Tesla premium paint color that matches your vehicle precisely. Apply thin, even coats with a high-quality spray gun or brush, allowing each coat to dry thoroughly before adding another. Follow the manufacturer’s instructions for drying times.
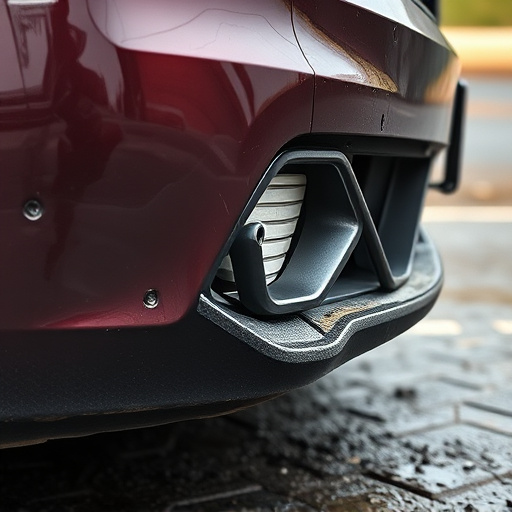
4. Final Touches and Inspection: After the final coat has dried, inspect your work carefully. Ensure the paint is smooth, free of imperfections, and perfectly aligned with the surrounding panel. Lightly sand any rough spots and reapply paint if necessary before enjoying your newly repaired Tesla premium paint job.
Tesla premium paint repair is now within reach with the right knowledge and tools. By understanding the basics, gathering the essential materials, and following a meticulous step-by-step guide, DIY enthusiasts can achieve flawless results, saving time and money while maintaining their Tesla’s sleek aesthetic. With these techniques, you’ll be able to navigate the process confidently, ensuring your vehicle stands out not just on the road but also in the realm of DIY excellence.