


Sound deadening restoration after hail damage or dent repairs is crucial for auto bodywork. It involves using specialized materials to absorb noise and prevent resonance points, enhancing driving comfort and safety. After assessing and preparing damaged areas, new sound deadener is applied and allowed to cure before reassembling, ensuring pre-accident noise insulation and structural integrity.
In the aftermath of hailstorms or minor dent repairs, restoring your vehicle’s original acoustic integrity is crucial. Sound deadening plays a vital role in mitigating vibrations and noise levels, enhancing both passenger comfort and vehicle performance. This article delves into the significance of sound deadening restoration, explaining how hail and dents can disrupt a car’s acoustics. We provide a step-by-step guide to ensure an effective sound deadening process, guiding you through the key aspects of achieving optimal acoustic balance post-restoration.
- Understanding Sound Deadening and Its Role in Hail/Dent Restoration
- The Impact of Hail and Dents on Vehicle Acoustics
- Step-by-Step Guide to Effective Sound Deadening Restoration
Understanding Sound Deadening and Its Role in Hail/Dent Restoration
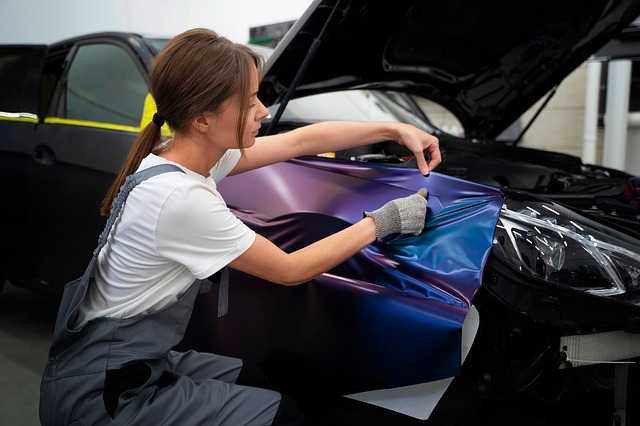
Sound deadening is a critical component often overlooked during auto bodywork repairs, especially after hail damage or dent restoration. It plays a vital role in ensuring that your vehicle’s interior remains quiet and comfortable. In the context of car body repair, sound deadening materials are designed to absorb unwanted sound waves, minimizing noise transmission from the exterior. This is particularly important when addressing dents or holes caused by hail, as these can act as resonance points, amplifying external noises.
During collision repair, professionals carefully integrate sound deadening restoration into their processes. By using specialized materials and techniques, they can revive the vehicle’s acoustic environment to pre-incident levels. Effective sound deadening not only enhances the overall driving experience but also prevents future noise issues that could arise from incomplete or improper repairs. In a collision repair center, this expertise ensures that auto bodywork not only looks flawless but also functions optimally in terms of noise reduction, making every journey more pleasant for drivers and passengers alike.
The Impact of Hail and Dents on Vehicle Acoustics

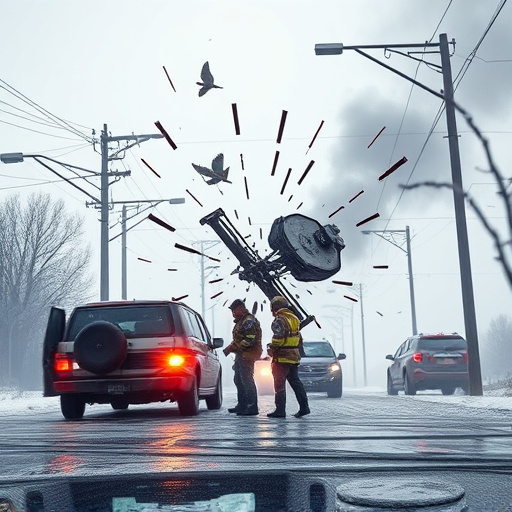
Hail and dents can significantly impact a vehicle’s acoustics, affecting both the driver’s experience and the overall sound quality inside the cabin. After a hailstorm or a collision in a collision center, auto body work often leaves behind remnants of noise issues that require attention. These damages can cause vibrations, resonances, and strange noises, disrupting the quiet and comfort of the vehicle.
Sound deadening restoration is crucial in mitigating these post-repair acoustic challenges. It ensures that the auto body work, such as patching up dents or replacing damaged panels, doesn’t leave a messy symphony of sounds. By effectively sound-proofing the affected areas, collision repair specialists can restore the serene atmosphere inside the vehicle, enhancing both safety and passenger comfort during every drive.
Step-by-Step Guide to Effective Sound Deadening Restoration
Restoring sound deadening after hail damage or dent repairs is an essential step in ensuring your vehicle returns to its pre-accident condition, providing both safety and comfort. Here’s a step-by-step guide to effective sound deadening restoration:
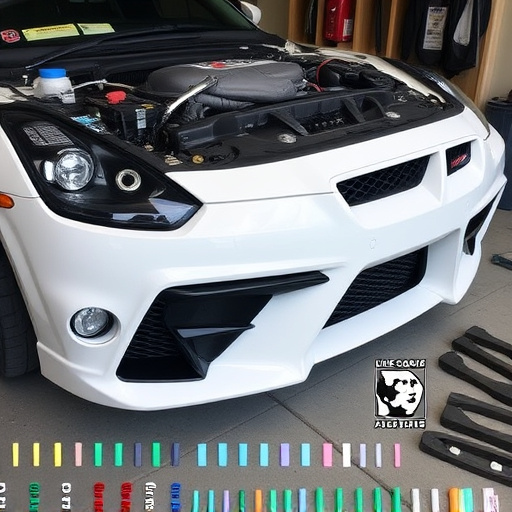
1. Assess the Damage: Begin by thoroughly inspecting the affected areas. Identify where the hail or dents have impacted, as this will guide your sound deadening replacement process. Remember that proper identification of damaged components is crucial for accurate repairs.
2. Remove Damaged Parts: If necessary, carefully take apart any doors, panels, or other parts that are severely dented or damaged by hail. This step allows access to the underlying sound deadening material and facilitates its complete replacement. For example, if a car repair service has removed a door for repairs, you can inspect and replace the sound deadener inside.
3. Inspect Existing Sound Deadener: Once exposed, examine the current sound deadening material for any tears, disintegration, or gaps. Take note of these defects to ensure complete coverage during the restoration process. This step is vital in auto repair services as it helps identify areas that require extra attention.
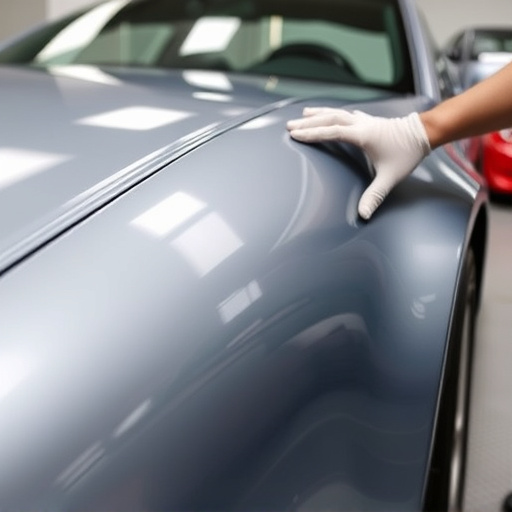
4. Prepare Surface: Before applying new sound deadener, make sure the surface is clean and free from dust, grease, or any residual debris. A meticulous preparation stage ensures better adhesion of the new material.
5. Apply New Sound Deadener: Using a suitable adhesive recommended for sound deadening, carefully apply the new material to the repaired areas. Ensure even coverage, filling all gaps and corners. This step is critical in vehicle collision repair as it determines the effectiveness of noise reduction.
6. Allow Curing: Follow the manufacturer’s instructions regarding curing time. During this period, the sound deadener will set properly, ensuring optimal performance.
7. Reassemble Parts: After the curing process, carefully put back the removed panels or parts, securing them tightly to maintain structural integrity and noise insulation.
Sound deadening restoration plays a pivotal role in mitigating the acoustic impact of hail damage and dent repairs. By effectively addressing these issues, vehicle owners can ensure optimal noise reduction, enhancing both comfort and the overall driving experience. Through a comprehensive understanding of sound deadening principles and following a structured guide, it’s possible to restore vehicles to their pre-damage silence, revealing a smoother, more peaceful journey on the road.