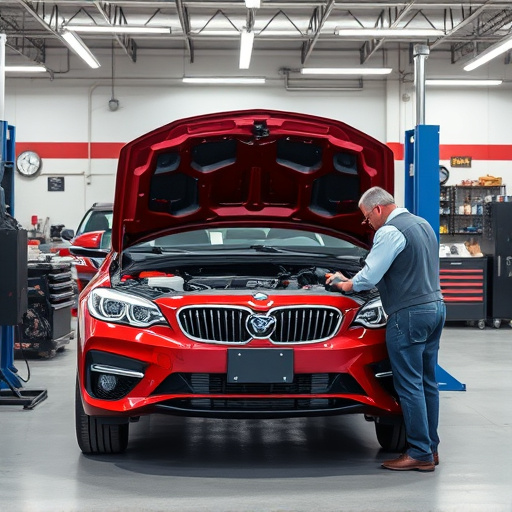

Tesla dashcam configuration is a key safety feature, using FAT32 or exFAT memory cards to record continuously with software managing file overwrites. FAT32 offers broad compatibility for occasional users, while exFAT optimizes large file management over extended periods, ideal for continuous recording and auto dent repair. This guide covers configuring your Tesla dashcam, setting resolution and frame rate, choosing recording preferences, managing storage via cloud backup, and ensuring seamless data access during vehicle maintenance.
Looking to optimize your Tesla’s dashcam storage? This comprehensive guide delves into the essential aspect of Tesla dashcam configuration, focusing on formatting options for optimal performance. Understanding the unique storage requirements of your Tesla’s dashboard camera is crucial for ensuring seamless video recording and efficient data management.
Explore the differences between FAT32 and exFAT file systems and learn which one suits your needs best. Then, follow our step-by-step instructions to configure your Tesla dashcam effortlessly.
- Understanding Tesla Dashcam Storage Requirements
- Choosing Between FAT32 and exFAT File Systems
- Step-by-Step Guide to Configuring Your Tesla Dashcam
Understanding Tesla Dashcam Storage Requirements

Tesla dashcam configuration is a crucial aspect of ensuring your vehicle’s safety and security features work optimally. To understand the storage requirements, it’s essential to know that Tesla dashcams record video footage continuously, storing them on an internal memory card. The car’s software manages this process, automatically overwriting older files to maintain a specified recording period. This continuous loop recording is designed to capture critical events without missing a frame, making it an indispensable tool for auto collision repair and auto dent repair professionals who need accurate evidence for insurance claims.
The format of the memory card plays a vital role in Tesla dashcam configuration. FAT32 and exFAT are two file systems that meet the car’s requirements. FAT32 is compatible with most devices, including older ones, while exFAT offers better performance and supports larger files, which is beneficial for high-definition videos. Auto repair services that specialize in Tesla vehicles should consider these formats to ensure seamless integration and data retrieval when needed, especially during auto dent repair processes where precise documentation is key.
Choosing Between FAT32 and exFAT File Systems

When configuring a Tesla dashcam, one of the initial considerations is choosing between FAT32 and exFAT file systems for storage. Both have their advantages, but each is optimized for different scenarios. FAT32, though more legacy in nature, offers compatibility with almost all devices and operating systems, making it ideal for sharing footage across various platforms. This file system is great for occasional users or those who need to share videos easily without worrying about specific software requirements.
On the other hand, exFAT (exponential File Allocation Table) is a modern alternative that excels in managing large files efficiently. It’s particularly beneficial for continuous recording scenarios as it handles file growth better than FAT32, preventing premature formatting. For Tesla dashcam users focusing on long-term recordings or those engaging in auto dent repair and car restoration services where detailed records are crucial, exFAT might be the preferable choice.
Step-by-Step Guide to Configuring Your Tesla Dashcam

Configuring your Tesla dashcam is a straightforward process that allows you to access and manage recorded footage effectively. Here’s a step-by-step guide to help you set up your Tesla dashcam for optimal performance.
1. Insert and Format the MicroSD Card: Start by inserting a compatible FAT32 or exFAT formatted MicroSD card into your Tesla’s dashboard camera. Ensure the card is of high quality and has sufficient storage capacity for your needs. This simple step ensures smooth operation and seamless video recording.
2. Access Camera Settings: Within the Tesla mobile app, navigate to the camera settings. Here, you can customize various parameters such as resolution, frame rate, and recording mode. Adjust these settings according to your preferences and driving conditions. For instance, higher resolutions provide clearer footage, while lower frame rates can conserve storage space.
3. Set Up Recording Preferences: Define your desired recording behavior. You can choose between continuous recording, manual activation, or scheduling recordings based on specific events or time intervals. Ensure you select options that align with your auto maintenance and safety needs, such as automatically triggering a recording after a sudden stop or during parking.
4. Configure Storage Management: Manage your dashcam’s storage by reviewing the recorded footage and deleting unnecessary clips. Regularly clearing space ensures continuous operation and prevents overflow. Additionally, consider enabling cloud backup options for easy access to critical data, especially when visiting an auto repair shop or engaging in auto body restoration work.
Configuring your Tesla dashcam with the right storage format is a straightforward process that can significantly enhance your driving experience. By understanding the specific FAT32 or exFAT requirements and following our step-by-step guide, you’ll ensure smooth video recording and easy access to your dashcam footage. Optimizing your Tesla’s dashcam setup allows for better data management, ensuring crucial evidence is readily available when needed.