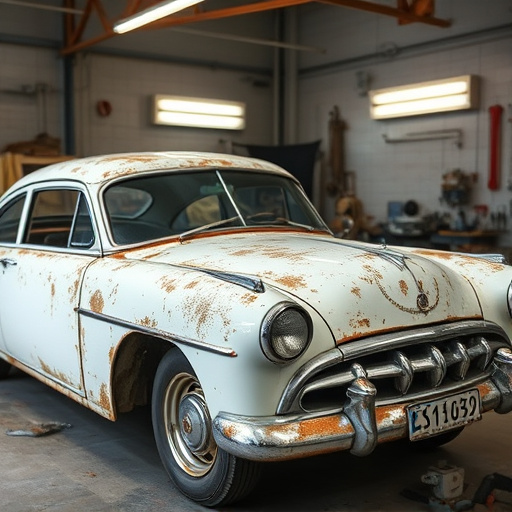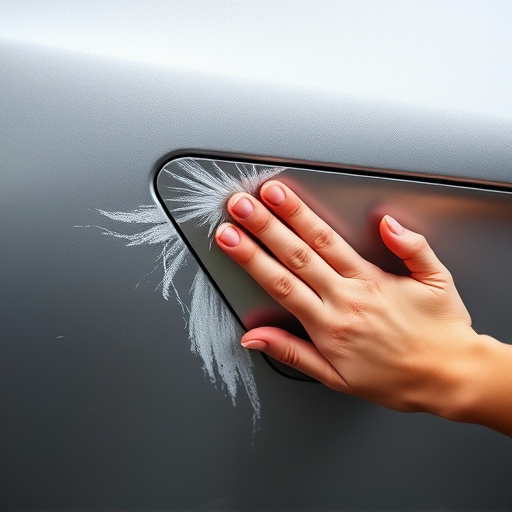

Mercedes designo paint repair requires specialized coating technology for exceptional durability and luxurious finish, protecting vehicles from scratches, chips, and fading. Achieve professional results with high-quality automotive paint, mixer, sandpaper, detailer's cloth, applicator gun, masking tape, plastic sheeting, safety gear, and heat gun (for intricate repairs). Follow structured process: clean area, sand coarsely, sweep dust, prime surface, apply layers of paint in thin coats, dry each layer, buff with auto polish for a glossy finish.
Considering a Mercedes designo paint repair? We’ve got you covered. This comprehensive guide compares DIY vs professional approaches, focusing on the unique features and benefits of Mercedes designo paint. From understanding the material’s advanced properties to gathering the right tools and materials, we break down each step for achieving professional-grade results. Whether you choose to do it yourself or hire a pro, this guide ensures your Mercedes’ paint job is as impeccable as ever.
- Understanding Mercedes designo Paint: Features and Benefits
- Tools and Materials Required for DIY Repair
- Step-by-Step Guide for Professional-Grade Results
Understanding Mercedes designo Paint: Features and Benefits

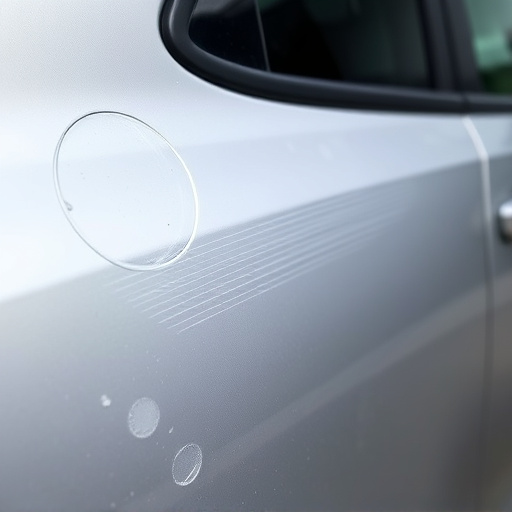
Mercedes designo paint is a specialized, high-performance coating that sets the benchmark for luxury vehicles. Its unique features go beyond conventional paintwork, offering enhanced durability and an exquisite finish. The sophisticated technology behind designo paint ensures it can withstand extreme conditions, providing superior protection against scratches, chips, and fading. This robust exterior not only maintains the vehicle’s aesthetic appeal but also preserves its value over time.
One of the key benefits of Mercedes designo paint is its ability to seamlessly match the original factory finish, ensuring a flawless repair or restoration. Unlike regular paints, designo formulations precisely replicate the brand’s specific colors and textures, making it ideal for DIY enthusiasts aiming for a perfect refinish. Whether at a collision repair center or as part of car bodywork services, professionals appreciate the precision and efficiency that designo paint brings to the table, allowing them to deliver top-tier results.
Tools and Materials Required for DIY Repair

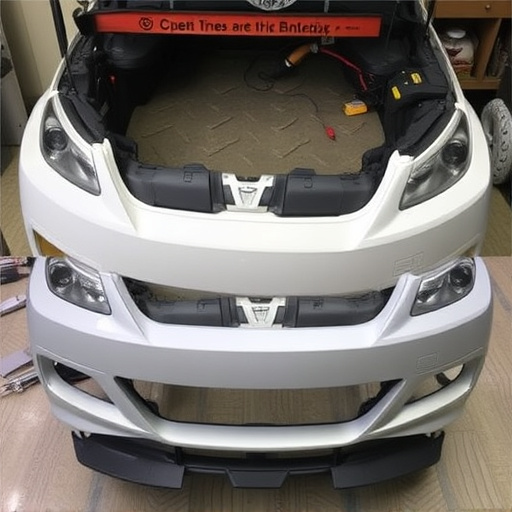
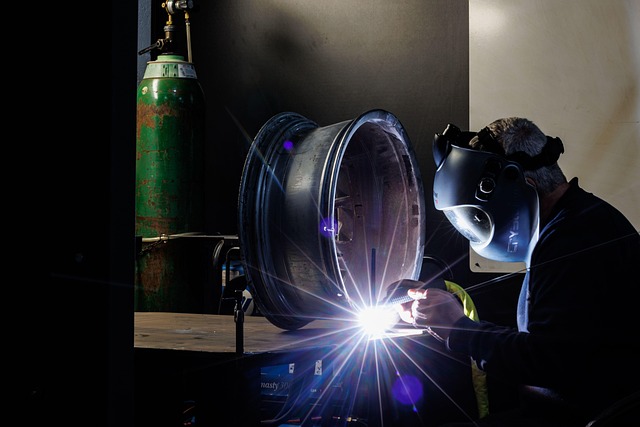
If you’re planning a DIY Mercedes designo paint repair, ensuring you have the right tools and materials is paramount. For a successful and long-lasting fix, gather these essential items: high-quality automotive paint in the exact shade of your vehicle, a paint mixer with adjustable settings, sandpaper (grits ranging from 400 to 1200), a detailer’s cloth, a paint applicator gun, masking tape, and plastic sheeting. Don’t forget safety gear: gloves, goggles, and a respirator mask are crucial for protecting yourself from chemicals and dust during the repair process.
For accurate results, especially on intricate vehicle body repair like fender repair or even simple paint touch-ups, consider investing in tools specifically designed for precision work, such as fine brushes and a heat gun for curing the paint evenly. Remember, while DIY can save costs, professional-grade materials and equipment are worth considering for achieving a factory-like finish in Mercedes designo paint repair.
Step-by-Step Guide for Professional-Grade Results

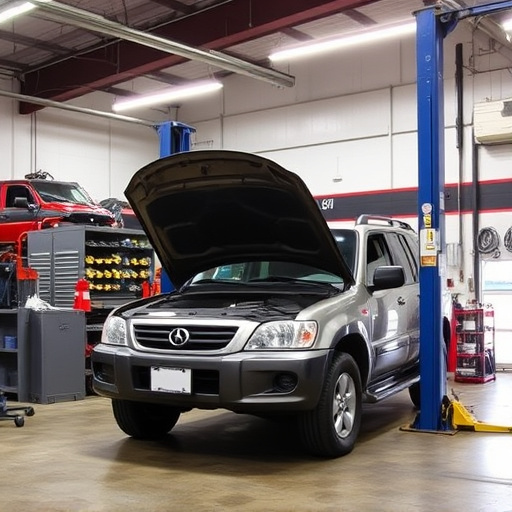
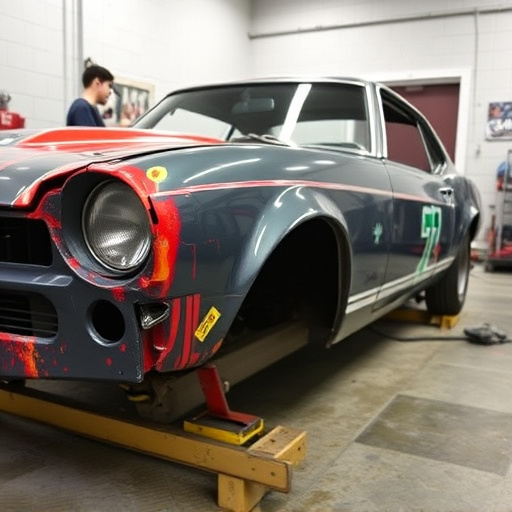
Achieving professional-grade results for Mercedes designo paint repair requires a meticulous and structured approach. Begin by gathering all necessary tools and materials—a quality paint match, sandpaper (starting with coarse and ending with fine), a degreaser, an auto polish, and a microfiber cloth. Ensure your workspace is well-ventilated to prevent the buildup of fumes from the paint products.
Follow these steps for optimal results:
1. Clean the damaged area thoroughly using the degreaser to remove any grime or oil.
2. Lightly sand the surface with coarse sandpaper, working in small sections, to roughen the paint slightly and create a texture that allows better adhesion for the new coat.
3. Sweep away any dust particles with a dry cloth before applying fine-grit sandpaper to smooth the area.
4. Use a paint primer to prepare the surface, ensuring even coverage. Let it dry completely.
5. Apply the Mercedes designo paint using a small brush or spray gun, working in thin, even layers. Allow each layer to dry as per the product’s instructions before adding the next.
6. Once the final coat is dry, buff the area gently with auto polish and a microfiber cloth for a glossy finish.
When it comes to repairing Mercedes designo paint, whether you choose to go DIY or hire a professional, understanding the process is key. The article has provided a comprehensive guide, highlighting the unique features and benefits of Mercedes designo paint, along with a list of essential tools and materials. By following the step-by-step instructions, whether for a DIY project or a professional repair, you can achieve exceptional results, ensuring your Mercedes maintains its sleek and distinctive appearance. Remember, for complex repairs, seeking expert help is often the best course of action to guarantee perfection.