


Tesla 12V systems, crucial for vehicle functionality, require meticulous care in high-mileage cars. Common issues like loose connections or faulty fuses, often stemming from wear and tear, demand skilled diagnosis to prevent further complications. Both internal components and external factors, such as corrosion or car scratch repair, can impact the system's intricate network. Prompt attention to red flags, regular maintenance, and professional repairs are vital for optimal Tesla 12V system performance, reliability, and longevity.
As Tesla vehicles age, proper maintenance of their 12V systems becomes crucial. High-mileage Teslas often face issues with this essential component, leading to frustrating experiences for owners. This article guides you through understanding Tesla’s 12V system, identifying common problems in older models, and offers a step-by-step repair process to enhance your vehicle’s performance. Learn how to diagnose symptoms, reconstruct, and upgrade your 12V system for a reliable and efficient Tesla experience.
- Understanding Tesla's 12V System: Components and Common Issues in High-Mileage Vehicles
- Diagnosing the Problem: Identifying Symptoms and Potential Causes of 12V System Failure
- Repair Process: Step-by-Step Guide to Reconstructing and Upgrading Your Tesla's 12V System for Better Performance
Understanding Tesla's 12V System: Components and Common Issues in High-Mileage Vehicles

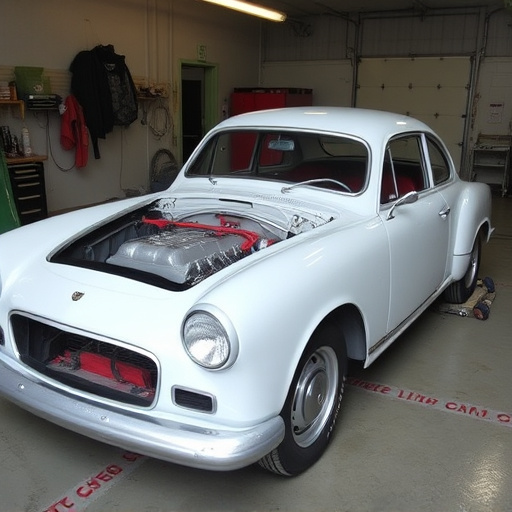
Tesla’s 12V system is a crucial component of any vehicle, and high-mileage cars often present unique challenges when it comes to maintenance. This system powers various essential components, from lighting and dashboard instruments to accessory devices. Over time, wear and tear can lead to common issues such as loose connections, faulty fuses, or aging electrical components, especially in older Teslas or vehicles with extensive mileage.
High-mileage vehicles require careful attention to detail during repair processes, including car body repair and collision repair. Many of the 12V system components are intertwined, so a simple issue like a blown fuse could indicate problems with wiring, grounding, or even external factors like corrosion. Proper diagnosis is key, as incorrect repairs might lead to further complications. Car scratch repair techniques can also be relevant if external damage impacts the appearance and functionality of the vehicle’s 12V system components.
Diagnosing the Problem: Identifying Symptoms and Potential Causes of 12V System Failure

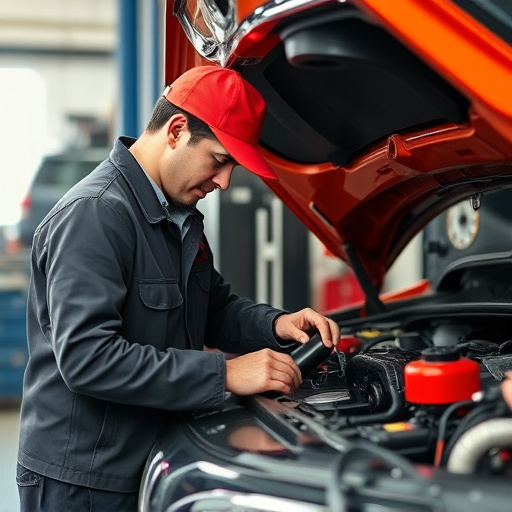
Diagnosing issues with a Tesla’s 12V system is a crucial step in ensuring timely repairs for high-mileage vehicles. Symptoms can range from minor, like dim lighting or slow starter performance, to more severe, such as complete power failure. When addressing these problems, it’s important to consider both electrical and non-electrical causes. Corroded battery terminals or loose connections are common culprits, easily identifiable during a visual inspection. More intricate issues might require further investigation using advanced diagnostic tools.
For instance, a faulty alternator or voltage regulator can lead to an undercharged battery, mimicking symptoms of a failing 12V system. Similarly, problems with the vehicle’s electrical ground or short circuits within the system can cause unexpected failures. Regular maintenance, including checking for signs of damage or wear and tear, can help prevent such issues. Remember, prompt attention to these red flags is key, as a dent removal or even an auto glass repair might become necessary if left unattended—all part of ensuring your Tesla’s 12V system remains reliable.
Repair Process: Step-by-Step Guide to Reconstructing and Upgrading Your Tesla's 12V System for Better Performance

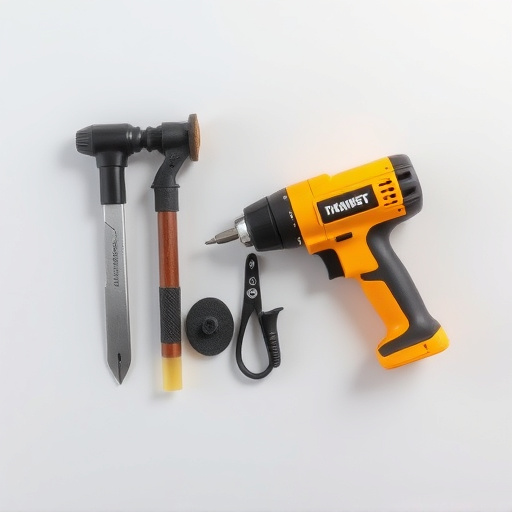
Repairing a Tesla’s 12V system is a crucial step for high-mileage vehicles, ensuring optimal performance and longevity. Here’s a step-by-step guide to help you reconstruct and upgrade your Tesla’s 12V system like professionals do.
Start by thoroughly inspecting the existing system for any signs of damage or wear. This may involve checking the battery terminals for corrosion, examining wires for frays or cracks, and assessing the alternator for proper function. Next, replace any faulty components with high-quality, compatible parts. For instance, upgrade to a new battery if the old one shows significant degradation. When replacing wires, ensure they’re properly routed and secured, minimizing movement to prevent future damage. For vehicles that have undergone auto body services or frame straightening due to previous accidents, pay extra attention to ensuring all components are aligned correctly, as misaligned parts can lead to persistent 12V system issues.
As you’ve explored the intricacies of Tesla’s 12V system repair, especially in high-mileage vehicles, it’s clear that understanding common issues and implementing a thorough diagnosis is key. By following the step-by-step repair guide, you now possess the knowledge to enhance your vehicle’s performance and reliability. Embracing these strategies ensures a robust and efficient 12V system, contributing to a smoother driving experience for Tesla owners facing mileage-related challenges.