


Tesla Windshield Calibration: Essential for Safety & System Performance
After a Tesla windshield replacement, proper calibration is vital to maintain advanced driver-assistance systems (ADAS) like lane departure warning, automatic emergency braking, and adaptive cruise control. This process uses technology to map the new windshield's curvature and alignment, adjusting the vehicle's computer system accordingly. Specialized techs with calibrated tools are needed to ensure safety feature integrity. Calibration corrects disruptions caused by new windshields, enhancing system efficiency and preventing accidents. The steps involve gathering tools, parking on a level surface, accessing the calibration menu, cleaning sensors, applying new seals, initiating calibration, testing systems in various conditions, and consulting professionals if issues arise.
After replacing your Tesla’s windshield seal, proper calibration is crucial for optimal driver assistance and safety features. This process ensures that sensors and cameras behind the windshield work seamlessly with your vehicle’s advanced systems. Understanding Tesla windshield calibration involves grasping how it maintains accurate data mapping despite physical changes from seal replacement. This article breaks down the necessity and provides a step-by-step guide to ensure your Tesla’s post-replacement performance.
- Understanding Tesla Windshield Calibration: The Basics
- Why Calibration is Necessary After Seal Replacement
- Step-by-Step Guide to Performing a Tesla Windshield Calibration
Understanding Tesla Windshield Calibration: The Basics
Understanding Tesla Windshield Calibration: The Basics
Tesla windshield calibration is a critical process that ensures your vehicle’s advanced driver-assistance systems (ADAS) function optimally. After replacing a windshield, this calibration becomes even more important as any misalignment can significantly impact safety features like lane departure warning, automatic emergency braking, and adaptive cruise control. Think of it as fine-tuning the eyes and brain of your Tesla to recognize and react accurately to its surroundings.
The process involves sophisticated technology that scans and maps the windshield’s curvature and alignment. This data is then fed into the vehicle’s computer system, allowing it to adjust and compensate for any changes in the windshield’s position. While many auto repair services and collision centers offer windshield replacement, only a specialized tech with access to the right tools can perform the precise Tesla windshield calibration required to keep these safety features functioning seamlessly.
Why Calibration is Necessary After Seal Replacement
After replacing a Tesla windshield, proper calibration is essential to ensure optimal performance and safety. When a new windshield is installed, it can disrupt the vehicle’s sensors and cameras that are crucial for advanced driver-assistance systems (ADAS). These systems depend on precise alignment and calibration to function correctly, including features like automatic emergency braking, lane departure warning, and adaptive cruise control.
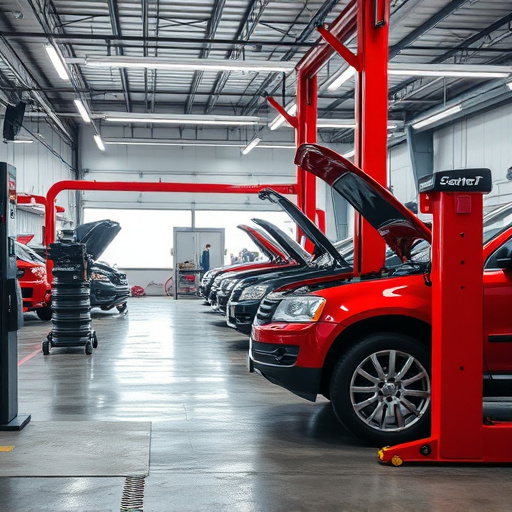
Calibrating the Tesla windshield involves adjusting the sensors and cameras to match the new windshield’s optical properties. This process is necessary as windshields can vary in terms of thickness, curvature, and optical clarity, even within the same model year. An auto repair shop or collision center with specialized equipment and experienced technicians can perform this calibration, ensuring that the vehicle’s safety features operate at their peak efficiency and helping to prevent future accidents.
Step-by-Step Guide to Performing a Tesla Windshield Calibration

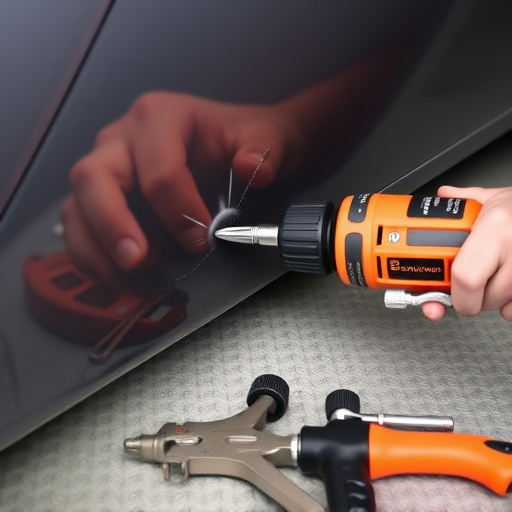
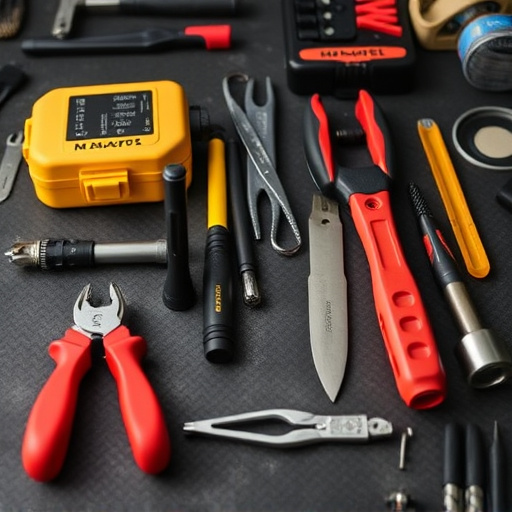
Performing a Tesla windshield calibration after a seal replacement is crucial for optimal vehicle performance and safety. Here’s a step-by-step guide to ensure precision and accuracy. First, gather all necessary tools and materials, including a new windshield seal. Park your Tesla on a level surface and engage the parking brake. Using the vehicle’s built-in settings or an external tool, access the calibration menu. This process may vary slightly depending on your Tesla model, so consult the owner’s manual if needed. Next, locate the sensor around the windshield frame. Ensure it’s clean and free of any debris. Apply the new seal along the edge of the windshield, following the manufacturer’s instructions for proper application. Once the seal is in place, initiate the calibration process through the vehicle’s settings. The car will detect the change and begin adjusting its sensors accordingly.
After calibration, test the system thoroughly by driving at various speeds and under different weather conditions. This ensures that all sensors are functioning optimally. If you experience any issues or discrepancies, consult a professional auto repair service for further assistance. Remember, a well-calibrated windshield not only enhances your Tesla’s performance but also plays a vital role in safety features like lane departure warning and adaptive cruise control, effectively preventing potential car dent repairs.
After replacing your Tesla’s windshield seal, proper calibration is essential to ensure optimal functionality of advanced driver assistance systems (ADAS). This process ensures the vehicle’s sensors accurately align with the windshield’s curvature, enabling precise performance of features like lane keeping and adaptive cruise control. Following the step-by-step guide in this article, you can successfully calibrate your Tesla’s windshield, maintaining safety and enhancing your driving experience.