


Tesla Wheel Repair: A Step-by-Step Guide
Before repairing any Tesla wheel, conduct a thorough damage assessment checking for cracks, dents, and structural issues. Gather specialized kits, tools, and safety equipment. Clean, sand, and assess the wheel for wear patterns or warping. For severe cases, consult a professional auto body shop. With proper preparation, common issues like bent spokes can be addressed at home, saving time and money.
“Discovering a damaged Tesla wheel can be a frustrating experience, but understanding the repair process can save you time and money. This step-by-step guide delves into the intricacies of Tesla wheel repair, covering everything from assessing the damage and preparing the wheel to disassembling, repairing, and finally reinstaling it. Learn how to inspect for issues, gather the right tools, clean the wheel, replace or repair hubcaps, spokes, and rims, realign and balance the wheel, and perform crucial final checks before reattaching it to your Tesla.”
- Assessing the Damage and Preparing the Wheel
- – Inspecting the wheel for damage
- – Gathering necessary tools and materials
Assessing the Damage and Preparing the Wheel

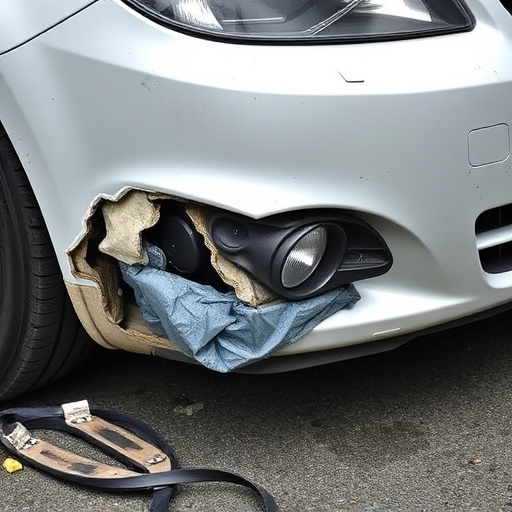
When it comes to Tesla wheel repair, assessing the damage is the first crucial step. Start by inspecting the wheel thoroughly for cracks, dents, or any signs of structural compromise. Look for both visible imperfections and subtle indications like warping or uneven wear patterns. This initial evaluation will guide your repair process and determine whether it’s suitable for DIY attempts or requires professional auto body services.
Before initiating any repairs, preparing the wheel is essential. Begin by cleaning the wheel to remove dirt, grease, or debris that might interfere with the bonding process. Sanding the damaged area gently can help create a smooth surface, ensuring better adhesion for any restorative materials used. In some cases, you may need to replace worn-out components like hubs or spokes, which can be acquired from trusted vehicle body shops. Proper preparation sets the stage for successful Tesla wheel repair.
– Inspecting the wheel for damage

Before initiating any Tesla wheel repair, a thorough inspection is paramount. Begin by visually examining the wheel for any visible signs of damage such as cracks, punctures, or dents. Check for loose or missing spokes and assess the tire’s tread depth using a tire gauge. Even minor issues can significantly impact safety and performance, so it’s crucial to catch them early.
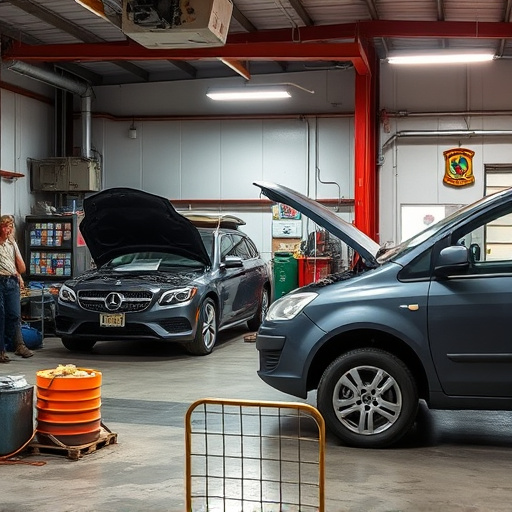
For more severe cases or if you’re unsure about any aspect, consider taking your vehicle to a reputable auto body shop specializing in car bodywork and auto collision repair. Their skilled technicians have the tools and expertise to diagnose and address complex wheel damage, ensuring your Tesla returns to the road safely and reliably.
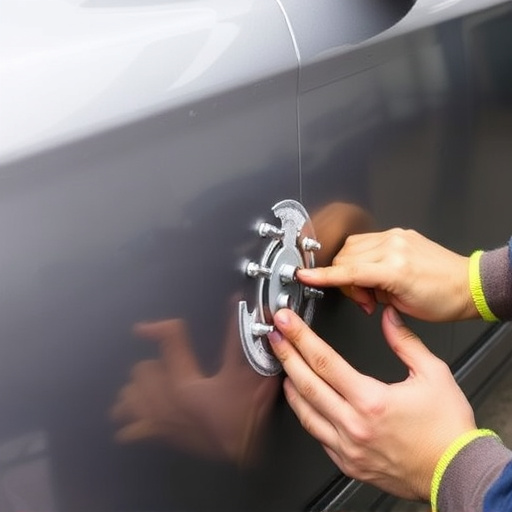
– Gathering necessary tools and materials
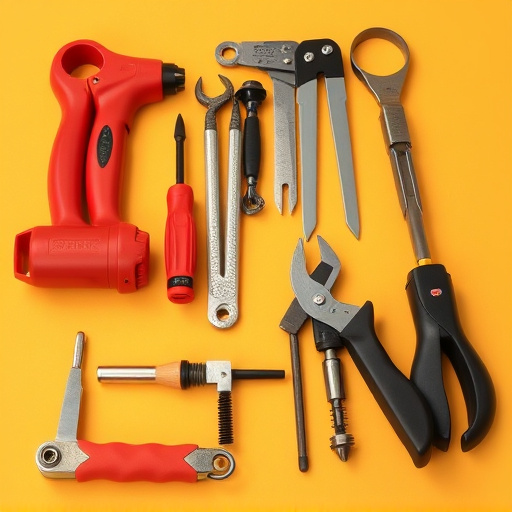
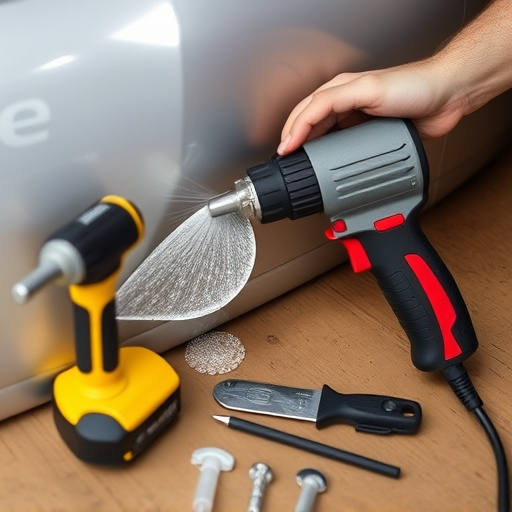
Before attempting a Tesla wheel repair, ensure you have all the necessary tools and materials on hand. This includes specialized wheel repair kits, which often come with various components like spokes, hubs, and bearings. Also, stock up on essential items like socket sets, wrenches, and jack stands for safe vehicle handling. Remember that proper safety equipment, such as gloves and safety glasses, is crucial to protect against debris and potential hazards during the repair process.
For a successful Tesla wheel repair, consider seeking guidance from official service manuals or online resources specific to Tesla models. Having the right auto painting and vehicle body shop supplies will not only streamline the process but also ensure that your repairs match the vehicle’s original finish and structure. With the right preparation, you’ll be well-equipped to tackle common issues like bent spokes, damaged hubs, or worn-out bearings in your own garage, potentially saving you time and money compared to a trip to a vehicle body repair shop.
Tesla wheel repairs can be efficiently managed with a simple, step-by-step process. By first assessing the damage and preparing the wheel, you’ll be ready to tackle the repair using the right tools and materials. Remember, proper preparation is key, ensuring both the safety of your vehicle and the longevity of your new, restored wheel. For Tesla owners, maintaining your vehicle’s aesthetic is essential, making this DIY process a valuable skill to have.