


Seam sealers, vital for auto body repairs, come in various forms suited to different tasks. Professionals prefer high-performance sealers for superior protection against heat, UV rays, chemicals, and water intrusion, preserving bodywork integrity over time. Proper application involves a step-by-step process with cleaning, sanding, priming, and evenly spreading seam sealer using the right tools. Best practices include meticulous surface preparation, choosing suitable sealers, applying even pressure, working in a clean environment, and adhering to curing times for long-lasting, professional-grade results.
In auto body repairs, applying the right seam sealer is crucial for ensuring structural integrity and long-lasting finishes. This guide delves into the essential techniques for using seam sealers, focusing on materials and types suitable for various applications. We walk you through a step-by-step process to achieve optimal results, while also highlighting best practices and common mistakes to avoid, empowering professionals and enthusiasts alike in their quest for quality repairs.
- Understanding Seam Sealer: Materials and Types
- Step-by-Step Application Process for Optimal Results
- Best Practices and Common Mistakes to Avoid
Understanding Seam Sealer: Materials and Types

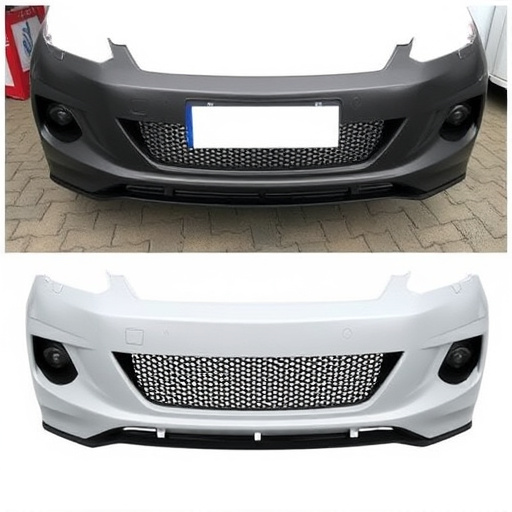
Seam sealers are essential materials in auto body repairs, designed to create a durable and water-tight bond between various components of the vehicle’s structure. Understanding the different types and their applications is crucial for achieving professional results. These sealants come in diverse forms, each suited to specific tasks. For instance, some are tailored for sealing metal joints, while others are ideal for bonding plastics and composite materials commonly found in modern auto body painting and bodywork.
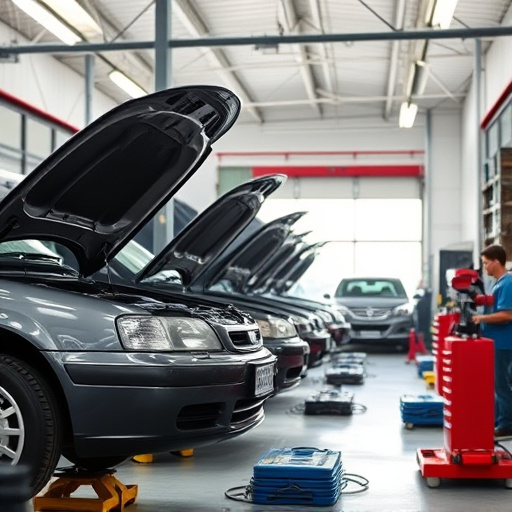
The choice of seam sealer depends on the nature of the repair, environmental conditions, and the desired longevity of the fix. In an auto collision center or bodywork shop, professionals often opt for high-performance sealers that offer superior resistance to heat, UV rays, and chemicals. These advanced materials ensure structural integrity, preventing water intrusion, which can compromise the strength and aesthetics of auto bodywork over time.
Step-by-Step Application Process for Optimal Results

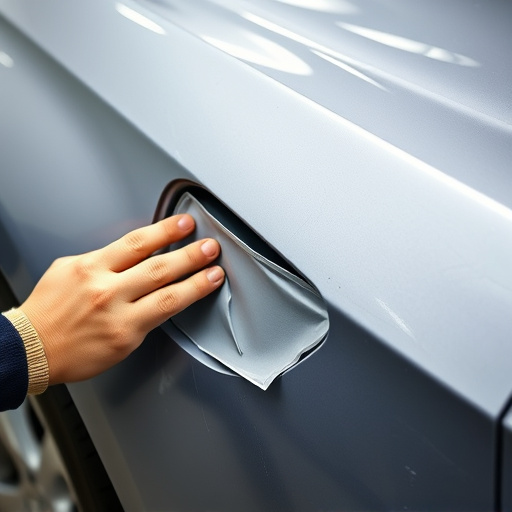
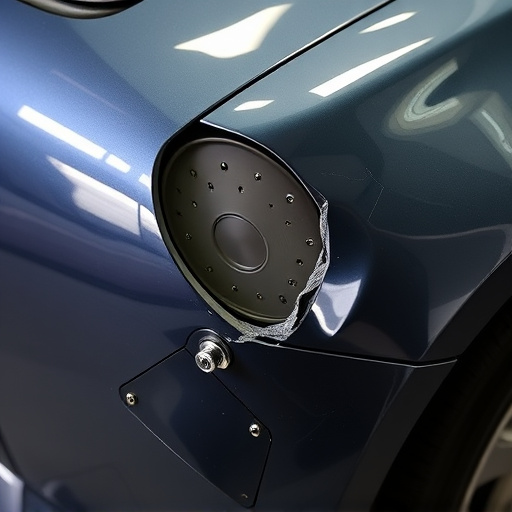
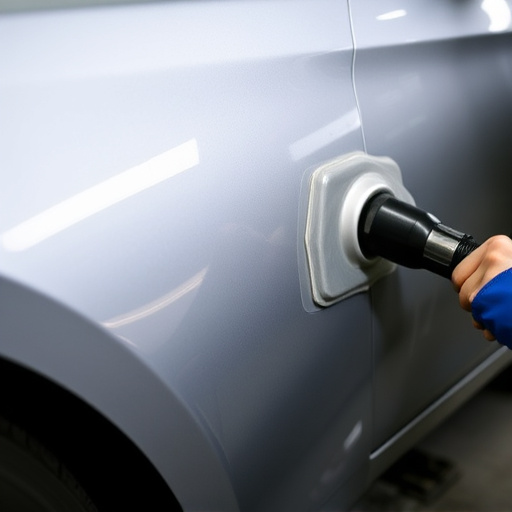
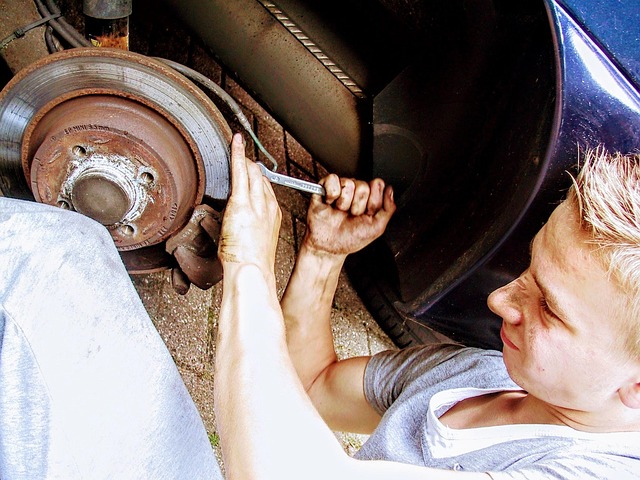
For optimal results in auto body repairs, especially after a car collision or fender repair, following a meticulous step-by-step application process with seam sealer is crucial. Begin by ensuring the surface is clean and dry, free from any grease, dust, or debris that could impede adhesion. Prepare the area by sanding lightly to create a rough texture, allowing for better grip of the seam sealer.
Next, apply a thin layer of primer designed for auto detailing to enhance surface compatibility. Let it cure as per manufacturer instructions. Then, using a clean, flat brush or a roller, evenly spread the seam sealer over the joint, making sure it fills all gaps and creases completely. For curved surfaces like fenders, use a flexible applicator tool to ensure even coverage without runs or drips. Allow the first coat to dry thoroughly before applying additional layers for enhanced durability in auto detailing work.
Best Practices and Common Mistakes to Avoid
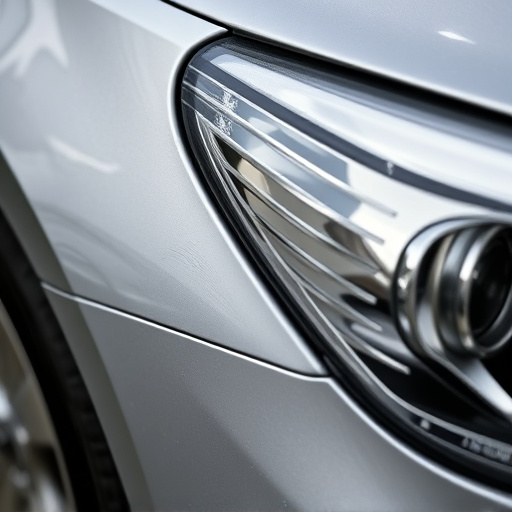
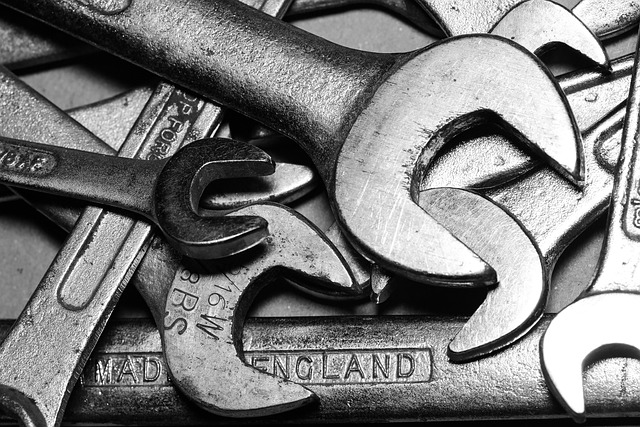
When applying seam sealer during auto body repairs, best practices involve ensuring a clean and dry surface, using the correct product for the job, and applying even pressure to create a smooth, continuous seal. It’s crucial to work in a well-ventilated area and follow the manufacturer’s instructions regarding curing time. This meticulous approach guarantees optimal adhesion and long-lasting protection.
Common mistakes to avoid include skipping surface preparation, using an inappropriate sealer for the vehicle’s needs, or applying too much pressure, which can lead to uneven seals and unsightly bumps. Furthermore, neglecting to work in a clean environment can result in debris compromising the integrity of the seal. Remember that attention to detail during the application process is key to achieving professional-grade results in any auto body shop, ensuring top-tier car body restoration each time.
Seam sealer is an indispensable tool in auto body repairs, offering a durable and protective finish. By understanding the different types of sealers and mastering the application process, from preparation to touch-ups, you can ensure long-lasting results. Adhering to best practices and avoiding common mistakes will not only enhance the quality of your work but also contribute to the overall longevity and aesthetics of vehicle repairs.