


Evaluating and preparing car surfaces before applying body filler is key. For minor dents, simple sanding and cleaning suffice, needing only a clean base for good adhesion. Severe damage requires pre-repair techniques like metal straightening or patchwork to ensure a seamless finish with body filler. Thorough cleaning, priming, and proper environmental conditions greatly impact the outcome of auto body restoration and collision repair.
“Efficient preparation of surfaces is paramount for achieving exceptional results with body filler application. This guide delves into the critical steps of evaluating skin condition, employing effective cleaning and priming techniques, and establishing an ideal environment. By understanding these processes, you’ll ensure optimal adherence, reduce errors, and enhance the overall effectiveness of your body filler application.”
- Evaluating Surface Condition and Preparation Techniques
- Essential Steps for Cleaning and Priming Skin
- Creating an Ideal Environment for Optimal Body Filler Results
Evaluating Surface Condition and Preparation Techniques

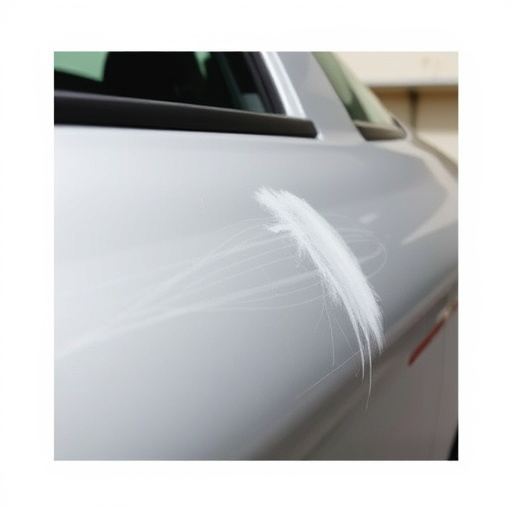
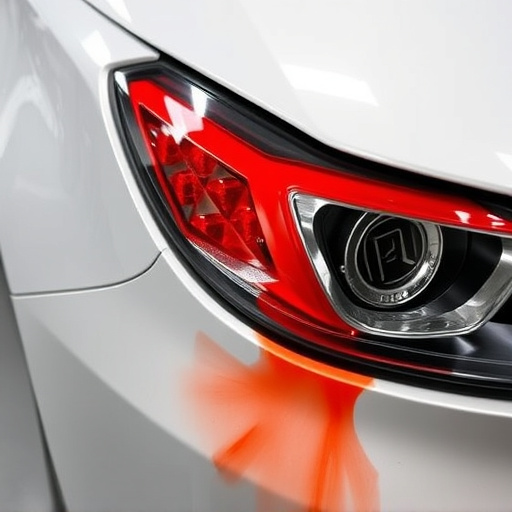
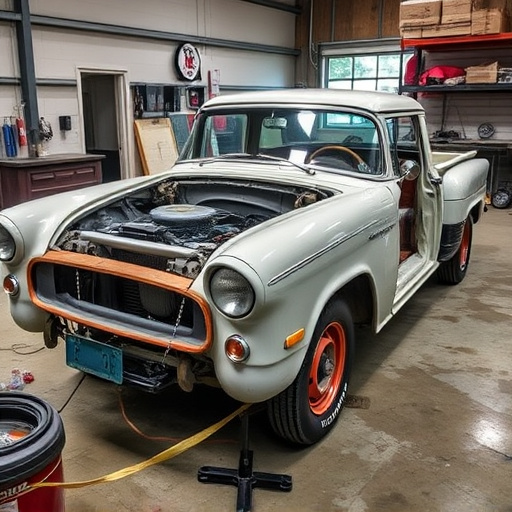
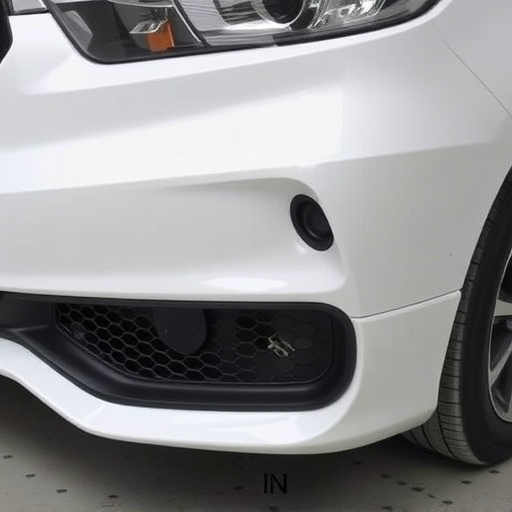
Evaluating the surface condition is a critical step before applying body filler. It’s essential to assess any damage, such as dents, scratches, or rust, and determine the extent of repair required. For minor imperfections, simple techniques like sanding and cleaning can suffice. Starting with a clean, smooth base ensures optimal adhesion for the body filler.
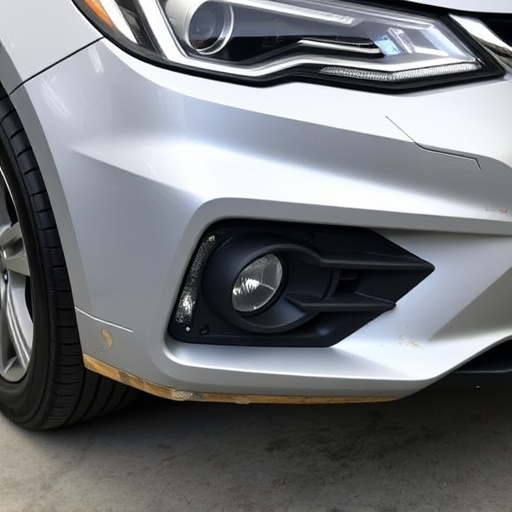
In cases of more severe damage, like large dents or deep gouges, pre-repair processes such as metal straightening or patchwork using car paint services or collision repair services might be necessary. These professional techniques prepare the surface, making it ready for filling and ensuring a seamless finish once the body filler is applied.
Essential Steps for Cleaning and Priming Skin
Before applying body filler, ensuring your skin is clean and properly primed is paramount for achieving optimal results in both aesthetics and durability. Start by thoroughly washing the area with a mild cleanser to remove any surface oils, dirt, or makeup. This step is crucial as contaminants can interfere with the bonding process of the filler. Dry the skin gently, ensuring it’s free from moisture, as even a slight wetness might hinder the product’s adhesion.
Next, priming the skin involves using a suitable primer designed for body filler application. A good-quality primer creates a smooth base and improves compatibility between the filler and your skin. It fills in minor imperfections, enhances adhesion, and ensures an even finish when blended correctly. This critical step in the preparation process is often overlooked but significantly impacts the final outcome, especially in auto body restoration or automotive collision repair scenarios where achieving a flawless, seamless look is essential.
Creating an Ideal Environment for Optimal Body Filler Results

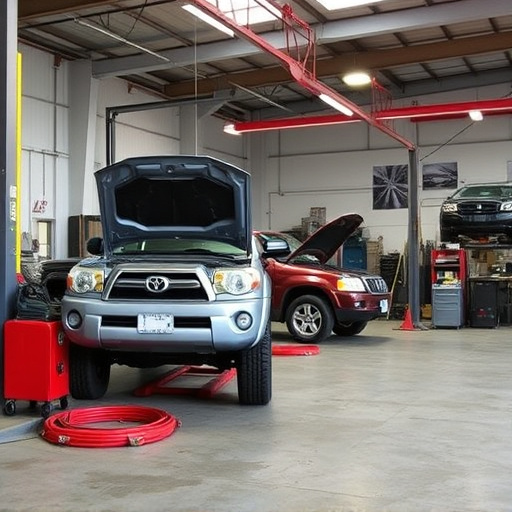
Creating an ideal environment is paramount for achieving optimal results when applying body filler. The process demands a clean, well-lit, and controlled space to ensure precision and minimize errors. Start by clearing the work area of any debris or foreign objects that could contaminate the filler or hinder its application. Proper ventilation is also crucial, as some body fillers emit strong odors and fumes; ensuring a well-ventilated room prevents inhalation of harmful chemicals and enhances comfort during the repair process.
For best practices, maintain a temperature-controlled environment, ideally between 20-25°C (68-77°F). This range ensures that the body filler remains in an ideal state for application, neither too hard nor too soft. Additionally, consider using a dust-free mat to protect the work surface and prevent any unwanted particles from settling on the repair area. In terms of automotive repairs, such as car scratch repair or auto glass repair, this environment preparation is even more critical to achieving professional results that match the vehicle’s original finish.
Preparing surfaces correctly is key to achieving optimal results when applying body filler. By thoroughly evaluating and cleaning skin, along with creating an ideal environment, you lay the foundation for successful body filler application. These essential steps ensure that the product bonds securely, providing long-lasting, natural-looking enhancements. Remember, proper preparation is the game changer for achieving remarkable aesthetic outcomes.