


Regularly inspect your vehicle for paint chips caused by weather, debris, or bumps. Identify and address small flakes, cracks, or peeling promptly using DIY methods to save costs. For extensive repairs, gather tools like a putty knife, sandpaper, matching paint, and dent puller. On walls or furniture, use spackling compound, primer, and matching paint for a professional repair.
Learn how to effortlessly tackle those pesky paint chips and restore your walls’ sleek finish at home! This comprehensive guide will walk you through understanding paint chip damage, gathering the essential tools and materials, and mastering a step-by-step repair process. From preparation to final touch-ups, you’ll become a pro in no time. No more waiting for professionals – take control and achieve flawless results with these simple DIY steps focused solely on paint chip repair.
- Understanding Paint Chip Damage
- Gathering the Right Tools and Materials
- Step-by-Step Guide to Repairing Paint Chips
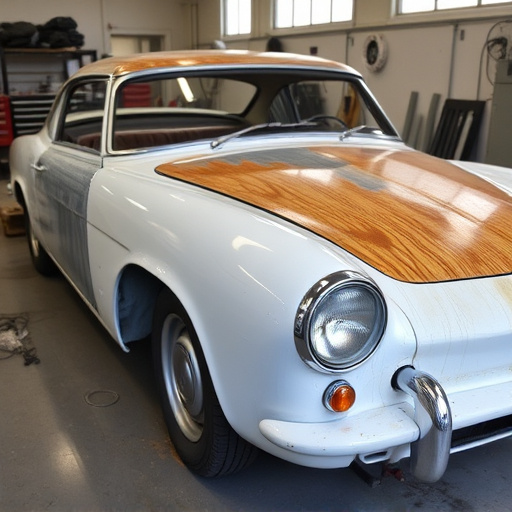
Understanding Paint Chip Damage

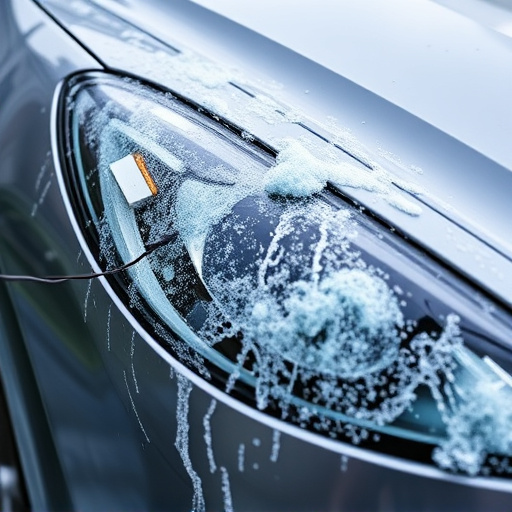
Paint chip damage is a common issue that can occur on vehicles due to various factors like weather conditions, road debris, or accidental bumps. These tiny cracks or flakes in the paint surface might seem insignificant but left unattended, they can lead to more severe problems, affecting both the aesthetics and structural integrity of your vehicle. The good news is, with the right tools and a bit of patience, you can easily fix these chips at home using a process known as paint chip repair.
Identifying paint chip damage early is crucial. Inspect your car’s exterior regularly, especially in areas prone to chipping like fenders, bumpers, or doors. Look for any signs of flaking, peeling, or small cracks. Addressing the issue promptly will prevent further damage and ensure your vehicle retains its original look. While some may opt to visit an auto body shop for paint chip repair, learning this skill can be cost-effective and give you the satisfaction of doing it yourself, much like learning basic car repair services or even auto body work.
Gathering the Right Tools and Materials

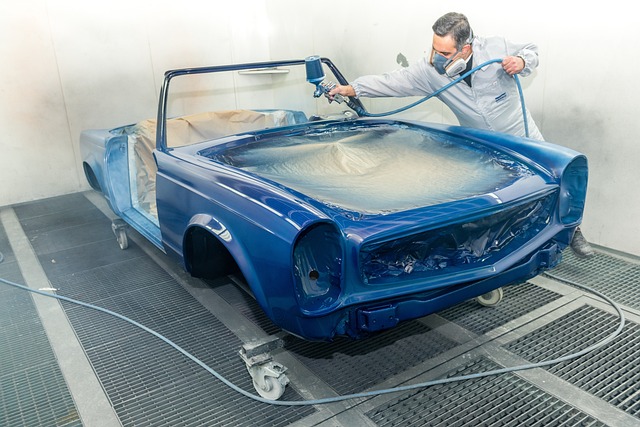
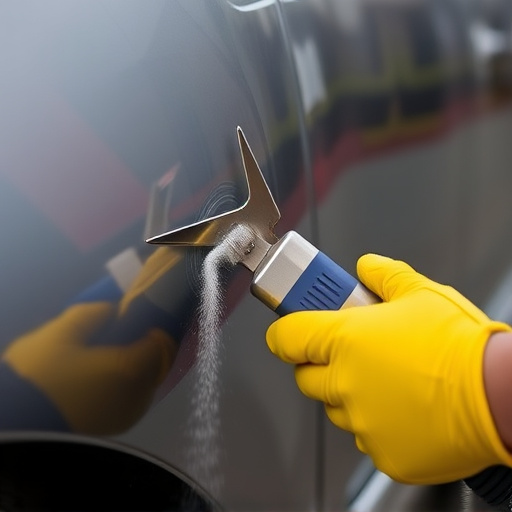
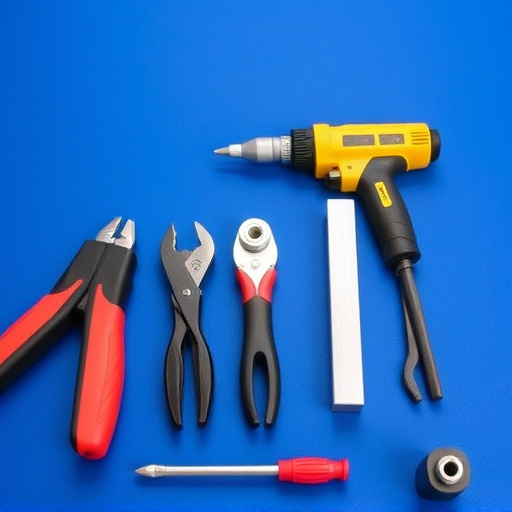
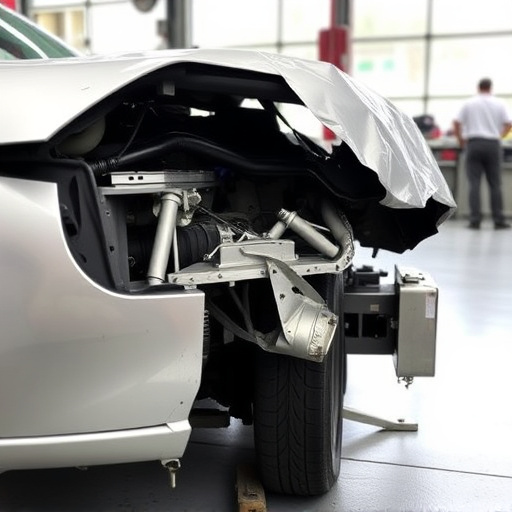
Before tackling any paint chip repair project, it’s essential to gather the right tools and materials. This includes a putty knife for applying filler, sandpaper for smoothing the surface after filling, and a can of matching paint or touch-up spray. Don’t forget safety gear like gloves and a respirator mask to protect against fumes. For more extensive repairs, consider investing in a dent puller tool, which can efficiently remove minor dents and scratches, similar to car dent repair techniques but on a smaller scale.
Additionally, having a good quality paint job requires the right surface preparation. This involves cleaning the area thoroughly to remove any dirt or grease, then masking off nearby areas not in need of repair. For precise applications, consider using a template or a paint pen to ensure the touch-up matches your car paint services perfectly. Remember, the key to successful paint chip repair lies in careful planning and having the appropriate tools to achieve a seamless finish.
Step-by-Step Guide to Repairing Paint Chips

Repairing paint chips on walls or furniture is an easy DIY project that can significantly improve the look and longevity of your surfaces. Here’s a step-by-step guide to achieving a professional-looking fix at home. First, gather your materials: spackling compound, a putty knife, sandpaper, primer, and paint in a matching colour. Begin by gently removing any loose pieces of peeling paint with a utility knife. Lightly sand the area to create a smooth texture, ensuring you don’t sand too deeply, as this can expose new chips. Clean the surface thoroughly to remove dust and debris using a damp cloth.
Apply a thin layer of spackling compound over the chip using your putty knife, pressing it gently into the area. Allow the compound to dry completely; this could take several hours or even overnight, depending on the product. Once dry, lightly sand the repaired area again to smoothen any visible ridges from the spackling. Prime the surface with a high-quality primer designed for matching your paint colour. Finally, paint over the chip with the matching colour, using light, even strokes until it blends seamlessly into the surrounding wall or furniture.
Applying paint chip repair at home is a straightforward process that can significantly enhance your space. By understanding paint chip damage and gathering the right tools, you can effectively restore your surfaces to look as good as new. Following our step-by-step guide, you’ll be able to tackle these repairs with confidence, ensuring your home’s beauty and longevity. Remember, small fixes like paint chip repair make a big difference in the overall aesthetic appeal of your living spaces.