


Tesla's Ultrasonic Sensor System, essential for ADAS and autonomous driving, requires regular maintenance through a specialized Tesla ultrasonic sensor cover replacement using OEM parts. Damage to sensor covers can lead to decreased performance or failure, impacting safety features like parking assist and automatic emergency braking. A professional replacement ensures optimal sensor efficiency, enhancing both vehicle safety and aesthetics. This guide offers step-by-step instructions for installing a new OEM cover, emphasizing workspace preparation, accurate alignment, and referencing expert tutorials for a precise fit.
Looking to upgrade your Tesla with a fresh set of eyes? This guide dives into the world of Tesla’s ultrasonic sensor system, explaining its vital role in autonomous driving. Discover why replacing the worn or damaged ultrasonic sensor cover is crucial for optimal performance and safety. We outline the benefits, common issues, and provide a step-by-step installation tutorial using OEM components for a seamless fit. Take control of your Tesla’s perception with this essential upgrade.
- Understanding Tesla's Ultrasonic Sensor System
- Why Replace the Cover? Benefits and Common Issues
- Step-by-Step Guide: Installing a New OEM Cover
Understanding Tesla's Ultrasonic Sensor System

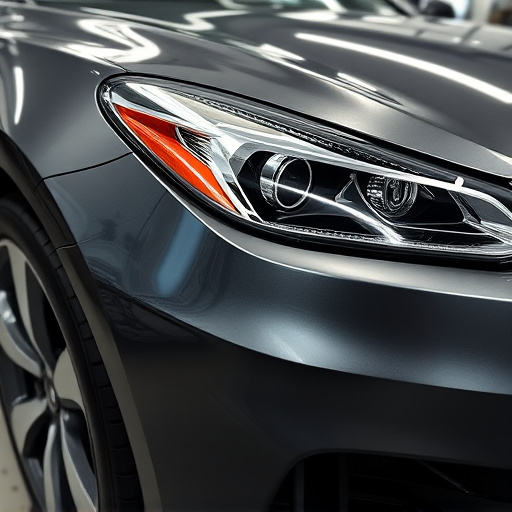
Tesla’s Ultrasonic Sensor System plays a pivotal role in enabling advanced driver-assistance features (ADAS) and autonomous driving capabilities. This sophisticated technology uses a network of sensors to detect obstacles, monitor surroundings, and assist in parking maneuvers. The heart of this system is the ultrasonic sensor, which emits high-frequency sound waves to create a detailed map of nearby objects. By analyzing the echoes, the vehicle can accurately gauge distances and identify potential hazards.
When it comes to maintenance or replacement, especially with Tesla ultrasonic sensor cover issues, understanding the original equipment manufacturer (OEM) components is crucial. The sensors are designed to withstand various environmental conditions but may require protection from debris, extreme temperatures, and direct sunlight, which can cause damage over time. A Tesla ultrasonic sensor cover replacement using OEM parts ensures that these critical components are shielded while maintaining optimal performance, ensuring safety and reliability for the vehicle’s ADAS features and enhancing the overall car bodywork aesthetics.
Why Replace the Cover? Benefits and Common Issues

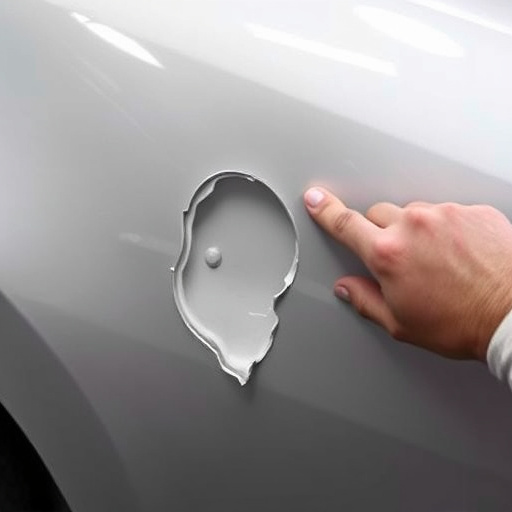
Replacing the Tesla ultrasonic sensor cover is not just about aesthetics; it’s a crucial step for maintaining the efficiency and safety of your vehicle’s advanced driver-assistance systems (ADAS). Over time, these covers can become scratched or damaged, leading to reduced performance or even failure of the underlying sensors. Since Tesla’s ultrasonic sensors are integral to features like parking assist and automatic emergency braking, ensuring their optimal condition is paramount for driving safety.
While many owners may attempt to repair minor damage themselves, a complete replacement using Original Equipment Manufacturer (OEM) components offers several advantages. It guarantees precise fitting, preserving the seamless integration essential for accurate sensor functionality. Moreover, it prevents potential short circuits or signal interference caused by improperly fitted or damaged covers. Common issues include distorted sensor readings, failed parking assistance, and delayed automatic emergency braking responses—all of which can be avoided or rectified through a professional Tesla ultrasonic sensor cover replacement at an auto repair shop specializing in vehicle restoration.
Step-by-Step Guide: Installing a New OEM Cover
Step-by-Step Guide: Installing a New Tesla Ultrasonic Sensor Cover OEM
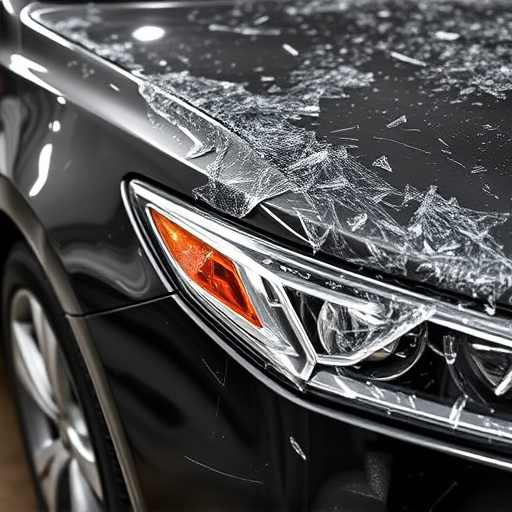
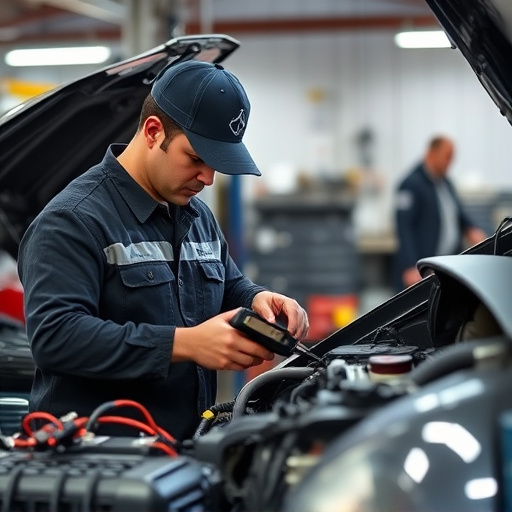
1. Prepare Your Workspace: Begin by washing and drying your Tesla’s exterior to ensure no dirt or debris hinders the installation process. This step is crucial for achieving a clean finish, especially when dealing with sensitive sensors. After preparing your vehicle, locate the ultrasonic sensor on the front or rear bumper. The cover replacement process may vary slightly depending on your Tesla model.
2. Remove the Old Cover: Carefully pop off the old, damaged or faded cover using a suitable tool, such as a plastic spudger. Take note of how it aligns and fits around the sensor for reference during installation. Once removed, inspect the sensor itself to ensure it’s in good working order—a critical step in any Tesla ultrasonic sensor cover replacement. With the old cover and sensor accessible, proceed to install your new OEM cover, aligning it precisely with the sensor’s position. Secure it firmly using appropriate fasteners, ensuring a tight seal that matches the original equipment manufacturer (OEM) standards. For an accurate fit and seamless finish, consider seeking guidance from detailed auto body painting or collision repair services tutorials available online.
Upgrading your Tesla with a new ultrasonic sensor cover replacement is a straightforward process that can significantly enhance its safety and aesthetic appeal. By using OEM components, you ensure compatibility and maintain the vehicle’s original look. This article has guided you through the reasons for replacement, common issues, and a detailed step-by-step installation guide, empowering you to make an informed decision for your Tesla ultrasonic sensor cover replacement.