


Protecting and enhancing your Tesla's exterior starts with meticulous clear coat restoration using OEM-approved products. This process addresses minor damage, ensuring a long-lasting, radiant finish that shields against environmental wear. Regular washing, drying, and protection from sunlight and harsh chemicals are essential for maintaining this finish. Proper tire maintenance also contributes to overall Tesla care.
Tesla’s signature clear coat finish is a protective layer that enhances the car’s aesthetics and value. However, over time, it can become scratched or dulled. This article guides you through the process of restoring your Tesla’s clear coat using only OEM-approved products, ensuring optimal results without compromising the vehicle’s integrity. We’ll provide a step-by-step approach, followed by maintenance tips to preserve this crucial exterior layer.
- Understanding Tesla Clear Coat and Its Importance
- Step-by-Step Guide to Restoring Tesla Clear Coat Using OEM-Approved Products
- Maintenance Tips for Preserving Your Tesla's Clear Coat Finish
Understanding Tesla Clear Coat and Its Importance

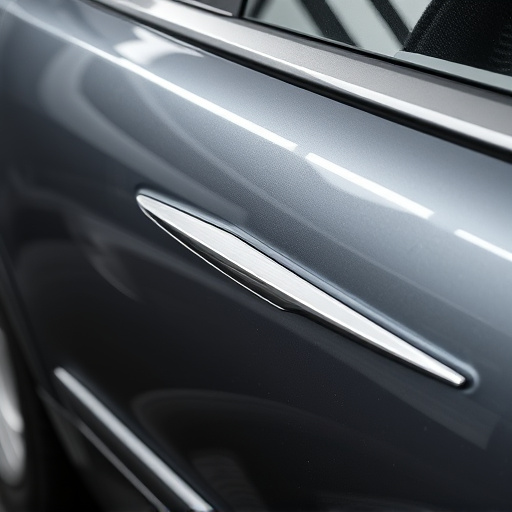
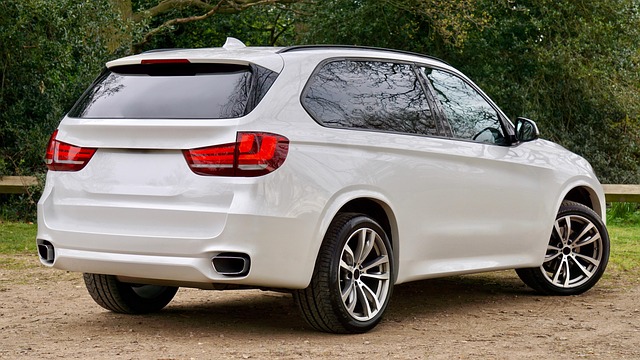
The Tesla clear coat is a crucial element of the car’s exterior protection and aesthetics. It’s a durable, transparent layer designed to safeguard the vehicle’s paint job from scratches, stains, and environmental damage. This clear coat not only enhances the car’s appearance but also prolongs its lifespan by providing an extra barrier against UV rays, bird droppings, tree sap, and other contaminants.
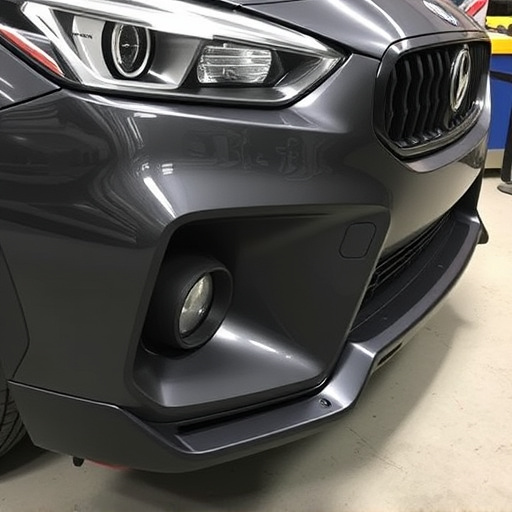
In the realm of Tesla clear coat restoration, using OEM (Original Equipment Manufacturer)-approved products is paramount to ensure superior results and maintain the vehicle’s value. When addressing issues like minor scratches or dents that affect the clear coat—whether it’s a simple bumper repair or more intricate auto body work—relying on these approved products ensures compatibility and longevity. This meticulous approach guarantees that the restored surface not only looks as good as new but also stands the test of time, preserving the car’s radiant finish.
Step-by-Step Guide to Restoring Tesla Clear Coat Using OEM-Approved Products

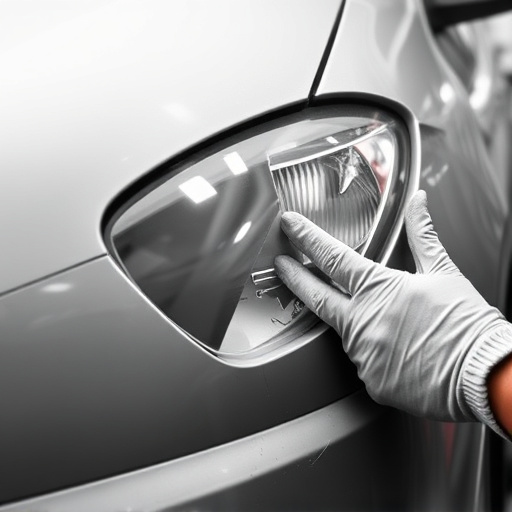
Restoring Tesla’s clear coat to its original brilliance involves a meticulous process that requires the right tools and materials. Using OEM-approved products is crucial for achieving a perfect match with your vehicle’s paint job. Here’s a step-by-step guide designed to help you bring back the shine on your Tesla:
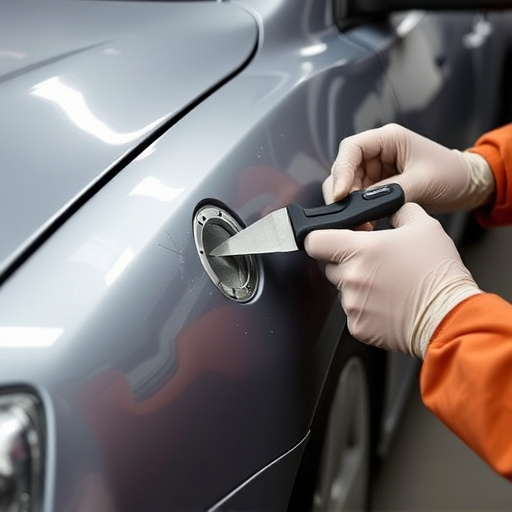
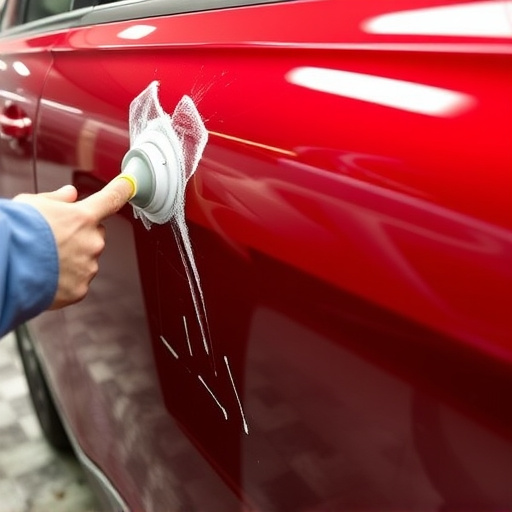
1. Preparation: Begin by thoroughly washing your Tesla to remove any dirt, dust or contaminants from its surface. This ensures a clean canvas for the restoration process. After washing, inspect your car’s clear coat for any damages, chips, or scratches. For minor dents and dings, you might consider professional vehicle dent repair services; for severe cases, frame straightening could be necessary before proceeding with the restoration.
2. Assess and Gather Materials: Identify the areas that require attention and gather all the required OEM-approved products, including clear coat paint, primers, and cleaners. Make sure to use Tesla-specific codes if available to ensure an exact match. Always follow the manufacturer’s guidelines for application and drying times.
3. Sand and Clean: Lightly sand the damaged areas using a fine-grit sandpaper to roughen the surface, enabling better paint adhesion. Remove any remaining debris and thoroughly clean the area with a dedicated cleaner to prepare it for painting.
4. Apply Primer: Use a high-quality primer designed for Tesla clear coat restoration. Apply an even coat, allowing it to dry completely. This step ensures the new clear coat has something to bond with.
5. Paint Application: Carefully apply the OEM-approved clear coat paint using a professional spray gun or brush, following the manufacturer’s instructions for application and drying. Repeat this process until the damaged area is fully covered, ensuring even coverage.
6. Final Touches: Once the paint is dry, inspect your work and make any necessary touch-ups. This might involve additional coating or filling in any gaps. Finally, polish the restored area to achieve a smooth, glossy finish that matches the rest of your Tesla’s exterior.
Maintenance Tips for Preserving Your Tesla's Clear Coat Finish

Maintaining your Tesla’s clear coat finish is essential to preserving its sleek and protective layer. Regular washing and detailing are crucial steps in this process. Use a dedicated Tesla car wash or hand-wash your vehicle with mild, pH-balanced shampoo and deionized water to avoid damaging the paint. After washing, carefully dry the car using microfiber towels to prevent water spots.
Additionally, protecting your Tesla from environmental factors is vital. Park it in a garage whenever possible to shield it from direct sunlight, extreme temperatures, and harsh chemicals. Consider applying a high-quality wax or sealant every 6 months to create a protective barrier against dirt, debris, and UV rays. Regular tire services and maintenance are also important, as proper tire pressure and condition contribute to overall vehicle care, ensuring your Tesla’s clear coat remains intact and vibrant for years to come.
Tesla clear coat restoration is a valuable process that ensures your vehicle’s exterior remains protected and vibrant. By following a meticulous step-by-step guide and utilizing OEM-approved products, you can achieve a factory-like finish. Regular maintenance is key to preserving this protective layer, ensuring your Tesla retains its stunning clear coat finish for years to come. Remember, proper care enhances the overall aesthetics and value of your vehicle.