

To prepare for clear coat repair, thoroughly clean and dry the damaged surface, inspect for misalignments or further damage, and follow auto body painting techniques for a seamless finish. Before starting any repair, evaluate cracks, scratches, weather conditions, and previous repairs to ensure comprehensive addressing. After successful repair, prevent future damage through meticulous cleaning and decontamination of the area using specialized products to maintain optimal adhesion and integrity of the bodywork services.
After a clear coat repair, preventing future damage is key to maintaining your vehicle’s aesthetics. This comprehensive guide walks you through essential steps post-repair to ensure long-lasting results. We’ll start with assessing the initial damage and preparing the surface meticulously. Then, we’ll delve into the art of clear coat repair, including choosing the right match and mastering application techniques. Finally, discover effective maintenance and protection strategies to safeguard your repaired area from future damage, ensuring a vibrant finish for years to come.
- Assessing the Damage and Preparing the Surface
- – Inspecting the damaged area thoroughly
- – Cleaning and decontaminating the surface
Assessing the Damage and Preparing the Surface

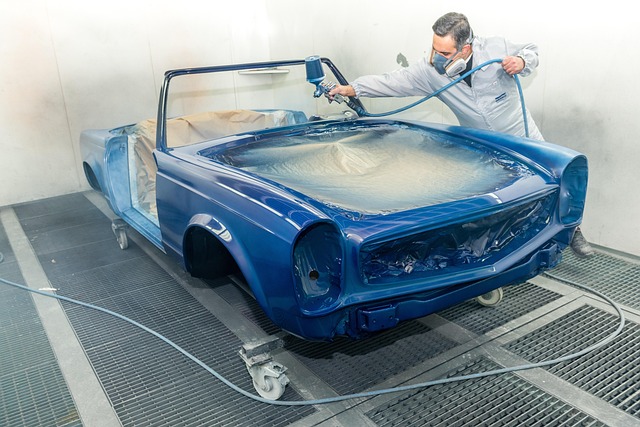
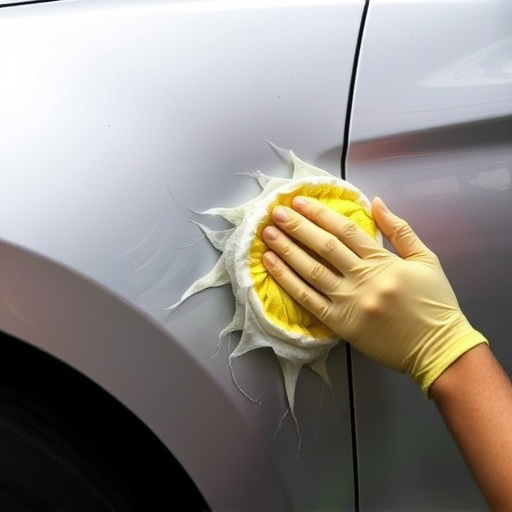
After identifying the extent of the damage, the next crucial step is preparing the surface for clear coat repair. This involves a thorough cleaning to remove any dirt, grease, or loose debris from the affected area. A mild detergent and water solution, along with a soft cloth or sponge, should be used to ensure no residue remains. Once cleaned, dry the surface completely to prevent water spots that could compromise the bond between the new clear coat and the existing paint.
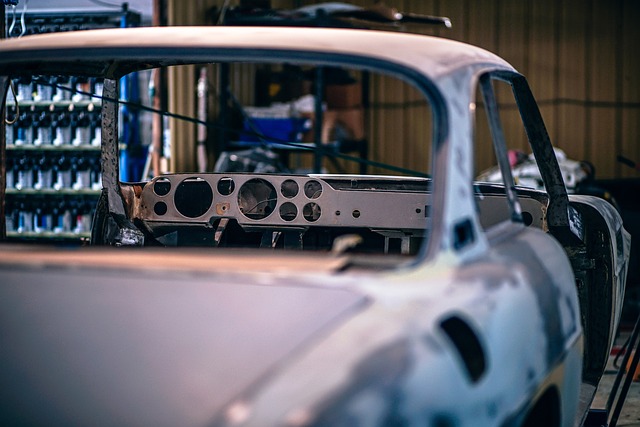
Before applying any repair, inspect the frame for any misalignments or damages beyond the clear coat. If necessary, proceed with frame straightening or bumper repair to ensure a solid foundation. Auto body painting techniques should be employed to match the original finish seamlessly. Proper surface preparation is key to achieving a durable and aesthetically pleasing result after clear coat repair.
– Inspecting the damaged area thoroughly
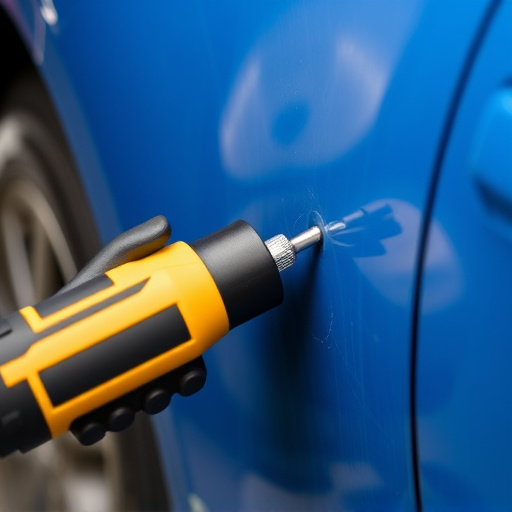
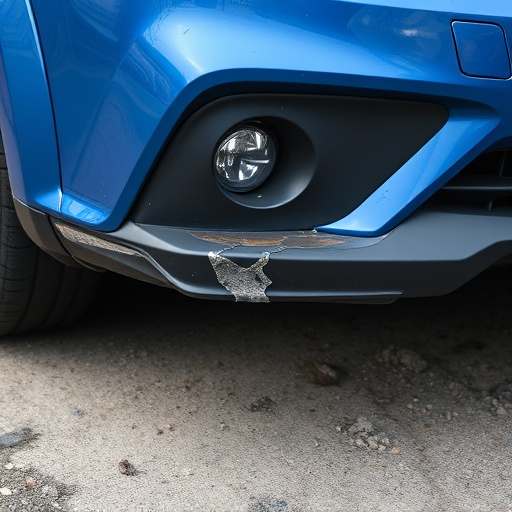
Before beginning any clear coat repair, it’s crucial to thoroughly inspect the damaged area. This involves closely examining the surface for cracks, scratches, or other imperfections that require attention. During this process, pay close attention to details like the depth of the damage and its extent—is it confined to a small area or does it cover a significant portion of the vehicle? Understanding these aspects is key to determining the appropriate repair approach.
Additionally, consider factors such as weather conditions and previous repairs in your evaluation. For instance, moisture or extreme temperatures can impact the clarity and integrity of the clear coat. Similarly, if the damage is near previous repairs, assessing whether those areas have held up well over time is essential. This meticulous inspection ensures that you address the issue comprehensively, preventing future damage and ensuring a smooth, long-lasting repair.
– Cleaning and decontaminating the surface
After successfully completing clear coat repair on your vehicle’s damaged area, the next step is to ensure that future damage prevention strategies are implemented to maintain the integrity of the newly repaired surface. The first line of defense begins with meticulous cleaning and decontamination of the worked-on area. This process involves using specialized solvents and detergents to remove any dirt, grease, or residual compounds from the clear coat and underlying surfaces. Proper degreasers help eliminate contaminants that can interfere with bond strength during future repairs.
A clean surface is crucial for achieving optimal adhesion when applying touch-up coatings or fresh clear coats. Auto body shops skilled in fender repair understand the importance of this step, as it lays the groundwork for long-lasting results. By decontaminating the area, you prevent stains from seeping through and damaging the newly restored clear coat, ensuring your car’s bodywork services remain protected and visually appealing.
After diligently assessing, cleaning, and preparing the damaged area for clear coat repair, you’ve taken significant steps to prevent future damage. Regular maintenance, including washing and waxing, will enhance protection. Remember, a thorough understanding of clear coat repair techniques and proper surface preparation is key to achieving long-lasting results and preserving your vehicle’s aesthetics.