


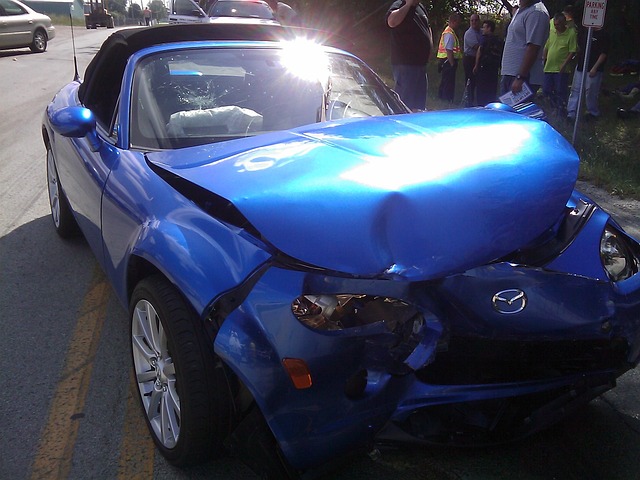
The Tesla Impact Sensor is vital for collision response, triggering safety features during accidents. Malfunctioning or damaged sensors cause error lights and require DIY replacement using specific tools. Post-replacement, reset the error light via OBD-II port to ensure optimal performance. Regular maintenance and timely sensor replacement prevent future issues related to accident damage. Consult a professional mechanic for stubborn post-replacement problems.
Tesla owners often encounter an error light, indicating a potential issue with their vehicle’s safety systems. One common culprit is the impact sensor, responsible for detecting collisions and deploying airbags. This article guides you through the process of replacing a faulty Tesla impact sensor, offering a step-by-step tutorial complete with post-replacement troubleshooting tips. Learn how to reset the error light and ensure your Tesla’s advanced safety features function optimally.
- Understanding Tesla's Impact Sensor and its Functionality
- Step-by-Step Guide to Replacing the Impact Sensor
- Post-Replacement: Resetting the Error Light and Common Troubleshooting Tips
Understanding Tesla's Impact Sensor and its Functionality

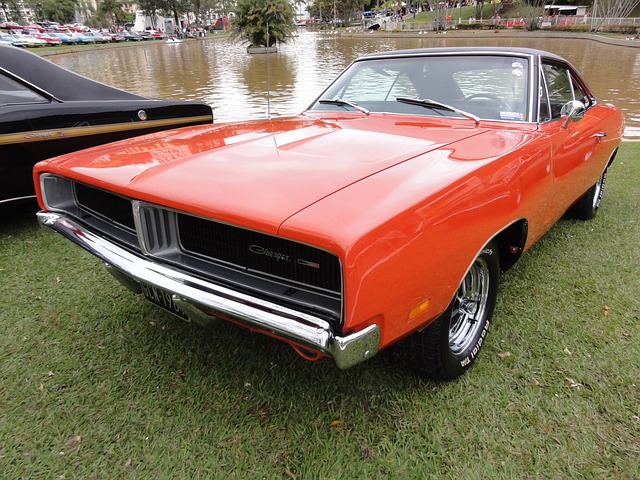
The Tesla Impact Sensor is a crucial component in the vehicle’s safety system, designed to detect and respond to collisions or impacts. This advanced sensor plays a vital role in triggering the appropriate safety measures, such as deploying airbags and locking the doors during an accident. It continuously monitors the car for any sudden changes in force or movement, acting as the first line of defense in protecting occupants. In the event of a collision, it sends signals to the vehicle’s control unit, initiating the emergency response protocol.
Understanding how this sensor functions is essential when considering a Tesla impact sensor replacement. These sensors are typically located near the front and rear bumpers or in other strategic areas around the car. They can detect various types of impacts, including frontal crashes, rear-end collisions, and even side-impact incidents. A malfunction or damage to the sensor can result in an error light indicating a problem with the vehicle’s airbag system. Resetting this error often involves replacing the faulty sensor, ensuring proper functioning for the safety and peace of mind of Tesla owners.
Step-by-Step Guide to Replacing the Impact Sensor

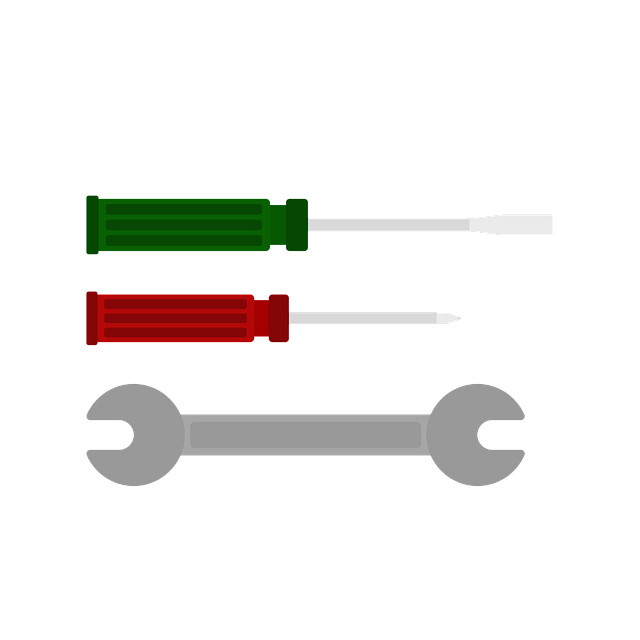
Replacing a Tesla impact sensor is a crucial process for car owners who want to resolve error light issues in their vehicles. Here’s a step-by-step guide to help you through it. First, gather the necessary tools and materials, which include a new impact sensor compatible with your Tesla model, a screwdriver set, and protective gloves. Park your Tesla on a level surface and engage park brake for safety during the repair. Next, locate the impact sensor, usually found near the driver’s side door or in the front end of the vehicle. Using your tools, carefully remove the existing sensor by unscrewing any securing bolts or brackets. Once removed, inspect the sensor for any signs of damage and replace it with the new one, ensuring proper alignment and secure attachment. After replacing the sensor, start your Tesla and check if the error light is gone, confirming a successful replacement.
For a seamless auto frame repair process, ensure all tools are properly stored after use, maintaining order in your car body repair kit. Remember, accurate installation of a new Tesla impact sensor could prevent future problems related to accident damage or minor fender benders, making it an important part of regular vehicle maintenance.
Post-Replacement: Resetting the Error Light and Common Troubleshooting Tips
After successfully replacing your Tesla’s impact sensor, resetting the error light is a crucial step to ensure optimal performance. This process involves several simple procedures that car enthusiasts and even DIYers can accomplish with ease. First, locate the vehicle’s computer system or OBD-II port, typically found under the dashboard or steering wheel column. Connect a suitable diagnostic tool to this port and follow the on-screen instructions to reset the sensor and related error codes.
Common issues that may arise post-replacement include persistent error lights or unusual driving behavior. If the error light remains lit, double-check the new sensor’s placement and connections. Ensure that all hardware is securely fastened and aligned with the vehicle’s bodywork. For stubborn cases, consult a professional mechanic who can perform advanced diagnostics on your Tesla’s complex systems, including the impact sensors and their intricate integration with the car’s overall electronics and auto dent repair capabilities.
Tesla’s Impact Sensor plays a crucial role in ensuring vehicle safety, and its proper functioning is essential for error light management. By following the detailed step-by-step guide provided, car owners can successfully replace their faulty sensors, reset the error light, and prevent future issues. This DIY process empowers Tesla folks to take control of their vehicle maintenance, saving time and costs associated with professional servicing. For any remaining concerns, the included troubleshooting tips offer a comprehensive reference for a seamless Tesla impact sensor replacement experience.