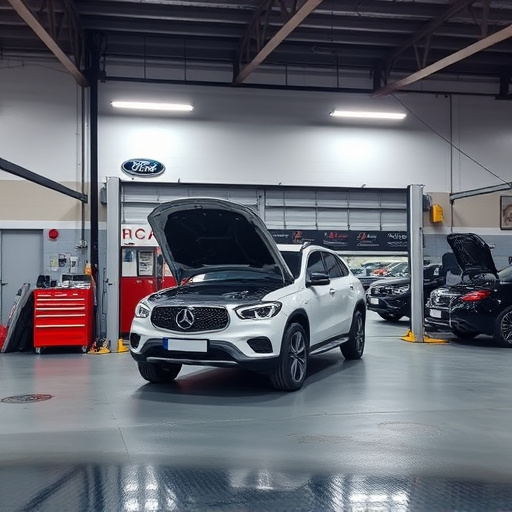


Quarter panel dent repair is a crucial skill for maintaining vehicle aesthetics and value. DIY methods are suitable for minor dents using tools like plastic hammers and putty knives, but deeper damage may require professional collision repair techniques. Before attempting any repair, assess the extent of the dent and gather the right tools and materials, including pry bars, air compressors, paint repair kits, safety gear, sandpaper, degreaser, applicators, a heat gun, and a putty knife. This guide provides a step-by-step process: prepare the area, clean and wax, use a dent puller to gently push out the dent, apply body filler, sand and dust off, prime, and match paint for a professional finish.
Are you tired of that unsightly dent in your vehicle’s quarter panel? Learn how to fix it yourself with our comprehensive guide on quarter panel dent repair. This DIY tutorial covers everything from understanding the basics of auto body repairs to mastering techniques and tools needed for a successful project. By following these easy steps, you’ll not only save money but also gain valuable skills. Get ready to transform your car’s appearance!
- Understanding Quarter Panel Dent Repair: The Basics
- Tools and Materials Needed for DIY Quarter Panel Dent Repair
- Step-by-Step Guide to Fixing a Quarter Panel Dent Yourself
Understanding Quarter Panel Dent Repair: The Basics
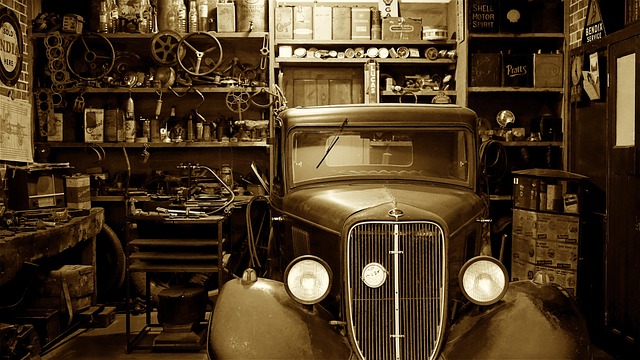
Quarter panel dent repair is a crucial skill in the realm of automotive repair and vehicle restoration. It involves fixing dents or dings on the quarter panels—the curved panels that make up the sides of a car, typically from door edge to wheel arch. These dents can range from minor cosmetic issues to more severe damage that affects the structural integrity of the vehicle.
The process encompasses several DIY tips and techniques. For minor dents, a simple process using specialized tools like plastic hammers and putty knives can effectively remove the deformity while ensuring the paint job remains intact. However, for deeper or complex damages, auto collision repair methods might be required, involving steps such as drilling out metal, using body filling compounds, and meticulously sanding to achieve a seamless finish. Understanding the extent of the damage is key before attempting any quarter panel dent repair, whether it’s a DIY project or one entrusted to professionals in an automotive shop.
Tools and Materials Needed for DIY Quarter Panel Dent Repair
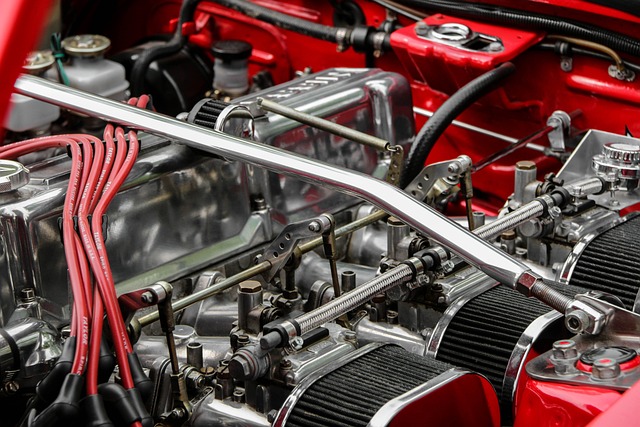
Before tackling any DIY quarter panel dent repair, it’s crucial to gather the right tools and materials. For this task, you’ll need a variety of items to ensure effective and precise results. At the core, you’ll require a set of specialized dents removal tools such as pry bars, claw hammers, and air compressors for more complex dents. Additionally, a kit for vehicle paint repair will be essential, including paint, primer, and clear coat tailored to your car’s color.
Don’t overlook safety gear: protective glasses and gloves are non-negotiable. You’ll also need sandpaper with varying grits, a degreaser for surface preparation, and an applicator for the paint and primer. In some cases, a putty knife might be handy for filling larger dents, while a heat gun can aid in shrinking the size of deeper indentations before painting. Remember, having these tools readily available will significantly streamline your quarter panel dent repair process, turning it from a daunting task to a manageable DIY project.
Step-by-Step Guide to Fixing a Quarter Panel Dent Yourself
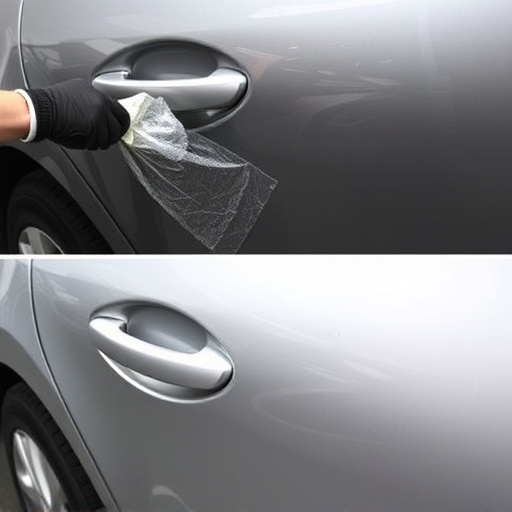
Fixing a quarter panel dent yourself can seem daunting, but with the right tools and techniques, it’s achievable. Here’s a step-by-step guide to help you tackle this auto collision repair project. First, gather your materials: a dent puller or striker, rubber mallet, cloth, and a can of automotive paint that matches your vehicle’s color. Begin by cleaning the dented area thoroughly with water and soap to ensure optimal adhesion for the paint job. Once dry, use the cloth to apply a thin layer of car wax, which will protect the surface during the repair process.
Next, position the dent puller or striker behind the dent, aligning it carefully. Apply gentle but firm pressure, using the rubber mallet if needed, to pop the dent back into place. Be patient and work slowly to avoid damaging the surrounding panel. After the dent is corrected, use a putty knife to apply a thin layer of body filler along the dent’s edge, smoothing it out evenly. Let the filler dry completely according to the manufacturer’s instructions. Once hard, sand the area gently with fine-grit sandpaper until smooth, then wipe away any dust with a damp cloth. Finally, prime and paint the repaired area, matching the vehicle’s original color as closely as possible, ensuring a professional-looking vehicle restoration.
Fixing a quarter panel dent yourself can be a cost-effective and empowering experience. By understanding the basics, gathering the right tools and materials, and following a step-by-step guide, you can successfully restore your vehicle’s exterior to its pre-dent condition. Remember, while DIY methods offer benefits, for more complex dents or if you’re unsure, seeking professional assistance is always an option. With these DIY tips and techniques, you’re well on your way to mastering quarter panel dent repair.