


Flexible bumper repair is a cost-effective solution for auto owners to fix damaged bumpers caused by minor collisions, road hazards, and UV exposure. Common tools and materials include hammers, pry bars, putty knives, auto body filler, sandpaper, primer, and matching paint. Preparation involves removing debris, applying filler, sanding, priming, and painting for a seamless, durable repair that enhances both aesthetics and safety.
Flexible bumper repairs are a practical and cost-effective solution for damaged vehicle bumpers. This guide will walk you through the process of fixing your own flexible bumper, focusing on common issues and DIY techniques. Understanding the causes of flexible bumper damage is key to preventing future problems. By gathering the right tools and materials, you’ll be equipped to make precise repairs and restore your bumper’s integrity. Let’s dive into the step-by-step guide, empowering you with the skills to tackle this repair project successfully.
- Understanding Flexible Bumper Damage and Its Causes
- Gathering Tools and Materials for the Repair
- Step-by-Step Guide to Flexible Bumper Repair: A DIY Approach
Understanding Flexible Bumper Damage and Its Causes
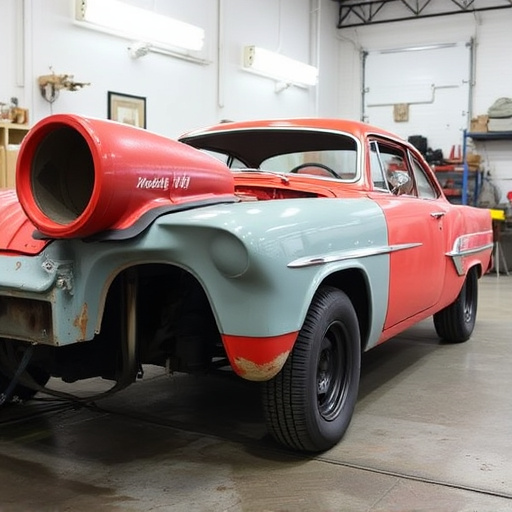
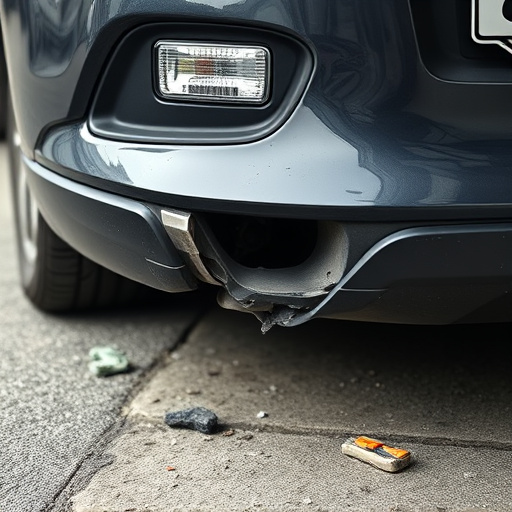
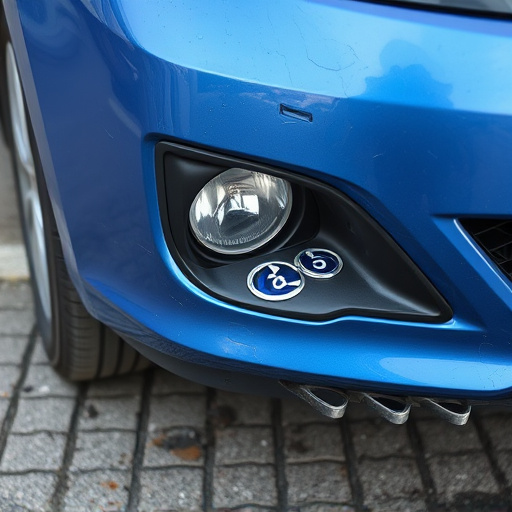
Bumpers are an essential component of a vehicle’s exterior, serving as a shield against minor collisions and road debris. However, they often bear the brunt of impacts, leading to damage that can range from small dents to significant deformities. Flexible bumper repair is a crucial aspect of auto maintenance, allowing for cost-effective solutions without full car restoration. Understanding the causes of flexible bumper damage is the first step in effective DIY fixes.
Common culprits include parking lot mishaps, road hazards like debris and potholes, and rear-end collisions. These incidents can cause buckling, crushing, or denting, particularly in vehicles with plastic or composite bumpers. Over time, exposure to UV rays and extreme temperatures can also weaken the material, making it more susceptible to damage. Proper flexible bumper repair not only restores the vehicle’s aesthetic appeal but also ensures optimal safety by maintaining the structural integrity of the car.
Gathering Tools and Materials for the Repair

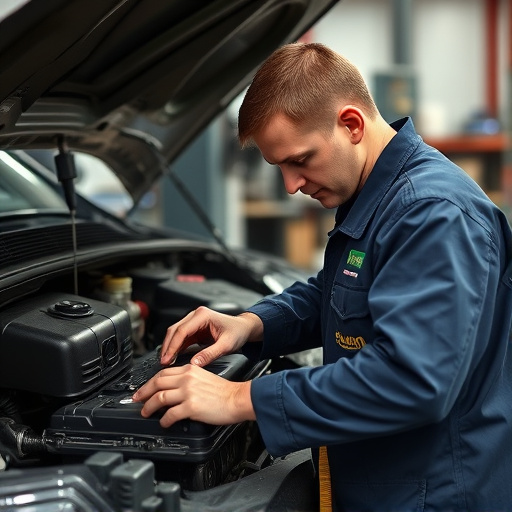
Before tackling any flexible bumper repair, it’s crucial to gather all necessary tools and materials. For most DIY repairs, you’ll need a set of basic automotive tools including jack stands, wrenches, screwdrivers, and pliers. Additionally, a frame straightening tool can be beneficial for severe cases where adjustments to the metal are required. Don’t forget protective gear like gloves and safety glasses.
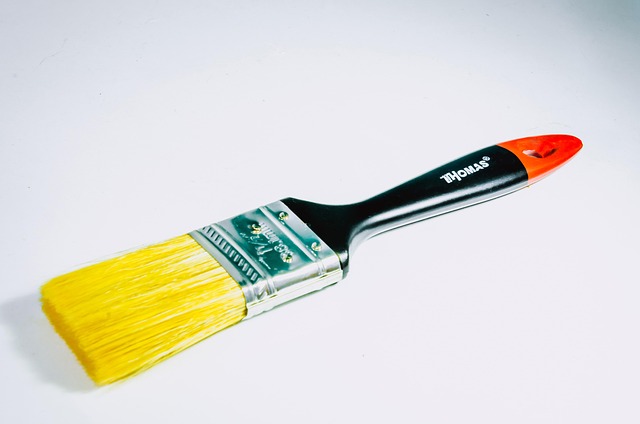
When it comes to materials, flexible bumper repair typically involves auto painting services. You’ll need high-quality car paint in the correct color, along with primer and clear coat. A spray gun or airbrush can make applying the paint evenly and accurately, while a suitable surface preparer ensures optimal adhesion. Remember, proper preparation is key to achieving a durable, professional-looking repair on your flexible bumper.
Step-by-Step Guide to Flexible Bumper Repair: A DIY Approach

Repairing a flexible bumper yourself can be a cost-effective and efficient solution for minor dents or damage. Before beginning, ensure you have the right tools and materials on hand. This includes a hammer, pry bar (or flathead screwdriver), putty knife, auto body filler, sandpaper, primer, and paint that matches your vehicle’s color. Start by removing any debris from the damaged area using the putty knife. Next, gently pry out the affected section of the bumper using the pry bar or a similar tool, taking care not to bend or deform surrounding parts. Once removed, clean the surface thoroughly to eliminate grease or grime that could affect adhesion.
After preparing the area, apply auto body filler along the edges and any visible gaps in the bumper. Smooth the filler with your putty knife until it’s even with the surrounding surface. Let the filler dry completely according to the manufacturer’s instructions. Once hard, lightly sand the repaired area using fine-grit sandpaper to ensure a smooth finish. Wipe down the surface to remove dust and debris. Apply a coat of primer designed for auto repair services, allowing it to dry evenly. Finally, paint over the primed area with your vehicle’s matching color, ensuring even coverage for a seamless flexible bumper repair that blends in seamlessly with the rest of your auto’s exterior.
Flexible bumper repair is a practical skill every vehicle owner should consider learning. By understanding common damage causes and following a simple, step-by-step guide, you can efficiently address minor to moderate bumper issues. Armed with the right tools and materials, DIY repairs not only save costs but also offer the satisfaction of maintaining your car’s aesthetic appeal. Remember, timely intervention is key to preventing further damage, so don’t hesitate to take on these flexible bumper repair projects whenever needed.