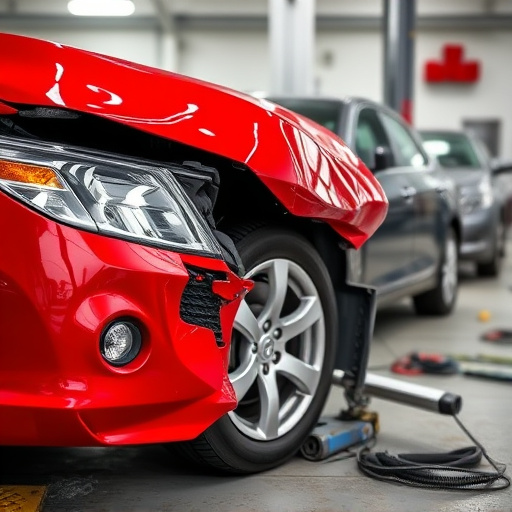


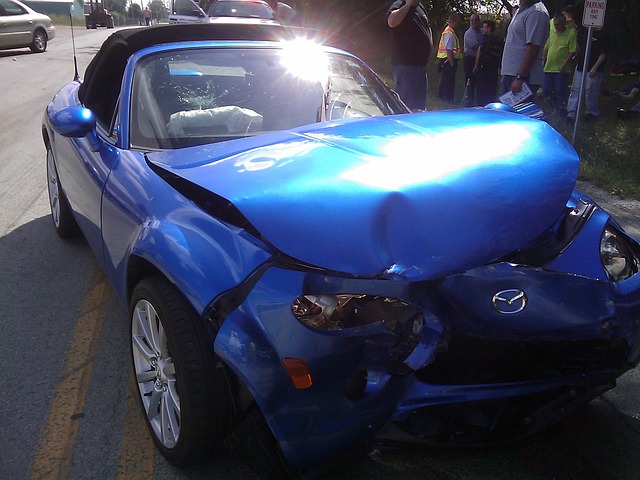
Taillights, essential for safe driving at night, rely on a complex electrical system. Regular maintenance, including checks for secure connections and fittings, is crucial to prevent malfunctions like flickering lights or burnt-out bulbs. After replacing taillights, conduct thorough inspections to ensure proper function, testing voltage levels, and checking for error codes via onboard diagnostics. Identifying issues early through vigilance can prevent costly repairs, accidents, and secondary damages requiring services like fender repair or car restoration.
After replacing your taillights, ensuring proper electrical functionality is crucial for safety. This guide walks you through the process of detecting potential issues. We’ll explore the basic electrical workings of taillights, offer step-by-step post-installation checks, and highlight common signs of problems. By following these steps, you can identify and address any electrical glitches, ensuring your vehicle’s lights function optimally for enhanced visibility on the road. Learn how to perform a thorough taillight repair replacement check today!
- Understanding Basic Electrical Functioning of Taillights
- Post-Replacement Installation Checks and Tests
- Recognizing Common Signs of Electrical Issues in Taillights
Understanding Basic Electrical Functioning of Taillights
Taillights, an essential component of a vehicle’s lighting system, serve as signal lights to convey important information behind your car. They play a crucial role in ensuring safe driving and visibility, especially during low-light conditions or nighttime driving. Understanding how they function is vital when it comes to detecting potential issues after a taillight repair or replacement.
The basic electrical setup involves a taillight assembly connected to the vehicle’s electrical system through wires and a circuit. When powered on, electricity flows through these wires, illuminating the taillights. Any disruption in this flow can lead to malfunctions, such as flickering lights, burnt-out bulbs, or complete failure of the taillights. Regularly checking for proper connections, examining the wiring for damage, and ensuring secure bulb fittings are fundamental steps in identifying and addressing electrical issues related to taillight repairs or replacements, best handled by a qualified collision repair center or auto body work shop.
Post-Replacement Installation Checks and Tests

After replacing your taillights, it’s crucial to perform thorough post-installation checks and tests to ensure they function correctly and safely. Start by inspecting the electrical connections; make sure all wires are securely plugged into their respective sockets. Look for any signs of damage or loose fittings that could cause arcing or short circuits. Next, test each light individually using a multimeter to confirm proper power supply and lighting output. Check for correct voltage levels at both the taillight and the fuse box to ensure there’s no discrepancy causing dimming or non-illumination.
Additionally, verify that the taillights are properly aligned and positioned within the car’s housing. Misalignment can lead to uneven light distribution and potential blindness for other drivers. If your vehicle offers self-diagnostic capabilities through an onboard computer, run a scan to check for any error codes related to the taillight system. Remember, even after successful installation, occasional checks can help identify subtle issues early on, saving you from more expensive auto body repair or even preventing accidents due to malfunctioning taillights, which could be a serious safety concern, especially when it involves car paint services and dent removal later due to secondary damage.
Recognizing Common Signs of Electrical Issues in Taillights

When it comes to identifying electrical issues with taillights after a replacement, being vigilant is key. One of the most common signs is a flickering or erratic light. This could indicate loose connections within the taillight assembly or an underlying problem with the electrical system. Another telltale sign is a complete failure to illuminate, which may suggest damaged wiring, a faulty fuse, or a disconnected power source.
Additionally, unusual heat buildup at the taillight housing can be a red flag, especially if accompanied by a burning smell. This could point towards an overloading circuit or a short-circuiting issue that requires immediate attention from a qualified auto repair shop. Regularly checking for these signs not only facilitates timely taillight repair replacement but also contributes to overall vehicle safety and roadworthiness, ensuring your car is in optimal condition for a smooth fender repair or car restoration.
After replacing your taillights, a thorough inspection is key to ensuring optimal safety on the road. By understanding basic electrical function and performing post-installation checks, you can quickly detect any issues with your new taillights. Look for common signs like flickering lights, dimming, or inoperability, as these may indicate problems with the electrical connections or components. Regular maintenance and prompt attention to potential electrical issues will help keep you and other drivers safe, ensuring a reliable lighting system for your vehicle’s tailend. Remember, a simple check can prevent more serious problems down the line, making taillight repair and replacement an important part of vehicle care.