


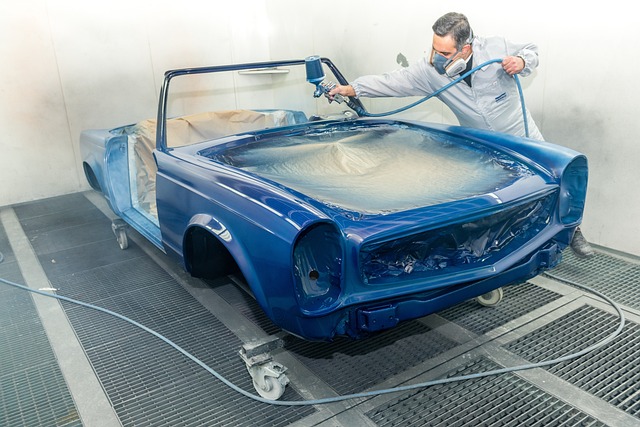
Cold weather poses unique challenges for vehicle owners, with paint chips becoming a common issue due to extreme temperatures, road salt, and windy conditions. Ignoring these chips can lead to more severe damage and higher repair costs. To address paint chips efficiently, prepare by gathering high-quality tools and materials, including a putty knife, sandpaper, primer, and matching paint. Use a dedicated auto glass or car bodywork repair kit for convenience. Assess the damage, clean the area, gently sand, fill with kit, prime, apply color-matched paint, and finish with a clear coat to protect and maintain auto bodywork aesthetics.
In cold weather, paint chips can be a common issue, leaving your vehicle’s finish looking damaged. Learn how to effectively tackle these unsightly imperfections with our comprehensive guide on paint chip repair. Understanding the causes of paint chips in freezing temperatures is key, followed by gathering the right tools and materials for successful restoration. Discover a step-by-step process to restore your vehicle’s smooth, seamless surface, ensuring it looks as good as new.
- Understanding Paint Chips and Their Causes in Cold Weather
- Gathering the Right Tools and Materials for Repair
- Step-by-Step Guide to Effective Paint Chip Repair
Understanding Paint Chips and Their Causes in Cold Weather

Paint chips are a common issue during cold weather, caused by various factors such as extreme temperature changes, road salt, and harsh wind conditions. These small fragments of paint can appear on vehicle bodies, leaving unsightly imperfections. Understanding the causes is the first step in addressing the problem effectively. In colder regions, the alternating freezing and thawing cycles cause the paint to weaken, leading to chipping. Additionally, road salt and other de-icing chemicals can accelerate corrosion, making vehicles more susceptible to paint damage.
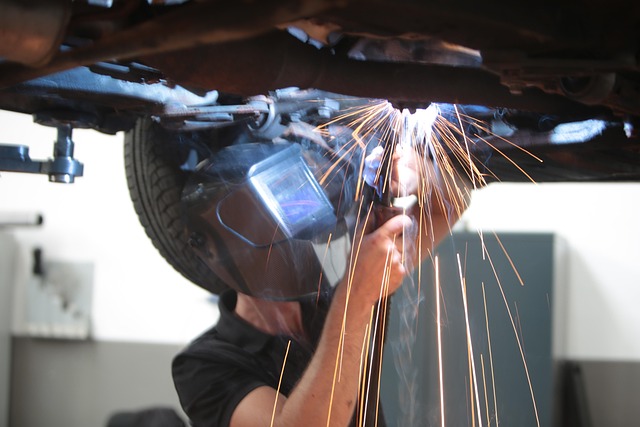
While it might be tempting to ignore small chips, especially during winter, prompt action is recommended for both aesthetic and structural reasons. Promptly addressing these issues with the right tools and techniques, such as paint chip repair kits, can prevent further damage. This is particularly important when considering vehicle body repair costs, which often rise in colder seasons due to increased demand and harsher environmental conditions that contribute to more extensive dents and scratches, including those requiring paintless dent repair or tire services.
Gathering the Right Tools and Materials for Repair
Before tackling paint chip repair, ensure you have all the necessary tools and materials at hand to achieve a professional result. This typically includes a putty knife for applying filler, sandpaper for smoothing, primer, and matching paint. Opting for high-quality products specifically designed for car bodywork will make the process easier and the final fix more durable. Remember, the key to successful paint chip repair is preparation and precision, so invest in tools that align with these requirements.
Gathering the right supplies can prevent delays and ensure your efforts are effective, especially during cold weather when temperatures can impact product performance. Consider a kit tailored for auto glass repair or car bodywork if you’re addressing larger chips to have all the essentials in one place. This strategic approach streamlines the repair process, allowing you to focus on fixing the chip rather than searching for missing materials while working outside in chilly conditions.
Step-by-Step Guide to Effective Paint Chip Repair

Applying paint chip repair in cold weather requires a bit of extra care and preparation. Here’s a step-by-step guide to ensure effective results, even when dealing with chilly temperatures.
First, assess the damage. Identify the size and depth of the paint chips missing from your car’s bodywork. For smaller chips, you can often fix them yourself using a dedicated paint chip repair kit. These kits typically include a primer, color-matched paint, and an applicator tool. Before beginning, ensure your workspace is well-ventilated to avoid inhaling toxic fumes from the paints and primers. Clean the affected area thoroughly with a degreasing solvent to remove any oil or grime that might interfere with adhesion. Sand the surface gently to create a rough texture that will help the new paint bond securely. Prime the area, allowing it to dry completely before applying the color-matched paint. Use the applicator tool to fill in the chip, pressing firmly for a smooth finish. Let this layer dry, then sand lightly to ensure an even surface. Finally, apply a coat of clear coat to protect the repair and match the surrounding finish—a crucial step in maintaining the overall aesthetic of your auto bodywork.
Repairing paint chips in cold weather is a simple process that can significantly enhance your vehicle’s appearance. By understanding the causes of these damage and gathering the right tools, you can effectively fix chips and prevent further deterioration. Following our step-by-step guide, you’ll be able to achieve professional results and keep your car looking its best even during the coldest months. Remember, timely action on paint chip repair is key to maintaining a flawless finish.