Mastering blending techniques is vital for high-quality mobile collision repair services, enabling technicians to seamlessly integrate repaired areas with existing panels, eliminating visible damage signs. Key steps involve preparation (setting up a clean workspace and gathering tools), dent removal & surface preparation (sanding and using drop cloths), primer application (sealing and protecting the area), blending paint application (using color-matched paint and blenders for invisible transitions), and final touches (inspecting and fine-tuning for imperfection-free results). Choosing the right tools, materials, and following these techniques ensures efficient, professional work, building customer trust in mobile collision repair solutions.
In the realm of mobile collision repair, achieving seamless results requires a mastery of blending techniques. This article delves into the art and science behind blending, guiding professionals towards optimal outcomes. We explore effective strategies for choosing tools and materials tailored to on-site repairs, ensuring efficiency and precision. Through a comprehensive step-by-step guide, you’ll discover how to master blending in diverse field settings, revolutionizing the way you approach collision repair.
- Understanding Blending Techniques for Optimal Results
- Choosing the Right Tools and Materials for Mobile Collision Repair
- Step-by-Step Guide to Effective Blending in Field Settings
Understanding Blending Techniques for Optimal Results

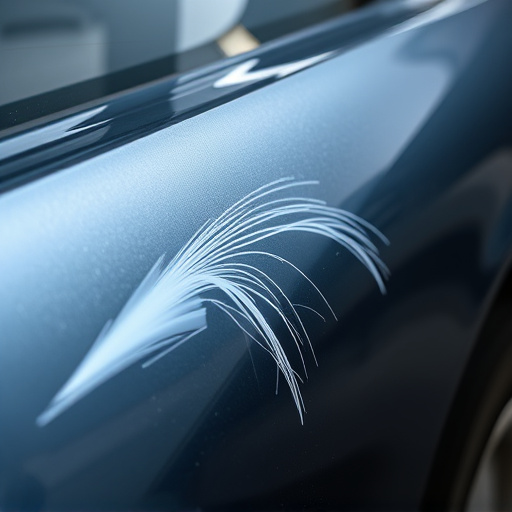
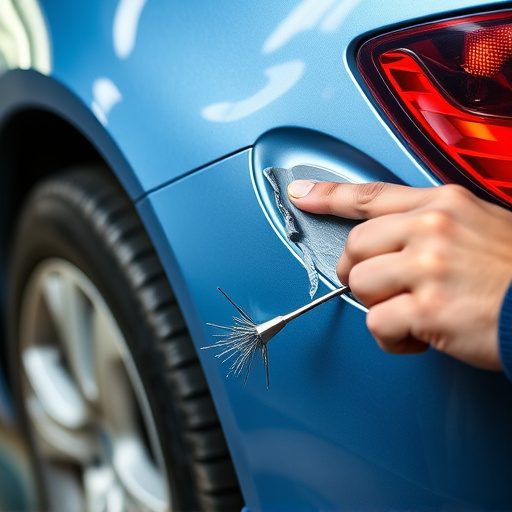
Mastering blending techniques is an art that significantly enhances the quality of mobile collision repair services. It involves seamlessly fusing repaired areas with existing panels and finishes, ensuring no visible evidence of damage remains. The process requires a keen eye for detail as technicians blend different materials and textures to create a flawless finish.
By employing advanced blending techniques, auto body work becomes more precise and efficient. This, in turn, reduces the time required for repairs while maintaining high standards. Whether it’s handling complex car collision repair or simple vehicle body repair, these skills are pivotal in delivering top-notch results that satisfy customers’ expectations for immaculate auto body work.
Choosing the Right Tools and Materials for Mobile Collision Repair

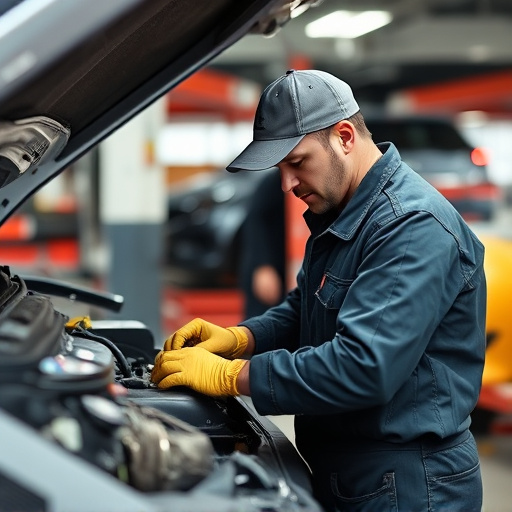
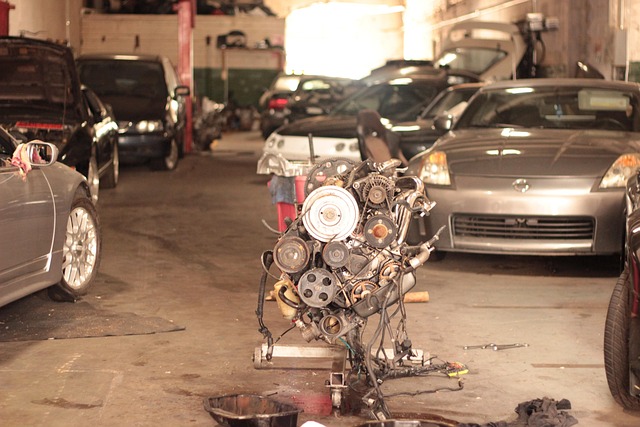
Selecting the appropriate tools and materials is a cornerstone of successful mobile collision repair services. Skilled technicians understand that different jobs require tailored equipment, from specialized hammers and dolly sets for auto frame repair to high-quality paints and applicators for precise blending techniques in tire services. Investing in top-tier tools ensures not only efficiency but also the achievement of professional results.
The right materials make all the difference in the final outcome. Blending techniques demand versatile, durable, and color-matched compounds that seamlessly integrate with existing vehicle surfaces. A well-stocked collision repair shop should include a range of options for auto frame repair and tire services, ensuring technicians are equipped to handle any incident, from minor dents to complex body work. This strategic approach not only enhances service quality but also builds customer trust in the mobility and reliability of their collision repair solutions.
Step-by-Step Guide to Effective Blending in Field Settings
When performing mobile collision repair services, blending techniques play a crucial role in achieving seamless vehicle body repairs right at the scene. Here’s a step-by-step guide to help professionals master this art:
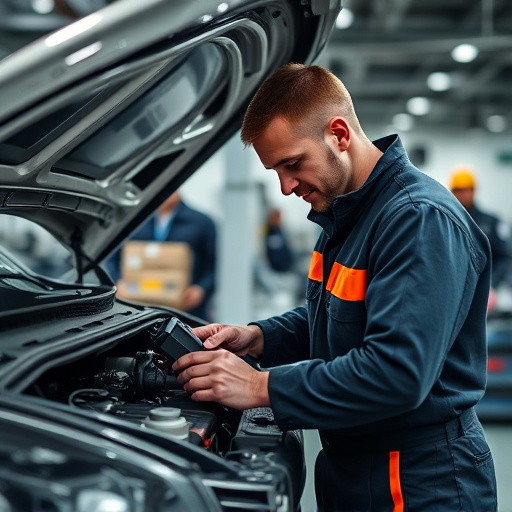
1. Preparation: Begin by ensuring your workspace is clean and well-lit. Gather all necessary tools, including the appropriate blenders, primers, paints, and sandpaper. Protect the surrounding area with drop cloths to avoid any accidental damage or mess.
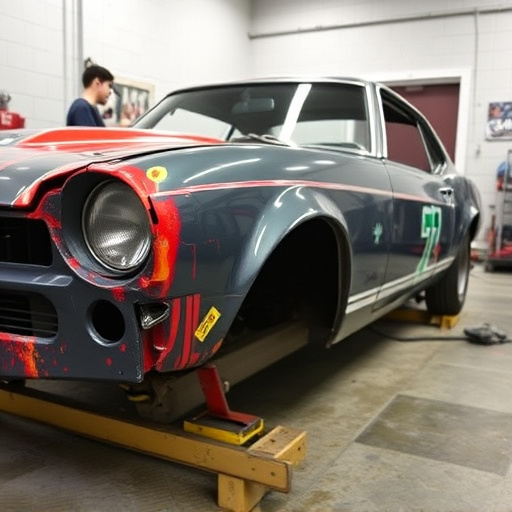
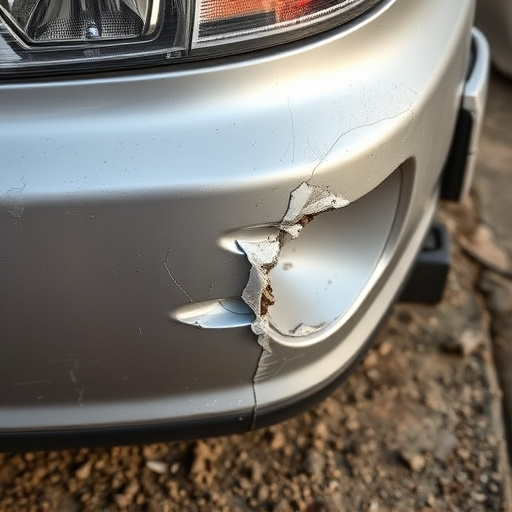
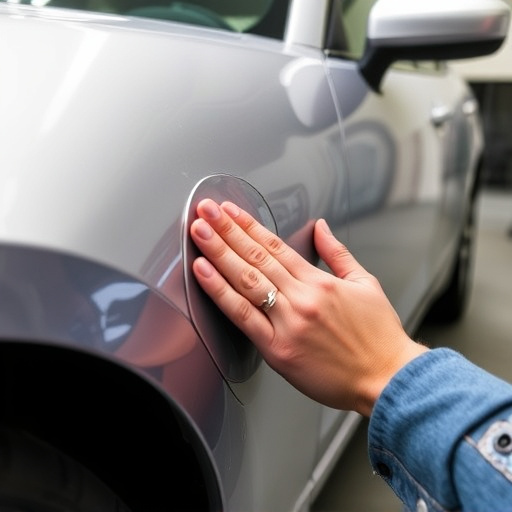
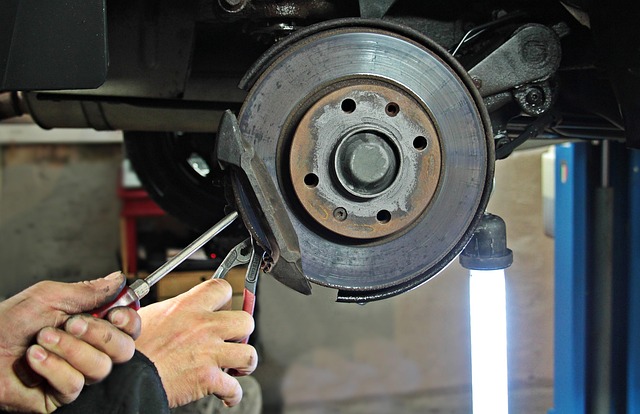
2. Dent Removal & Surface Preparation: Start by carefully removing any debris or loose parts from the damaged area using specialized tools. Next, gently sand the surface to create a smooth base for blending. Use progressively finer grits of sandpaper to achieve a seamless transition between the repaired area and the surrounding unharmed sections of the vehicle body.
3. Application of Primer: Prime the blended area with an appropriate primer designed for mobile repairs. This step helps to seal the surface, protect against rust, and ensure better paint adhesion. Allow the primer to dry completely according to the manufacturer’s instructions.
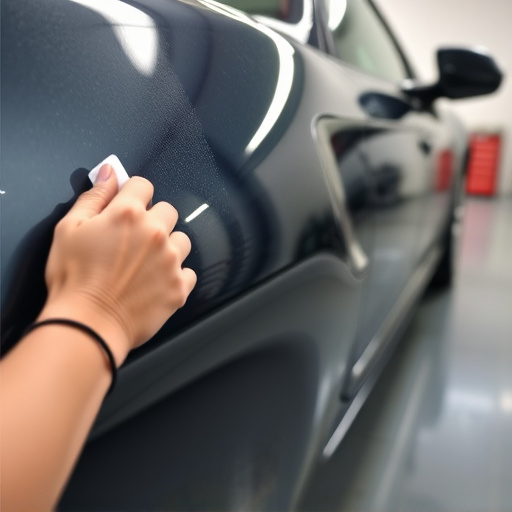
4. Blending Paint Application: Choose a color match paint that precisely replicates the vehicle’s original finish. Apply the paint in thin, even coats, allowing each layer to dry before adding the next. Use your blender to blend the edges of each coat seamlessly into the surrounding unpainted areas, creating an invisible transition.
5. Final Touches & Inspection: Once the final coat is applied and fully dried, inspect the blended area for any imperfections. Fine-tune as needed using a delicate touch with sandpaper and ensuring no visible traces of repair remain.
Blending techniques are a game-changer in mobile collision repair, offering both efficiency and precision. By understanding the optimal application of these methods, choosing the right tools and materials, and following a structured step-by-step guide, professionals can achieve exceptional results in field settings. Integrating advanced blending techniques into your mobile repair services ensures high-quality work that matches original equipment, enhancing customer satisfaction and setting your business apart in the competitive market.