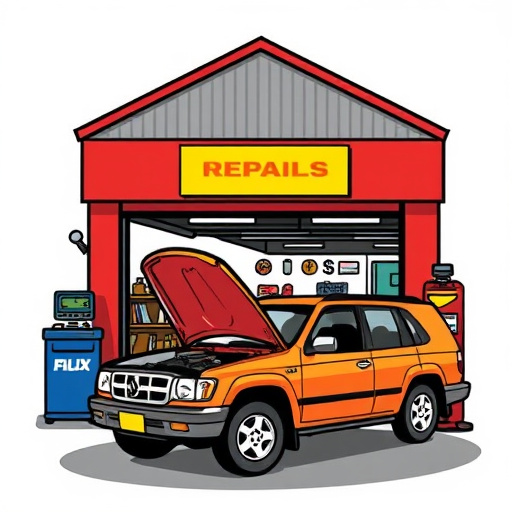
TL;DR: Accurate damage assessment is key for effective radiator collision repair, focusing on visible signs, structural integrity, and thorough cleaning. Common issues like dents, cracks, and corrosion require specific tools and techniques, from dent pullers to epoxy resin. Safety measures include jacking up the vehicle, detaching the damaged radiator, using paintless repair methods where possible, and ensuring secure connections during replacement. For severe cases, consult a professional auto collision center.
“Avoid common pitfalls in DIY radiator collision repair with our comprehensive guide. Learn how to identify and assess various types of damage, from dents and cracks to corrosion, and safely prepare your vehicle’s radiator for repair. We’ll walk you through mistakes to avoid during replacement and refinishing, ensuring strong bonds and proper drying times. Discover expert tips for final assembly, testing, and preventative maintenance to keep your radiator running smoothly and prolong its lifespan.”
- Assessing Damage and Preparing the Radiator for Repair
- – Identifying different types of radiator damage (dents, cracks, corrosion)
- – Safe removal of the damaged radiator from the vehicle
Assessing Damage and Preparing the Radiator for Repair
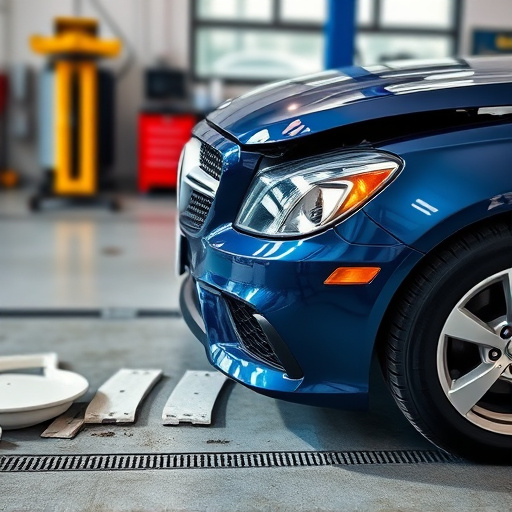
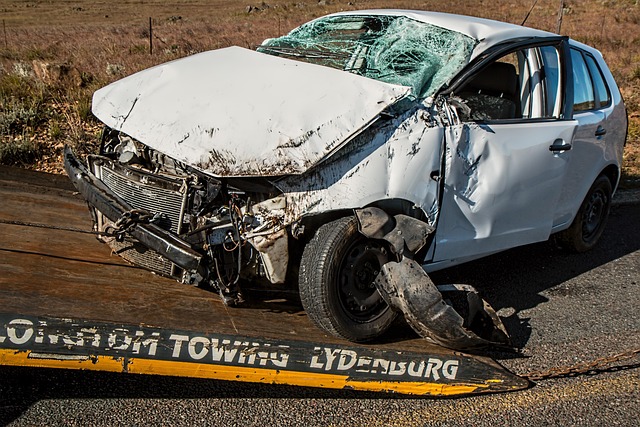
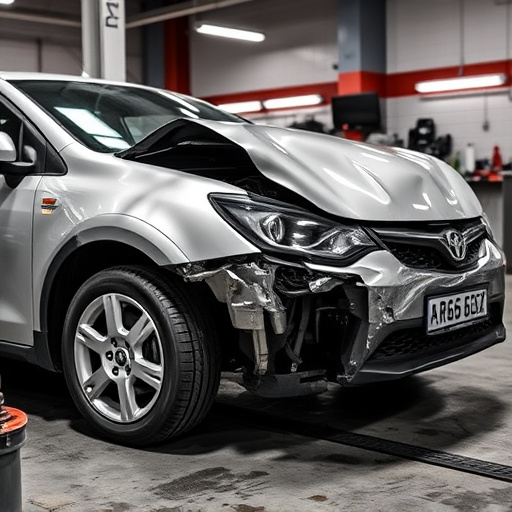
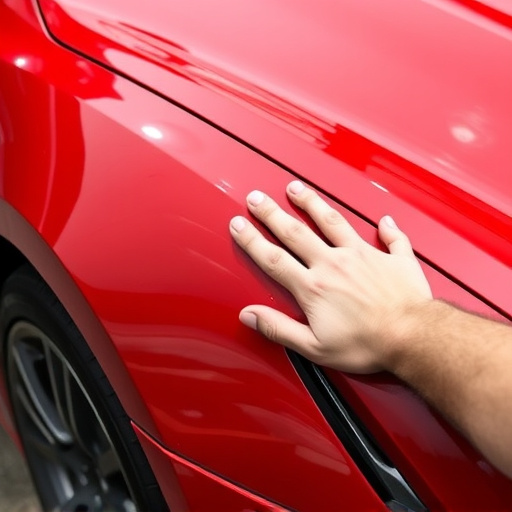
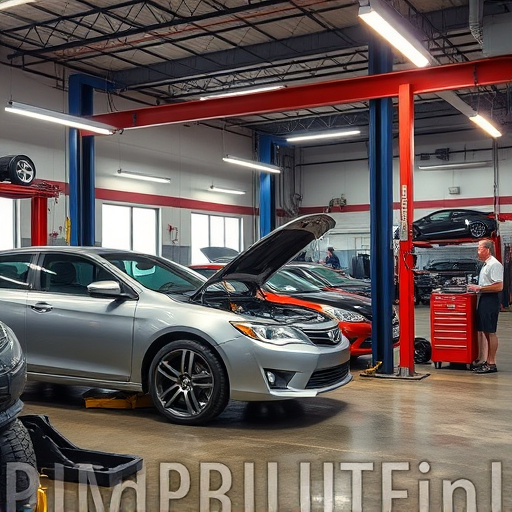
When dealing with a radiator collision repair, assessing the damage accurately is the first step to ensuring a successful fix. Start by inspecting the radiator for any visible signs of impact, such as dents, cracks, or leaks. Check for structural integrity, paying close attention to the cores and tubes, which are essential components. If there are severe damages, it might be best to consult a professional auto collision center for an expert opinion.
Before beginning the repair process, preparing the radiator is crucial. This involves cleaning the affected area thoroughly to remove any debris or dirt that may interfere with the repair. In some cases, minor bumper repair might be necessary to ensure a seamless fit and aesthetic appeal. Additionally, ensuring proper ventilation and using appropriate tools will make the preparation stage more efficient, leading to a higher-quality vehicle restoration outcome.
– Identifying different types of radiator damage (dents, cracks, corrosion)
When it comes to DIY radiator collision repair, the first step is identifying the type of damage. Common issues include dents, cracks, and corrosion—each requiring distinct approaches for effective vehicle collision repair. Dents, often caused by minor collisions or impact from debris, can usually be addressed with specialized tools and techniques like pounding or using dent pullers. Cracks, on the other hand, are more complex; they demand careful assessment to determine their severity. Small cracks might be repaired with epoxy resin, but larger ones may necessitate replacing entire sections.
Corrosion, a result of prolonged exposure to moisture or salt in the environment, poses unique challenges. Car paint repair techniques might be needed to cover smaller spots, while more extensive corrosion could require stripping and replating for a thorough radiator collision repair. Understanding these variations ensures that DIY enthusiasts approach their repairs thoughtfully, selecting appropriate methods like car dent repair kits or seeking professional guidance for intricate tasks such as vehicle collision repair.
– Safe removal of the damaged radiator from the vehicle

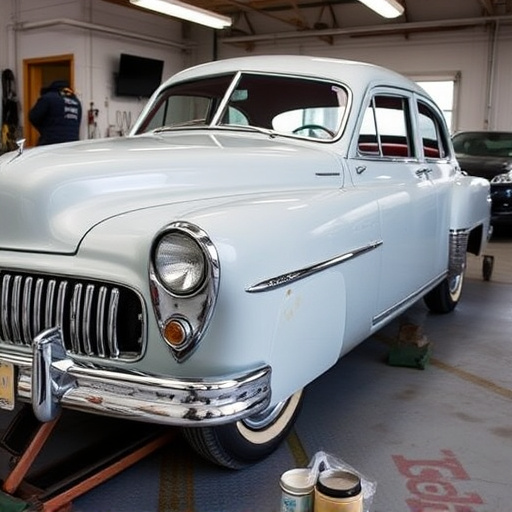
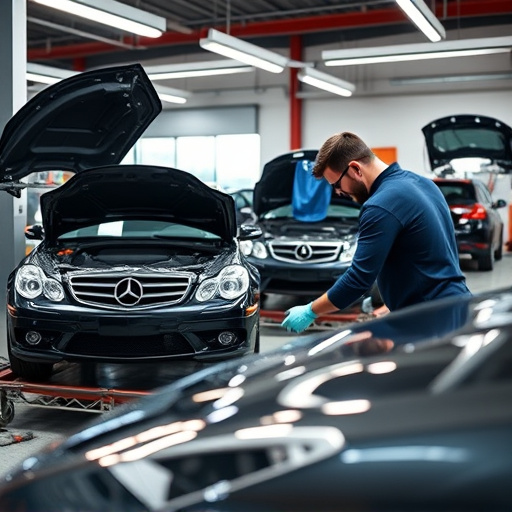
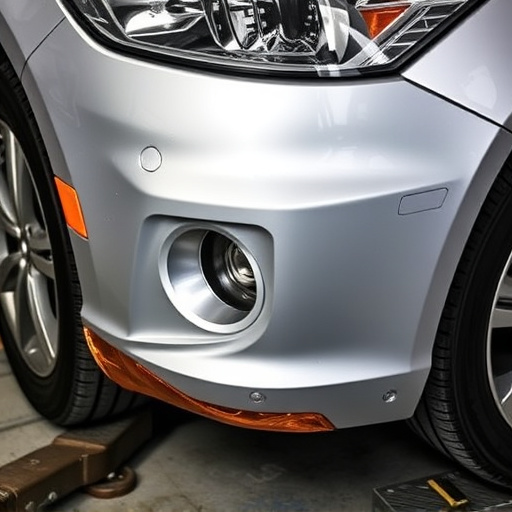
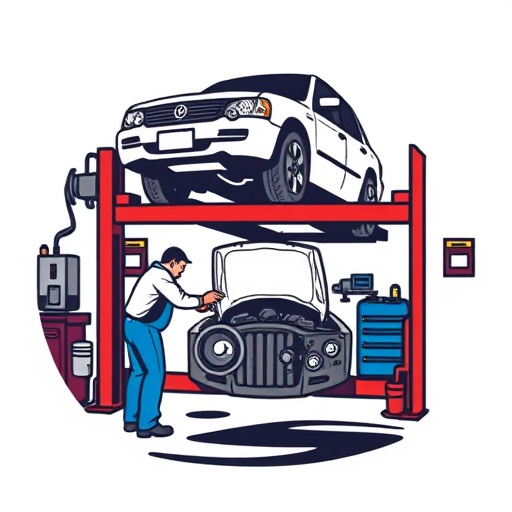
When dealing with a radiator collision repair, safely removing the damaged component from your vehicle is a critical first step. Always ensure proper safety measures are in place before beginning any repairs. This includes jacking up the car securely and supporting it with sturdy stands to prevent further damage or injury. With the vehicle stable, carefully unbolt and detach the radiator, taking note of its original positioning and connections. A gentle lift should be all that’s needed to remove it, but exercise caution, especially if there are leaks from the collision.
Many car body shops opt for paintless dent repair techniques when possible, as they’re less invasive and can preserve the vehicle’s original finish. However, in cases where significant damage has occurred or the radiator is beyond repair, replacement might be necessary. This involves acquiring a compatible, undamaged radiator—either new or used from a trusted supplier—and carefully installing it, making sure all connections are secure and aligned correctly.
When tackling DIY radiator collision repair, awareness of common pitfalls is key. From misidentifying damage types to neglecting proper preparation, these mistakes can lead to suboptimal results or even further vehicle damage. By understanding and avoiding these errors, you’ll be better equipped to navigate the process safely and effectively, ensuring a more successful radiator collision repair outcome.