


TL;DR:
Meticulous preparation, including ideal lighting, clutter-free spaces, and suitable equipment like high-quality cameras and stable mounts, is crucial for exceptional repair video documentation. This process streamlines auto shop procedures, enables global knowledge sharing among technicians, reduces downtime, and enhances overall equipment effectiveness via accessible, detailed visual guides. Strategic investments in specialized gear ensure crystal-clear footage of intricate tasks, like vehicle collision repairs or paintwork, ultimately improving the repair documentation experience.
Capturing detailed repair video documentation is essential for effectively communicating complex processes, ensuring quality control, and serving as a valuable training resource. This comprehensive guide outlines the critical steps involved in creating high-quality repair video documentation. From meticulous preparation—assessing the scope, gathering equipment, and planning shot lists—to meticulously documenting each step of the repair process and capturing close-ups of crucial components, this article provides a detailed roadmap. Post-production tips on editing, organizing, and storing footage ensure your documentation is clear, accessible, and secure.
- Preparation: Ensuring a Successful Video Documentation Session
- – Assessing the repair scope and identifying critical areas for documentation
- – Gathering necessary equipment: Cameras, lighting, microphones, and tripods
Preparation: Ensuring a Successful Video Documentation Session

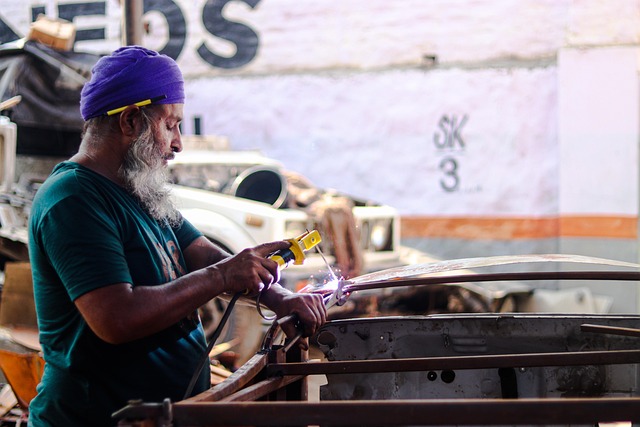
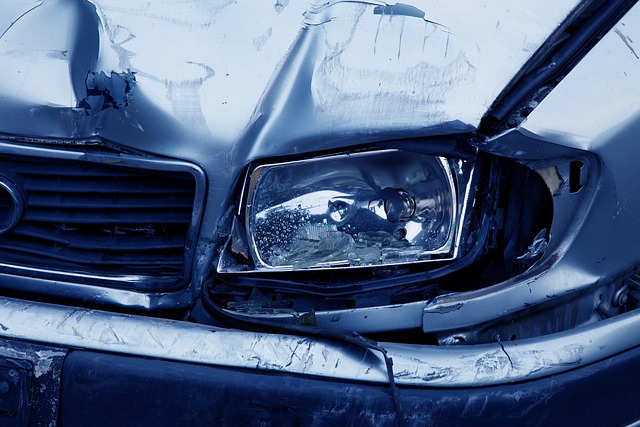
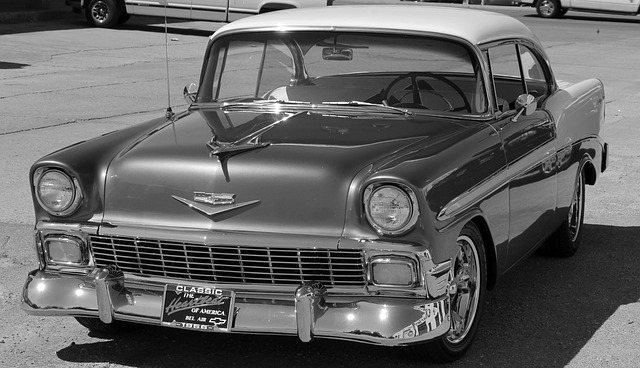
Before embarking on a repair video documentation session, thorough preparation is key to achieving high-quality results. Begin by assessing the area where the work will be filmed; ensure it’s well-lit and free from distractions or clutter. This step is crucial for maintaining focus throughout the process, especially when documenting intricate vehicle collision repair or auto repair shop procedures.
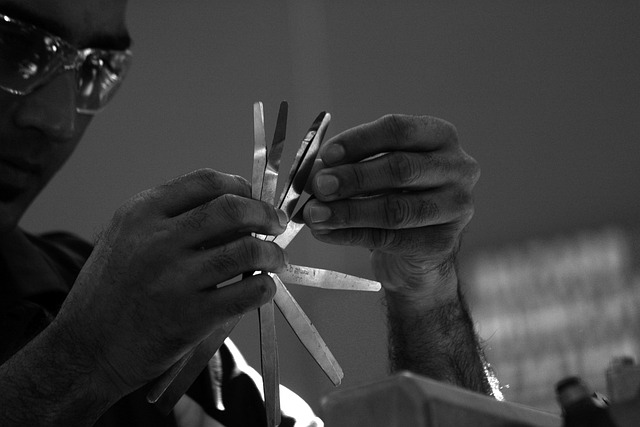
Gathering the right equipment is another vital aspect. Cameras with stable mounts are essential to capture clear footage of every step involved in the repair process, whether it’s meticulous vehicle paint repair or more complex mechanical tasks. Consider using multiple cameras for a comprehensive view, especially in tight spaces. Additionally, remember to test all equipment beforehand to avoid any technical glitches during the actual documentation session.
– Assessing the repair scope and identifying critical areas for documentation

– Gathering necessary equipment: Cameras, lighting, microphones, and tripods
Capturing high-quality repair video documentation requires an investment in the right equipment. At a minimum, you’ll need one or more cameras capable of recording clear, detailed footage, along with complementary lighting to ensure optimal visibility of the work area. Microphones are essential for recording audio descriptions and comments throughout the repair process, ensuring your final product is both informative and engaging. Tripods help stabilize the camera, resulting in steady footage that’s easier to watch and analyze later.
When preparing for any auto body repair, auto detailing, or vehicle paint repair project, consider the specific needs of the task at hand. For instance, if capturing close-up details of paintwork is crucial, invest in a macro lens for your camera. Adequate lighting, such as adjustable LED panels, can dramatically improve the quality of your footage by minimizing shadows and ensuring even illumination across the repair site.
Effectively capturing repair video documentation requires meticulous preparation and a strategic approach. By assessing the repair scope and gathering the right equipment, such as cameras, lighting, microphones, and tripods, you can ensure a successful session that provides detailed and useful footage. Repair video documentation is an invaluable tool for both professionals and clients, offering a clear and accurate record of the repair process, which can be referenced for future maintenance or dispute resolution.