
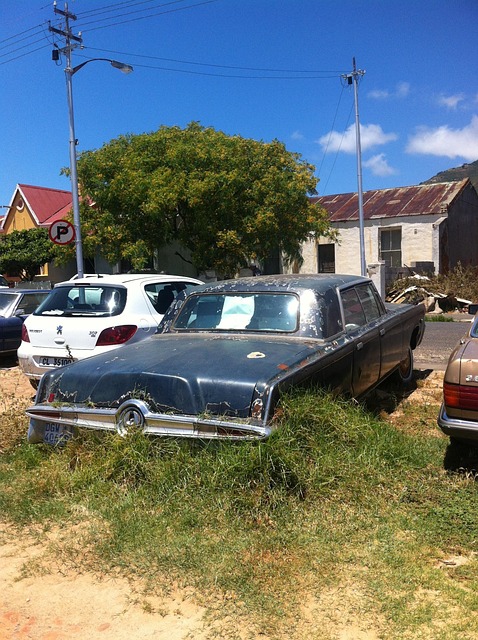

Tesla chrome trim damage, from scratches to breaks, often stems from accidents, weather, or improper cleaning. Prompt repair is key to maintaining aesthetics and vehicle value. Before attempting a fix, gather specialized tools and safety gear, and refer to repair manuals or tutorials. The process involves thorough cleaning, inspecting damage, using restorers or sanding, re-coating with clear coat for durability, and achieving a factory-like finish through meticulous work.
“Looking to revive your Tesla’s interior? Mastering a Tesla chrome trim repair is an essential skill for any car enthusiast. This guide delves into the process, addressing common damage causes and offering a comprehensive step-by-step restoration tutorial. From identifying issues like nicks, scratches, and pitting to gathering the right tools and materials, we’ll equip you with the knowledge to achieve a professional-looking repair. Whether you’re an owner or enthusiast, this guide ensures your Tesla’s chrome trim shines like new.”
- Understanding Tesla Chrome Trim Damage and Causes
- Gathering Tools and Materials for the Repair
- Step-by-Step Guide to Successful Chrome Trim Restoration
Understanding Tesla Chrome Trim Damage and Causes

Tesla Chrome Trim Damage and Causes
Chrome trim damage on Tesla vehicles can manifest in various forms, from minor scratches and dents to more severe deformities like bends or breaks. Several factors contribute to this issue, with one of the primary causes being automotive accidents or collisions, particularly involving bumper repairs. Even a slight impact can mar the delicate chrome finish, especially if the car’s bodywork services are not promptly addressed.
Another common cause is exposure to harsh weather conditions, such as extreme heat or cold, which can lead to structural changes in the metal trim over time. Additionally, improper cleaning techniques using abrasive materials or chemicals can also damage the chrome, leaving unsightly marks and scratches. Understanding these causes is crucial when it comes to performing a Tesla chrome trim repair effectively, ensuring that the vehicle’s aesthetic appeal and overall value are preserved.
Gathering Tools and Materials for the Repair
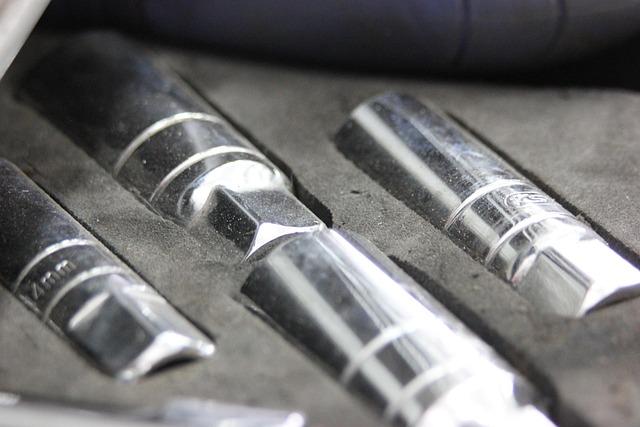
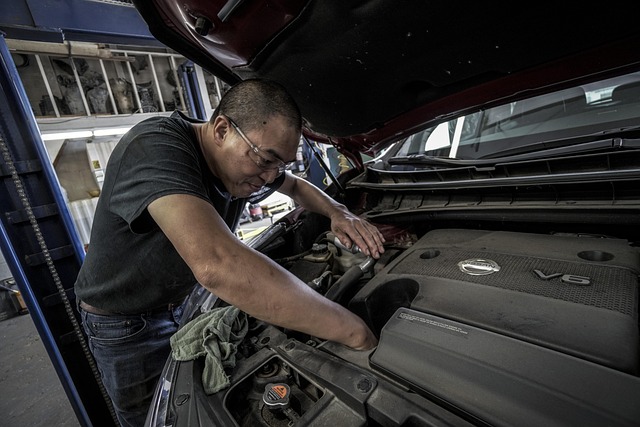
Before tackling a Tesla chrome trim repair, it’s essential to gather all necessary tools and materials. This includes a variety of specialized equipment designed for precise work on automotive trim pieces. For instance, you’ll need fine-grit sandpaper, isopropyl alcohol, and a microfiber cloth for cleaning and preparing the damaged area. Additionally, a chromed metal repair kit that contains filler, primer, and paint specific to Tesla vehicles will be crucial. These materials ensure a seamless finish that matches the car’s original chrome trim.
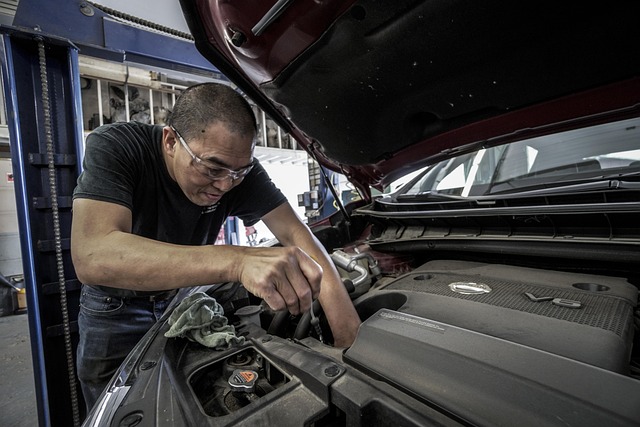
Another important aspect of the preparation phase is acquiring safety gear, such as gloves and eye protection. This safeguards both you and your work surface from harmful chemicals and debris. Moreover, considering the intricate nature of chrome trim repairs, having access to a detailed repair manual or online tutorials can be invaluable. With the right tools, materials, and guidance, even car enthusiasts without extensive auto maintenance experience can successfully perform a Tesla chrome trim repair.
Step-by-Step Guide to Successful Chrome Trim Restoration
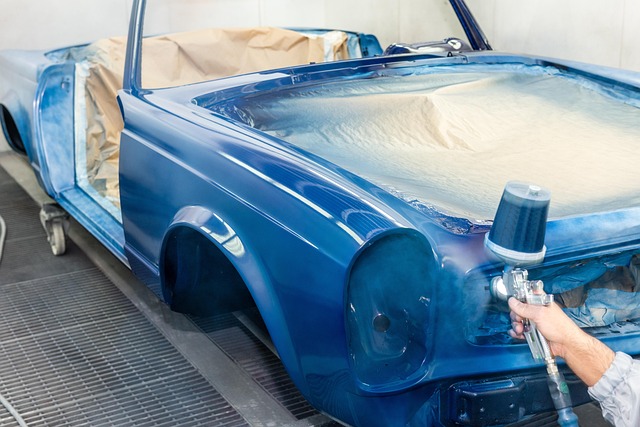
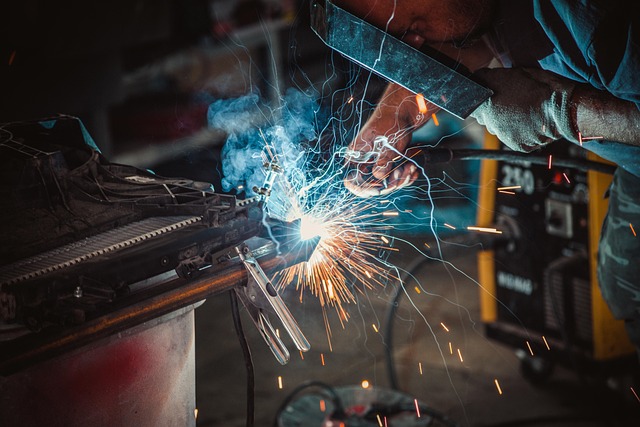
Performing a Tesla chrome trim repair requires careful consideration and the right techniques to ensure a professional result. Here’s a step-by-step guide for successful restoration of your vehicle’s chrome trim, especially if it’s been damaged due to normal wear and tear or an auto collision.
Start by thoroughly cleaning the chrome trim with a suitable cleaner designed for automotive use. Remove any dirt, dust, or debris that could impede the repair process. Next, inspect the damage carefully. If the chrome is chipped, cracked, or has lost its shine, you’ll need to decide whether a simple touch-up or a complete restoration is required. For minor scuffs and scratches, a specialized chrome restorer can be applied using a soft cloth or sponge. More extensive damage may require sanding the affected area gently with fine-grit sandpaper to create a smooth surface before applying a fresh coat of chrome paint or plating. After allowing the paint or plating to dry completely, add a protective clear coat to enhance durability and restore the trim’s lustre. Remember, proper preparation and attention to detail are key to achieving a factory-like finish that complements your Tesla’s overall aesthetic, making it look as good as new with the help of quality car repair services or even a dedicated auto collision center.
Performing a Tesla chrome trim repair requires understanding the damage, gathering the right tools, and following a meticulous process. By addressing chrome trim issues promptly, you can maintain your Tesla’s sleek aesthetic and prevent further deterioration. Remember, a well-executed repair can make all the difference in preserving your vehicle’s stunning exterior, ensuring it continues to turn heads on the road. For successful results, always refer to official Tesla guidelines and consider seeking professional advice if needed. With the right approach, you’ll have your Tesla’s chrome trim looking as good as new.