


Side window replacement requires careful preparation, specific tools (putty knife, sealant gun, brushes), compatible glass, and expertise for optimal results. While DIYers can attempt it, precision often demands professional collision repair services to prevent leaks, ensure functionality, and maintain passenger comfort. For successful DIY projects, meticulous planning, accurate measurements, high-quality windows, and regular inspections are crucial. Post-installation maintenance includes cleaning, sealing, and noting aesthetic and comfort improvements.
Looking to tackle a DIY side window replacement project? This comprehensive guide is your starting point. From understanding essential tools and materials to mastering the step-by-step installation process, we’ve got you covered. Learn the tricks for successful installation and maintenance tips to ensure your new window enhances your home’s comfort and beauty. Get ready to transform your space with this expert advice on side window replacement.
- Understanding Side Window Replacement: Essentials and Tools Required
- Step-by-Step Guide to Replacing a Side Window
- Tips for Successful Installation and Maintaining Your New Window
Understanding Side Window Replacement: Essentials and Tools Required

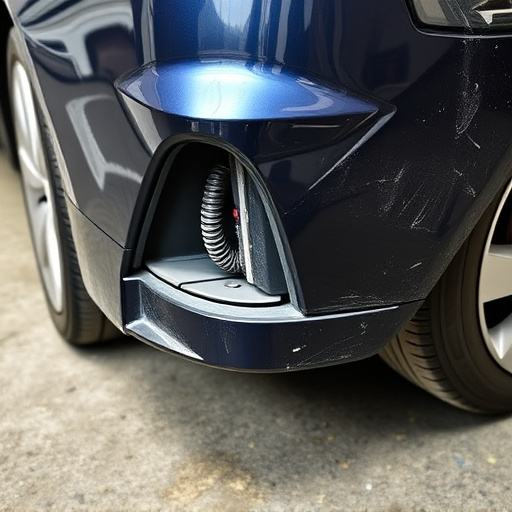
Side window replacement is a crucial task that involves careful planning and the right tools to ensure a successful outcome. Before beginning this project, it’s essential to understand the basics of side window replacement and gather all the necessary materials and equipment. This process typically requires a set of specialized tools, such as a putty knife for removing old sealing compounds, a new window sealant gun with compatible sealant, and a variety of brushes for cleaning and preparing the window frame. Additionally, you’ll need new side window glass that matches your vehicle’s specifications, including size, shape, and tinting if applicable.
While some individuals may attempt to tackle this task as a do-it-yourself (DIY) project, it often requires skills in automotive repair or collision repair services. The precision and knowledge involved in accurately measuring and installing new windows are vital to prevent leaks and ensure the window’s functionality and security. Moreover, mismatches in specifications can lead to issues with opening and closing, compromising both the vehicle’s performance and passenger comfort. Therefore, considering the complexity of side window replacement, many opt for professional collision repair services to guarantee a seamless fit and safe driving experience.
Step-by-Step Guide to Replacing a Side Window

Replacing a side window is a straightforward process that many car owners can handle themselves with the right tools and a few simple steps. First, gather your materials, including a new side window pane, weatherstripping, and any necessary hardware. Park your vehicle on a level surface, engage the parking brake, and open all doors to ensure easy access. Then, carefully remove the old window by unfastening the screws or clips holding it in place, being mindful of any electrical wires or sensors nearby.
Once the old window is out, install the new one by aligning it with the frame and securing it with fresh screws. Apply weatherstripping along the edges to ensure a tight seal against the elements, preventing water and air intrusion. Double-check all connections and make sure everything is securely fastened. With proper preparation and adherence to these steps, you’ll have successfully completed your side window replacement, enhancing both your vehicle’s aesthetics and functionality—a significant aspect of any collision repair or car restoration endeavor.
Tips for Successful Installation and Maintaining Your New Window

When undertaking a side window replacement project, whether for your home or vehicle (like after a car collision repair), meticulous planning and execution are key to a successful installation. Ensure all measurements are accurate to fit seamlessly, and choose a quality window that complements your space. Before installation, prepare the area by removing any furniture or obstacles, and clean the opening thoroughly to prevent debris from damaging the new window.
For optimal maintenance, regularly inspect your newly installed window for signs of damage or wear. Keep it clean and free from debris, using mild soap and water for washing. During winter, consider applying a weatherstripping seal around the perimeter to maintain warmth and prevent drafts. In a vehicle body shop, regular side window replacement and maintenance not only enhances the car’s aesthetics but also contributes to better air quality and overall driver comfort.
Replacing a side window can be a rewarding DIY project, offering improved energy efficiency and a fresh look for your home. By understanding the essentials, gathering the right tools, and following a simple step-by-step guide, you can successfully install a new side window and enjoy its benefits for years to come. Remember, proper installation and regular maintenance are key to ensuring your new window remains in top condition, enhancing both your home’s comfort and aesthetics.