


Evaluating and removing a hood dent requires specialized tools and knowledge. Assess dent size, shape, and material type (steel, aluminum, or composite) to choose the right repair method. DIY methods work for minor dents but complex cases may need professional tools like hydraulic presses. After successful removal, finish with polishing and sealing for optimal protection against future damage. Regular washing and secure parking further prevent hood dents.
“Uncover a flawless, dent-free front! This comprehensive guide is your go-to resource for navigating the process of hood dent removal. We demystify the steps from initial evaluation using essential tools for inspection to mastering various dent removal techniques—from simple pliers to professional gear. Learn the art of final touches and preventive measures for long-lasting results. By following these expert tips, you’ll restore your vehicle’s pride, ensuring a smooth, gleaming hood free from unsightly dents.”
- Evaluating the Hood Dent: Tools and Inspection
- Dents Removal Techniques: From Pliers to Professional Tools
- Final Touches and Prevention: Polishing and Long-Term Solutions
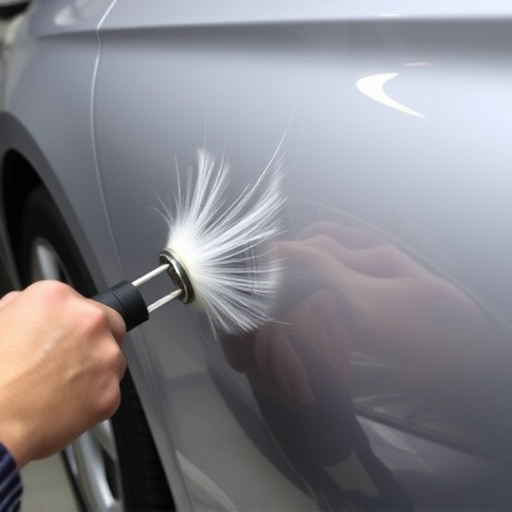
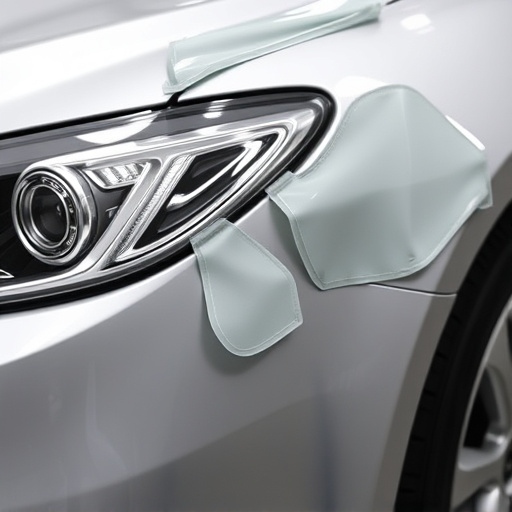
Evaluating the Hood Dent: Tools and Inspection

Evaluating a hood dent requires careful inspection using the right tools to determine the extent of the damage and the best course of action for removal. Start by inspecting the dent’s size, shape, and location on the vehicle. This initial assessment will guide your repair approach. Common tools used include torches, air compressors, hammers, and specialized dent removal tools designed for precise shaping and smoothing without damaging surrounding areas.
During inspection, consider the type of material in the hood—steel, aluminum, or composite—as this influences the chosen method. For instance, while a steel hood may require more forceful techniques like hammering or heat treatment, aluminum demands gentler approaches to avoid bending or warping. Tire services and vehicle collision repair experts often employ these methods, ensuring that bodywork is restored without compromising structural integrity.
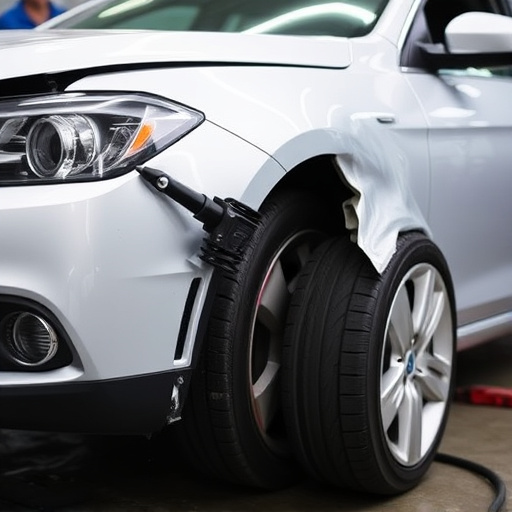
Dents Removal Techniques: From Pliers to Professional Tools

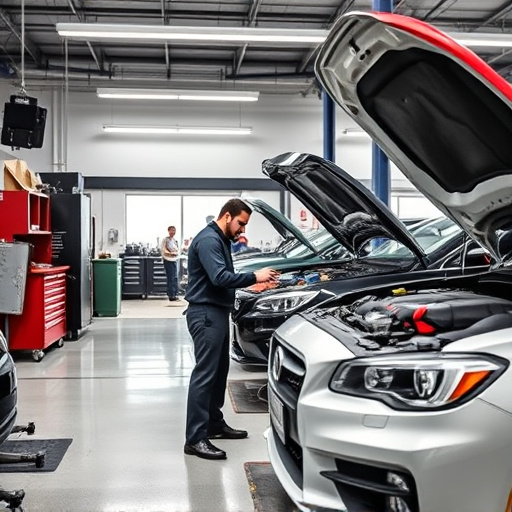
Dents in a vehicle’s hood can range from minor cosmetic issues to more severe structural damage. The first step in fixing a hood dent is identifying the type and extent of the damage. For smaller, shallow dents, simple techniques using tools like pliers or rubber mallets can be effective. These methods are cost-effective and relatively easy for DIY enthusiasts.
For deeper or more complex dents, professional tools such as hydraulic presses and specialized dent removal kits become necessary. Auto collision centers often employ these advanced techniques, including precision air bag systems and frame straightening equipment, to ensure proper fender repair and auto body painting without leaving unsightly marks or compromising the structural integrity of the vehicle.
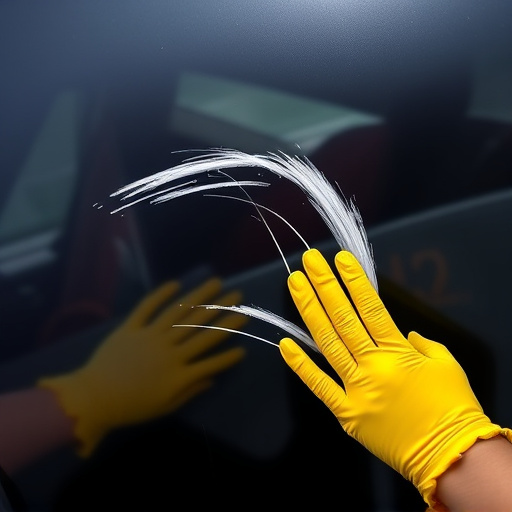
Final Touches and Prevention: Polishing and Long-Term Solutions

Once you’ve successfully removed the hood dent using the previous steps, it’s time to focus on final touches and preventive measures for long-term protection. Start by polishing the repaired area with a high-quality car polish or compound to smoothen any remaining scratches or imperfections. This process will not only enhance the visual appeal but also create a protective layer that repels dirt and grime. After polishing, consider applying a clear coat or car wax to seal the repair and provide an extra layer of protection against future dents.
For added durability and protection, explore auto detailing services or invest in high-quality automotive paints and finishes available at collision centers or auto body services. Regularly washing your vehicle with a dedicated car care routine can further extend the life of your hood and prevent new dents from forming. Additionally, parking in secure areas or garages can reduce exposure to airborne debris and potential impacts from other vehicles, further safeguarding your car’s exterior.
Fixing a hood dent doesn’t have to be a daunting task. By understanding your damage through proper evaluation, selecting the right tool for the job from pliers to professional equipment, and completing the repair with final touches like polishing, you can achieve a flawless result. With these steps, you’ll not only remove the hood dent but also gain valuable knowledge for future prevention, ensuring your vehicle’s exterior stays in top condition.