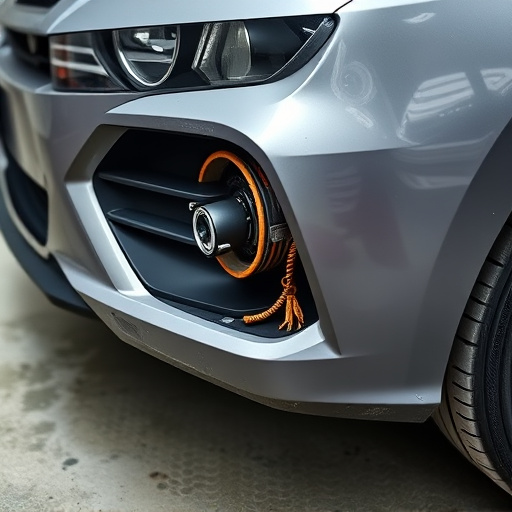


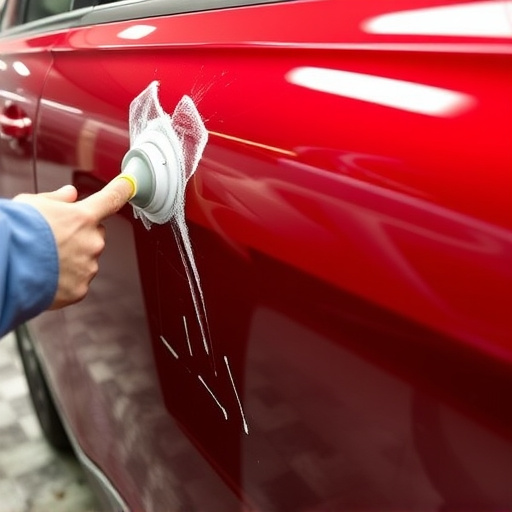


Primer surfacer application is crucial in auto collision repair, preparing painted surfaces for new coats by filling gaps and cracks. Proper application offers benefits like improved adhesion, reduced peeling/chipping risks, and enhanced vehicle aesthetics, leading to customer satisfaction. After curing the primer, sanding from coarse (100-150 grit) to fine (600 grit) ensures a smooth finish. Meticulous detail work with controlled strokes is key in tight corners; avoid oversanding. Patience and precision yield high-quality results without needing rework.
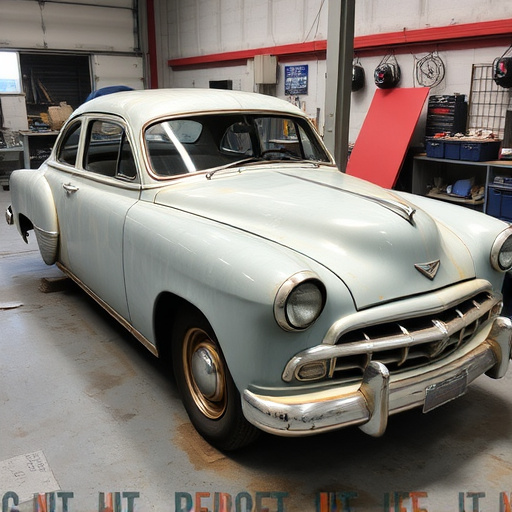
After applying primer surfacer, the next crucial step is sanding and smoothing. This process ensures a seamless finish, ready for paint or sealant. Primer surfacer, designed to bond with surfaces and seal pores, plays a vital role in enhancing adhesion and durability. Understanding its application and subsequent care is essential for achieving a professional-looking result. This guide offers a step-by-step approach to sanding and smoothing, along with tips to avoid common mistakes, ensuring your project stands out for all the right reasons.
- Understanding Primer Surfacer Application: Its Role and Benefits
- Step-by-Step Guide to Sanding and Smoothing After Application
- Tips for Achieving a Smooth Finish: Common Mistakes to Avoid
Understanding Primer Surfacer Application: Its Role and Benefits
Primer surfacer application is a crucial step in any auto collision repair or automotive repair process. It serves as a bonding agent between the painted surface and the new coat, ensuring a strong and durable finish. The primary role of primer surfacer is to prepare the damaged area by filling in gaps, cracks, and imperfections, creating a smooth base for subsequent painting.
In a collision repair center, understanding the importance of proper primer surfacer application cannot be overstated. Benefits include improved adhesion, reduced risk of peeling or chipping, and enhanced overall aesthetics of the repaired vehicle. By using the right product and applying it evenly, automotive repair professionals can achieve a seamless transition from repair to restoration, ensuring customer satisfaction in the final results.
Step-by-Step Guide to Sanding and Smoothing After Application
After applying a primer surfacer to your project—be it a car, a furniture piece, or any surface needing repair and preparation—the next crucial step is sanding and smoothing. This process ensures a flawless finish, ready for painting or coating. Here’s a simple guide to help you achieve a smooth surface:
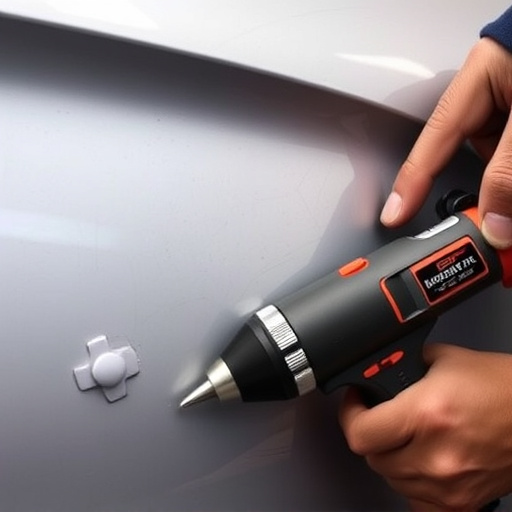
1. Allow the Primer Surfacer to Cure: Before beginning, make sure the primer surfacer is fully dry and cured according to the manufacturer’s instructions. This step is vital as it prevents sandpaper from damaging the still-wet surface.
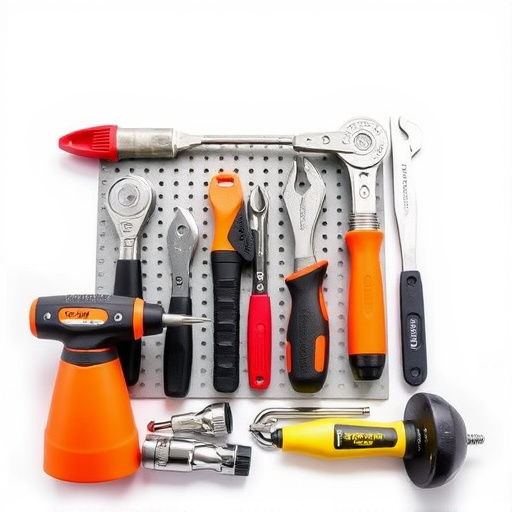
2. Select Appropriate Sandpaper: Start with coarse grit sandpaper (around 100-150) for initial roughing, removing any imperfections or high spots. Then, switch to finer grits (220, 320) for smoothing, gradually working your way up until you achieve a smooth, even surface. For delicate surfaces like car paintwork or intricate furniture pieces, consider using a fine grit like 600 to avoid damaging the finish.
3. Sand in the Direction of the Grain: Always sand with the grain of the material for optimal results, especially in wood repairs and car scratch repair scenarios. This technique ensures you’re not inadvertently raising the grain or creating new scratches.
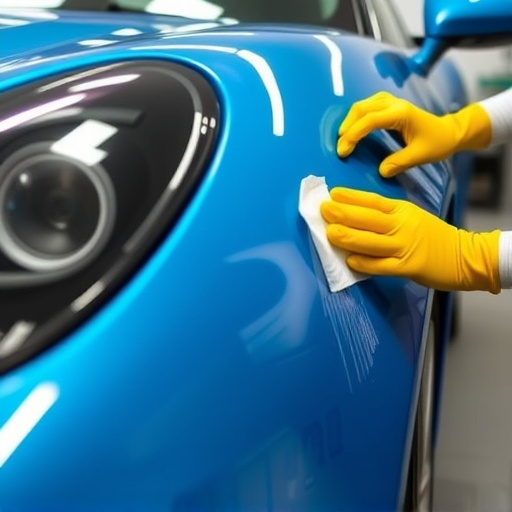
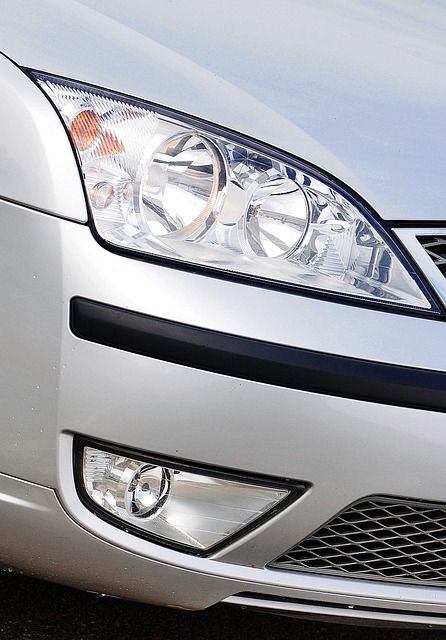
4. Use a Wet/Dry Sandpaper (for advanced smoothing): For Mercedes Benz repair or similar high-quality finishes, wet/dry sandpaper can help achieve a remarkably smooth surface by removing fine particles and minimizing scratch marks.
5. Inspect and Repeat: Regularly inspect your work as you sand to ensure even wear and identify any remaining imperfections. Lightly touch the surface with your finger; if it feels rough, continue sanding until a smooth texture is achieved.
Tips for Achieving a Smooth Finish: Common Mistakes to Avoid
To achieve a smooth finish after applying primer surfacer in your auto body work or vehicle restoration project, pay close attention to detail and avoid common pitfalls. One crucial tip is to ensure even application; use a small, controlled stroke with your sander to prevent uneven surfaces. This is especially important in tight corners and along edges, where excess material can accumulate if not carefully managed.
Another mistake to steer clear of is oversanding. While it might seem like more pressure will speed up the process during auto body restoration, it can actually damage the surface you’ve worked so hard to prepare. Stick to the recommended grit for primer surfacer application and avoid aggressive sanding, which could leave marks or rough patches that require additional work. Remember, achieving a smooth finish is about patience and precision in your auto body work.
After applying primer surfacer, a crucial step in any DIY project or professional finish is sanding and smoothing. By following a meticulous step-by-step process and avoiding common mistakes, you can achieve a seamless, smooth surface ready for the final coat of paint. Mastering this technique ensures that your primer surfacer application serves its purpose, providing an even base and enhancing the overall aesthetics of your project.