
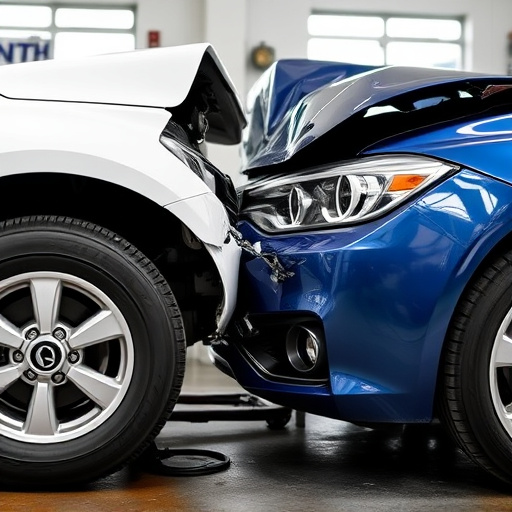


OEM bumper replacement is a specialized collision repair process using genuine, factory-made parts. Trained technicians disassemble, prepare, and reinstall the new bumper accurately, maintaining aesthetic appeal, safety standards, and vehicle value. To ensure success, follow steps like removing old bumpers, inspecting undercarriage, cleaning surfaces, aligning new bumpers, testing electrical connections, and seeking expert guidance for complex tasks. Prioritize safety by adhering to manufacturer instructions and considering professional help when needed.
“Uncover the intricacies of the OEM bumper replacement process, a crucial aspect of automotive repairs and customization. This comprehensive guide breaks down the steps involved in swapping out your vehicle’s original equipment manufacturer (OEM) bumper. From understanding the basics of this procedure to navigating potential challenges, you’ll learn what makes it a game-changer for car enthusiasts seeking a seamless, professional-grade upgrade. Get ready to transform your ride!”
- Understanding OEM Bumper Replacement: The Basics
- Step-by-Step Guide to a Successful OEM Bumper Installation
- Common Challenges and Tips for a Seamless Experience
Understanding OEM Bumper Replacement: The Basics
OEM bumper replacement is a specialized process that involves swapping out a damaged or outdated front or rear bumper with a genuine, factory-made part. This procedure is crucial in auto collision repair, ensuring that vehicles return to their original aesthetic and safety standards after an accident. At collision centers, trained technicians carefully disassemble the affected area, removing any debris or existing repairs. The new OEM bumper is then precisely fitted, aligning with the vehicle’s design specifications, before being securely fastened using specialized tools and techniques.
This replacement method goes beyond mere aesthetics; it’s a critical component of car paint services, as a properly installed OEM bumper ensures that paint jobs are accurate and durable. By maintaining the vehicle’s original equipment manufacturing (OEM) parts, owners not only benefit from improved appearance but also from enhanced safety features designed into these components. This process is particularly important for preserving the overall value and integrity of the vehicle, especially in light of modern designs where bumpers play a vital role in crash safety standards.
Step-by-Step Guide to a Successful OEM Bumper Installation
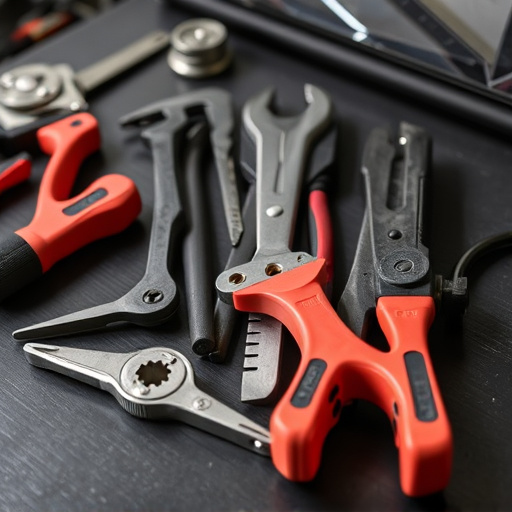
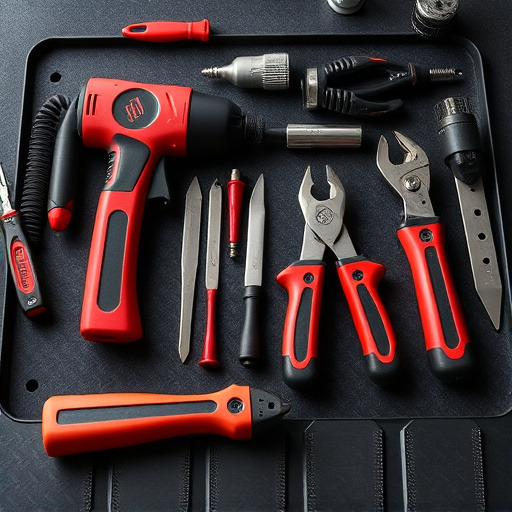
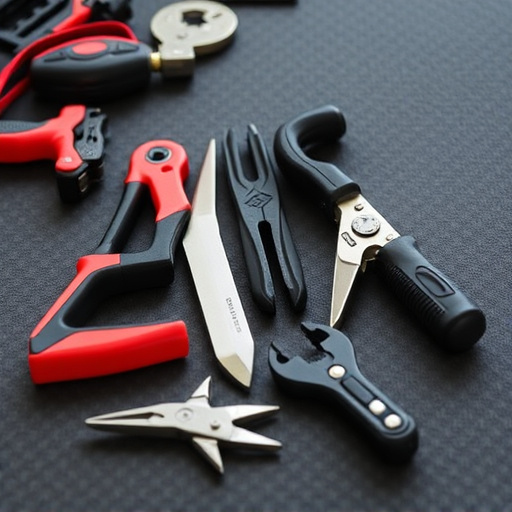
To ensure a successful OEM bumper replacement, follow these straightforward steps. Begin by removing the old bumper, taking care to disconnect any electrical components and sensors attached. Once the old bumper is off, inspect your vehicle’s undercarriage for any underlying damage or debris that might have been obscured.
Next, clean and prepare the surface where the new OEM bumper will be installed. This involves removing any dirt, grease, or rust using suitable cleaning agents. After ensuring a clean and dry surface, align the new bumper with the vehicle’s mounting points. Secure it in place using the appropriate hardware provided, such as bolts or clamps, following your vehicle’s specific instructions. Finally, test all electrical connections and ensure smooth operation of any sensors before moving on to other collision repair tasks, leaving you with a pristine and factory-like finish through professional auto body shop tire services.
Common Challenges and Tips for a Seamless Experience
When undertaking an OEM bumper replacement, many individuals face challenges that can make the process seem daunting. Common hurdles include accurately identifying the correct bumper parts for their vehicle model and ensuring proper fitment to avoid costly mistakes. Additionally, some DIY enthusiasts might struggle with complex installation procedures, especially when dealing with modern cars featuring intricate design elements and advanced safety features.
To ensure a seamless experience, it’s crucial to approach the process methodically. Start by consulting with a reputable auto body shop or detailing center that specializes in OEM bumper replacements for guidance on compatible parts. Their expertise can save time and prevent the need for costly repairs down the line. Prioritize safety during installation; follow manufacturer instructions meticulously and consider seeking professional help for intricate tasks, such as auto frame repair, to maintain structural integrity. Remember, a well-planned approach and the right support can transform what seems like a challenging task into a successful OEM bumper replacement project.
OEM bumper replacements are a straightforward process that, when followed correctly, can significantly enhance your vehicle’s appearance and protect its structure. By understanding the basics, employing a step-by-step approach, and being aware of potential challenges, you can ensure a successful and seamless installation. Remember, a well-executed OEM bumper replacement not only restores your car’s original aesthetic but also contributes to its overall longevity.