


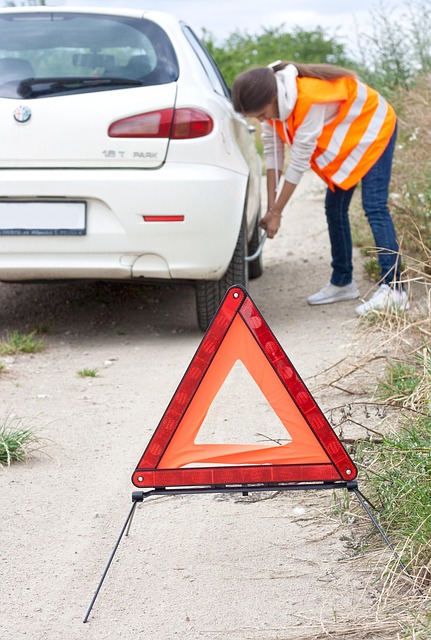
Tesla taillight assembly repairs demand professional expertise due to complex root causes, from faulty wiring connectors to worn-out modules, exacerbated by weather and road debris. The process involves meticulous troubleshooting, disassembly, and reinstallation with precise alignment. A critical step is the module and connector reset for optimal electrical control. Post-repair, a test drive is mandatory, followed by addressing any lighting or performance issues promptly by specialists. This comprehensive approach ensures not just cosmetic repairs but also crucial safety features like taillight functionality for Tesla vehicles.
Tesla taillight assembly repair is a common issue among electric vehicle owners. This comprehensive guide delves into the root causes of common problems, offering a detailed step-by-step process for fixes. A crucial aspect often overlooked is the module and connector reset, ensuring optimal performance.
Learn how to identify issues, troubleshoot effectively, and perform a successful Tesla taillight assembly repair with this handy resource.
- Understanding Tesla Taillight Assembly Issues
- The Process of Repair: Step-by-Step Guide
- Module and Connector Reset: A Crucial Part of the Fix
Understanding Tesla Taillight Assembly Issues

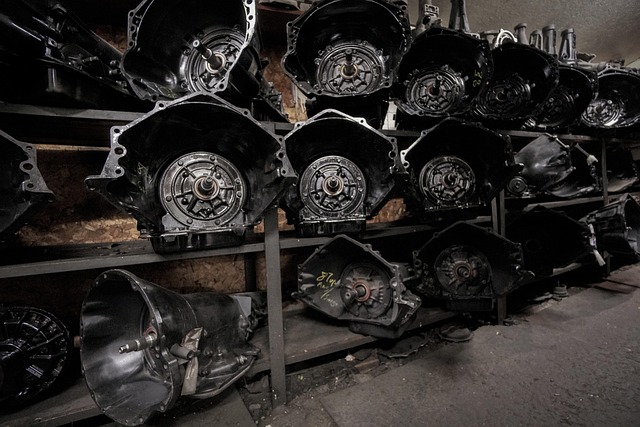
Tesla taillight assembly issues can stem from a variety of problems, making Tesla taillight assembly repair a complex task. Malfunctions may include flickering lights, non-functional tailights, or even a complete failure to light up. These issues often arise due to faulty wiring connectors or outworn modules within the assembly itself. Over time, exposure to harsh weather conditions and road debris can lead to damage and degradation of these components, necessitating Tesla taillight assembly repair.
When troubleshooting these problems, it’s crucial to identify whether the issue lies in the connector or module. A simple reset of the connectors can sometimes resolve minor glitches. However, for more severe cases, replacement of either the module or the entire taillight assembly might be required. Engaging professional auto body repair services specializing in electric vehicle repairs, such as collision repair services, is often the safest and most effective way to address these complex Tesla taillight assembly issues.
The Process of Repair: Step-by-Step Guide
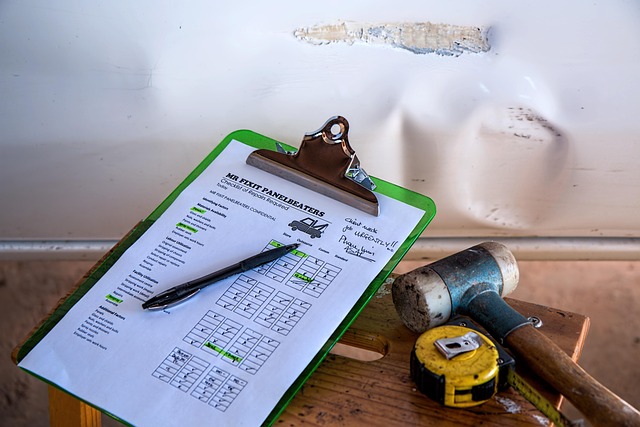
The Tesla taillight assembly repair process involves several precise steps to ensure optimal functionality and a seamless fit. It’s recommended that owners seek professional assistance for this task, as even minor errors can affect the vehicle’s overall safety and lighting performance. The first step is to carefully remove the damaged or faulty taillight assembly from the car body. This requires detaching any connected wires and ensuring no debris remains attached. Once the old assembly is out, the new one is installed, making sure all components align perfectly with the car’s design.
After installing the new taillight, it’s crucial to perform a module and connector reset. This involves resetting the electrical control module responsible for powering and controlling the taillights. The process typically includes unplugging and then replugging the power connectors while ensuring all connections are secure. A test drive is essential after these steps to verify that the new assembly functions correctly, and any issues with lighting or performance can be addressed promptly by visiting a trusted auto collision center or auto body services provider.
Module and Connector Reset: A Crucial Part of the Fix
When tackling a Tesla taillight assembly repair, the module and connector reset is a crucial step that often gets overlooked but plays a vital role in ensuring the successful completion of the fix. This process involves reinitializing both the taillight control module and its connectors, which can be affected by damage or disruption during the disassembly or collision repair process.
A proper module and connector reset serves as a bridge between the vehicle’s electrical system and the taillights themselves, guaranteeing their optimal performance after restoration. It includes verifying the connections’ integrity, cleaning any corroded or contaminated areas, and ensuring all components are functioning seamlessly with one another. This meticulous step is often critical in achieving not just cosmetic vehicle dent repair but also maintaining the safety features of your Tesla, such as its taillight functionality during collision repair.
In conclusion, repairing a Tesla taillight assembly involves understanding common issues, following a meticulous step-by-step guide, and performing a crucial module and connector reset. By addressing these aspects, owners can ensure their vehicle’s lighting system functions optimally, enhancing safety and aesthetics. For effective Tesla taillight assembly repair, these steps are essential for achieving a reliable and lasting solution.