


Tesla taillight assembly repair involves addressing issues like dim lights or faulty wiring through professional calibration for optimal performance. While replacement can be a DIY task, proper safety and structured steps are crucial. After repair or replacement, expert calibration using diagnostic tools ensures new taillights function correctly, enhancing visibility and safety, especially during low-light conditions. Regular calibration maintains legal lighting standards and drivesafe practices.
Uncover the secrets behind reviving your Tesla’s rear light system with our comprehensive guide. This article navigates the intricate world of Tesla taillight assembly repair and calibration, equipping you with the knowledge to address common issues effectively. From identifying problems within the complex assembly to a detailed step-by-step replacement process, we demystify every turn. Moreover, learn the art of calibrating rear light systems for optimal performance, ensuring your Tesla shines brightly on the road. Master these techniques and embrace the transformative power of a well-functioning taillight assembly.
- Understanding Tesla Taillight Assembly and Common Issues
- Repair Process: Step-by-Step Guide to Taillight Assembly Replacement
- Calibration and Testing of Rear Light Systems for Optimal Performance
Understanding Tesla Taillight Assembly and Common Issues

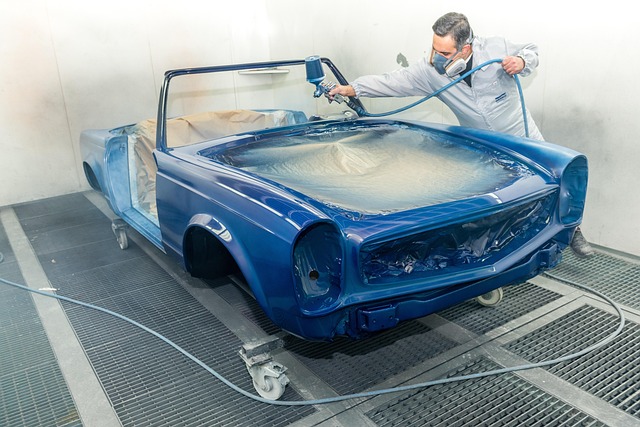
The Tesla taillight assembly is a sophisticated component that integrates advanced lighting technology with sleek design. Comprising multiple LEDs and precision-engineered optics, it’s both a functional and aesthetic element crucial to the vehicle’s safety and style. However, like any intricate system, the taillight assembly can encounter issues over time, requiring Tesla taillight assembly repair. Common problems include dim or flickering lights, misaligned beams, and faulty wiring. These may arise from environmental factors, wear and tear, or manufacturing defects.
When addressing these concerns, it’s often necessary to calibrate the rear light systems for optimal performance. Calibration ensures that the headlights and taillights function in harmony, enhancing visibility and maintaining the vehicle’s distinctive aesthetic appeal. Professionals at a reputable vehicle body shop or automotive collision repair center are equipped with the specialized tools and expertise needed for accurate Tesla taillight assembly repair and calibration, ensuring your vehicle restoration is both safe and visually striking.
Repair Process: Step-by-Step Guide to Taillight Assembly Replacement
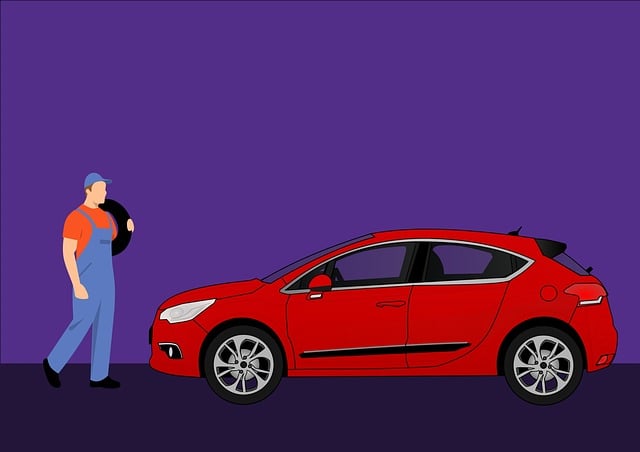
Replacing a Tesla taillight assembly is a relatively straightforward process that can be accomplished with the right tools and a bit of patience. Start by identifying the issue; if your taillights are flickering, dimmed, or not illuminating at all, this likely indicates a faulty taillight assembly. Before beginning the repair, ensure proper safety measures are in place, including parking on a level surface and engaging the parking brake.
Here’s a step-by-step guide:
1. Remove the old taillight: Unplug the taillight from its electrical connector, then carefully remove the retaining clips or screws holding it in place. Be cautious not to damage any surrounding components.
2. Install the new taillight assembly: Position the new taillight accurately, ensuring it aligns with the vehicle’s specifications. Secure it with the appropriate clips or screws, following the manufacturer’s guidelines.
3. Calibrate the lights: After installation, use your Tesla’s diagnostic tools (or a dedicated OBD-II scanner) to calibrate the new taillights. This ensures they function correctly and are in sync with your vehicle’s computer system. Remember that proper calibration is essential for optimal light performance and safety. If you encounter any issues during this step, consult a professional mechanic or refer to Tesla’s official repair guides.
Calibration and Testing of Rear Light Systems for Optimal Performance
Proper calibration and testing of Tesla taillight assemblies are paramount for ensuring optimal performance and safety on the road. After a Tesla taillight assembly repair or replacement, it’s crucial to verify that all rear light systems function perfectly. This involves adjusting brightness levels, checking for consistent lighting patterns, and confirming proper alignment. Modern vehicle systems require advanced diagnostic tools to accurately calibrate LED lights, ensuring they meet manufacturer specifications.
Auto bodywork specialists play a vital role in this process, as they have the expertise and equipment to fine-tune each component within the taillight assembly. This includes adjusting the intensity of individual LEDs, ensuring no shadows or uneven lighting exist, and verifying that the lights project straight ahead for maximum visibility. Regular calibration ensures drivers can rely on their vehicle’s rear light systems during low-light conditions, enhancing safety and legality on the roads.
The process of repairing and calibrating Tesla’s tail light assemblies is a crucial aspect of vehicle maintenance, ensuring optimal visibility and safety on the road. By understanding common issues and following a structured repair guide, car owners can effectively tackle these tasks themselves. This DIY approach not only saves costs but also empowers individuals to take control of their vehicle’s upkeep. With the right tools and knowledge, as outlined in this article, repairing Tesla taillight assemblies is a manageable task that contributes to a safer driving experience.