


Tesla's Ultrasonic Sensor System relies on protective covers for accuracy and reliability. Replacing these covers is a simple but crucial task for owners, ensuring safety features like parking assist and automatic emergency braking function optimally. Common issues include misalignment due to damage, which can be prevented by inspecting components and using genuine Tesla parts. Strict adherence to manufacturer guidelines is vital; improper tools or force may cause further car damage. Regular post-replacement maintenance checks are recommended for optimal sensor performance.
Looking to replace your Tesla ultrasonic sensor cover? You’ve come to the right place. This comprehensive guide delves into the intricacies of Tesla’s ultrasonic sensor system, offering a step-by-step approach for seamless replacement and alignment. From identifying common issues to sharing insider tips, we empower you with the knowledge needed to ensure a successful Tesla ultrasonic sensor cover replacement.
- Understanding Tesla's Ultrasonic Sensor System
- Step-by-Step Guide: Replacing the Cover and Ensuring Proper Alignment
- Common Issues and Tips for a Successful Replacement
Understanding Tesla's Ultrasonic Sensor System
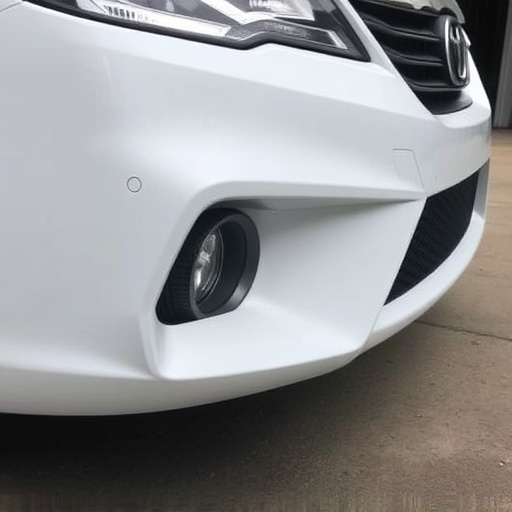
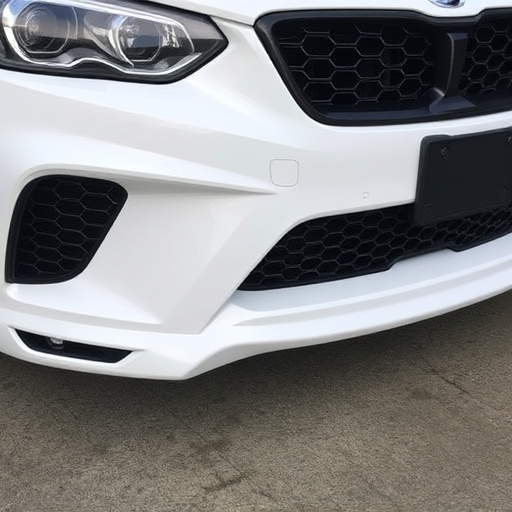
Tesla’s Ultrasonic Sensor System is a sophisticated technology designed to enhance safety and navigation for Tesla vehicles. This system utilizes a network of sensors that emit ultrasonic waves to detect obstacles, providing crucial data for features like parking assist, automatic emergency braking, and lane departure warnings. The heart of this system lies in the ultrasonic sensor covers, strategically placed on the car’s exterior, which are responsible for housing and protecting these delicate sensors from environmental damage.
When considering a Tesla ultrasonic sensor cover replacement or alignment check, understanding the intricate relationship between the car’s bodywork and these sensors is essential. Any misalignment or damage to the sensor covers can impact the accuracy of the system, potentially compromising safety features. Therefore, regular inspections and prompt repairs are vital components of auto maintenance for Tesla owners, ensuring optimal performance and reliability in terms of both driving experience and vehicle longevity.
Step-by-Step Guide: Replacing the Cover and Ensuring Proper Alignment

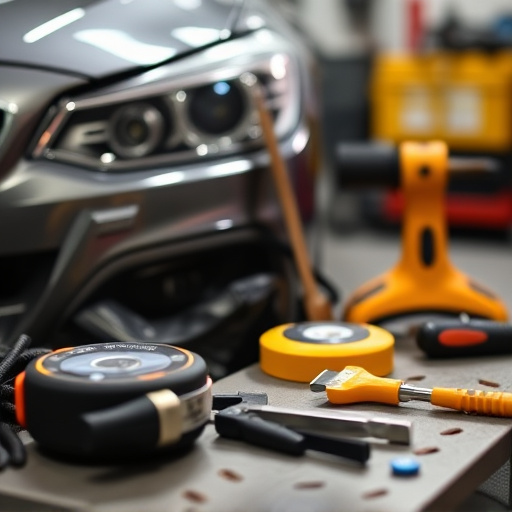
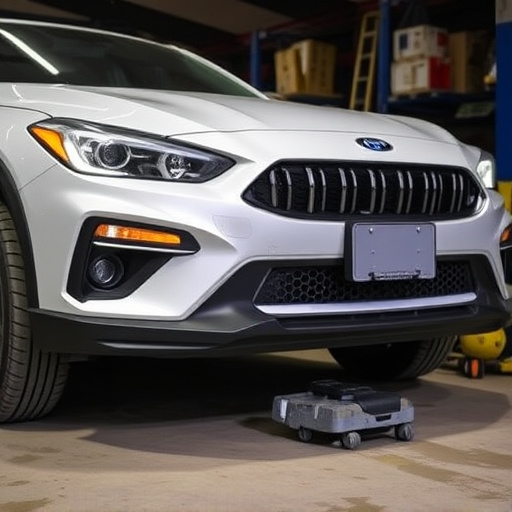
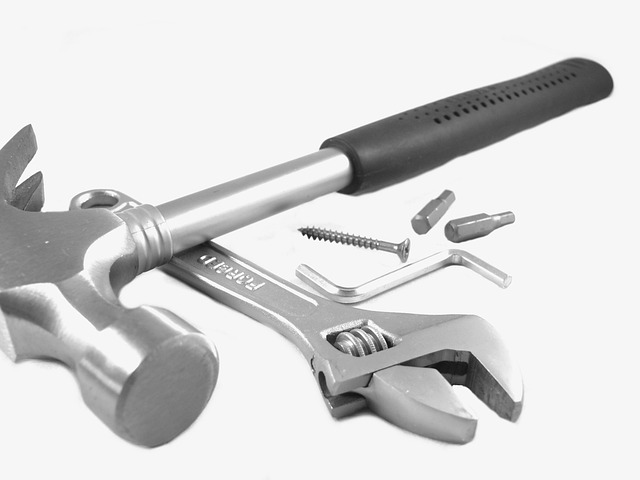
Replacing a Tesla ultrasonic sensor cover is a straightforward process that can be completed with the right tools and a step-by-step approach. First, gather all necessary parts, including the new cover, adhesive, and any hardware required. Then, locate the ultrasonic sensors on your car’s bodywork—typically found around the front and rear bumpers. Before removing the old cover, take note of its alignment to ensure proper installation later.
Next, carefully peel off the existing cover, being mindful of any intricate designs or details in the car bodywork. Clean the surface thoroughly to eliminate any debris or dirt. Apply a thin layer of adhesive along the edges of the new cover, ensuring it lines up perfectly with the sensor housing. Press firmly and hold for several seconds until the adhesive sets. With precise alignment, your Tesla will now have enhanced safety features, courtesy of these ultrasonic sensors.
Common Issues and Tips for a Successful Replacement
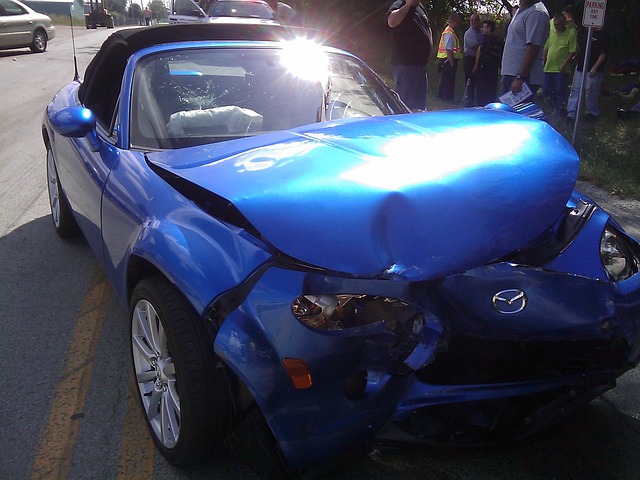
When undertaking a Tesla ultrasonic sensor cover replacement, it’s crucial to be aware of potential common issues that can arise. One frequent problem is misalignment of the sensors, which can lead to inaccurate distance readings and affect the vehicle’s autonomous driving features. This often results from damage during a fender repair or vehicle collision repair, causing the original cover to shift or deform. To prevent this, ensure all components are carefully inspected for any signs of damage before replacement, and use genuine Tesla parts for precise alignment.
During the replacement process, it’s important to follow manufacturer guidelines closely and consider seeking professional assistance if needed. Using the wrong tools or applying excessive force can cause further car damage repair. Regular maintenance checks post-replacement are also recommended to ensure optimal sensor performance. Remember, a successful Tesla ultrasonic sensor cover replacement involves meticulous attention to detail and utilizing appropriate methods to avoid complications, particularly after vehicle collision repair or fender repair processes.
Replacing your Tesla’s ultrasonic sensor cover is a straightforward process that can be completed in a few simple steps. By understanding the system and following a structured guide, you can ensure proper alignment and avoid common issues. Remember, a well-maintained ultrasonic sensor system is vital for safe and efficient autonomous driving capabilities, so don’t overlook this important task. For any challenges, consider seeking professional assistance or consulting additional resources to ensure your Tesla’s sensors are always in top condition.