

Thorough damage assessment and safety protocols are essential for successful plastic welding collision repairs. Meticulous cleaning, moisture control, and primer application prepare surfaces for strong welds. Clamping, alignment, and suitable welding methods restore parts to pre-collision state, achieving paintless finishes.
“After a plastic welding collision, efficient repair is crucial. This comprehensive guide details a step-by-step process for achieving precise, structural integrity through plastic welding. Before beginning, meticulously assess damage and prioritize safety measures. Next, prepare the surface by cleaning, priming, and controlling moisture to ensure optimal bonding. Our detailed technique, covering from initial alignment to final curing, ensures effective plastic welding repairs, restoring original functionality.”
- Assess Damage and Safety Measures Before Welding
- Prepare Surface: Cleaning, Priming, and Moisture Control
- Step-by-Step Welding Technique for Plastic Repair After Accidents
Assess Damage and Safety Measures Before Welding
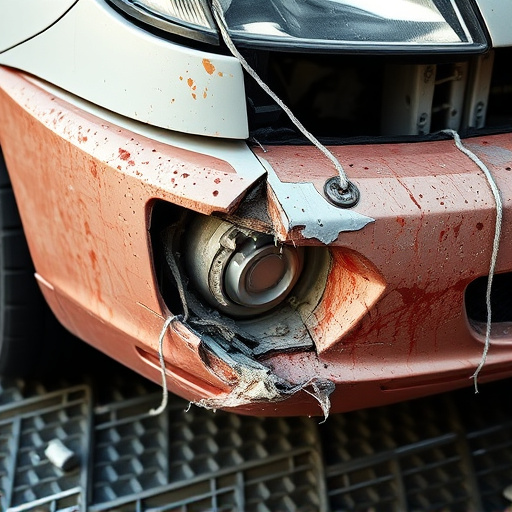
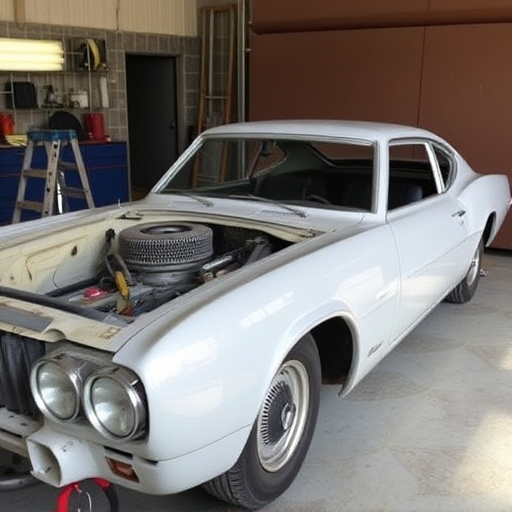
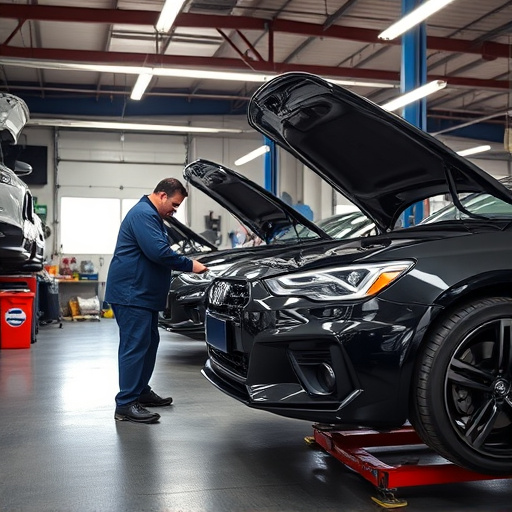
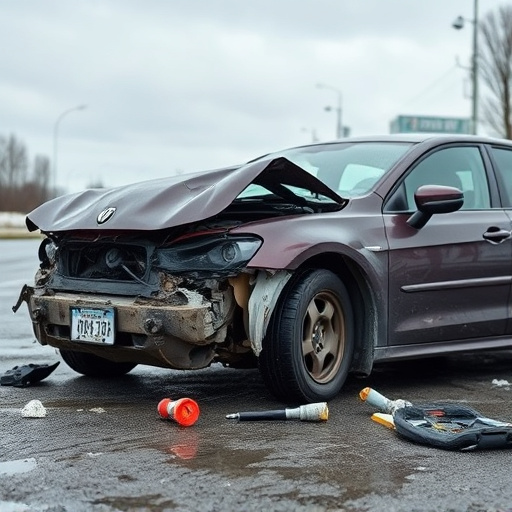
Before initiating any plastic welding process following a collision, it’s paramount to conduct a thorough assessment of the damage and prioritize safety measures. This involves meticulously inspecting the affected plastic components to understand the extent of the damage, identify any foreign objects embedded in the surface, and determine the best repair approach. For instance, an auto repair services specialist at a reputable collision repair center will consider factors like material compatibility, moisture presence, and structural integrity to ensure a successful and safe welding outcome.
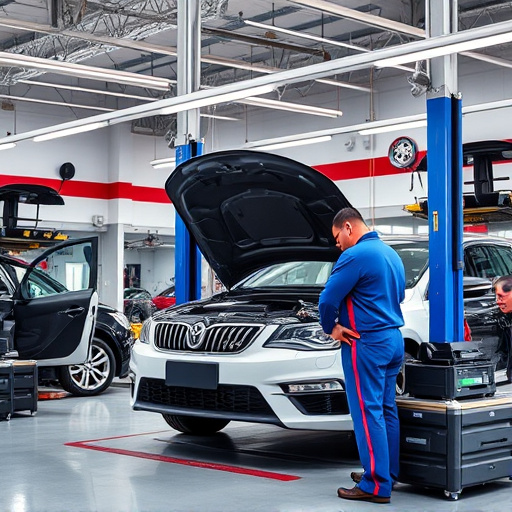
Safety protocols should be rigorously followed to mitigate risks associated with plastic welding. This includes wearing appropriate personal protective equipment (PPE), ensuring adequate ventilation to prevent the accumulation of harmful fumes, and using specialized tools and equipment designed for plastic welding. By adhering to these safety measures, automotive collision repair professionals can effectively navigate the process, restore damaged parts, and return vehicles to their pre-collision condition without compromising on quality or safety standards.
Prepare Surface: Cleaning, Priming, and Moisture Control
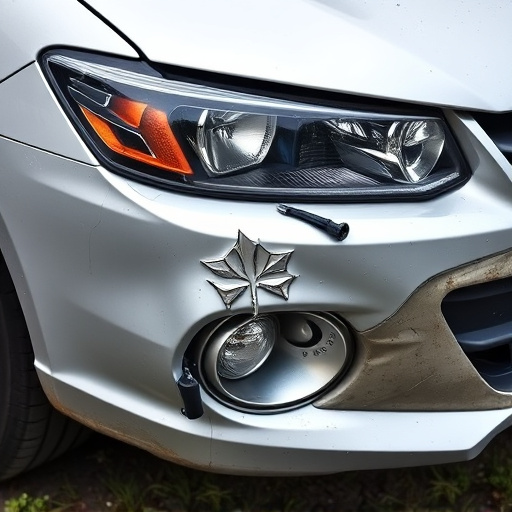
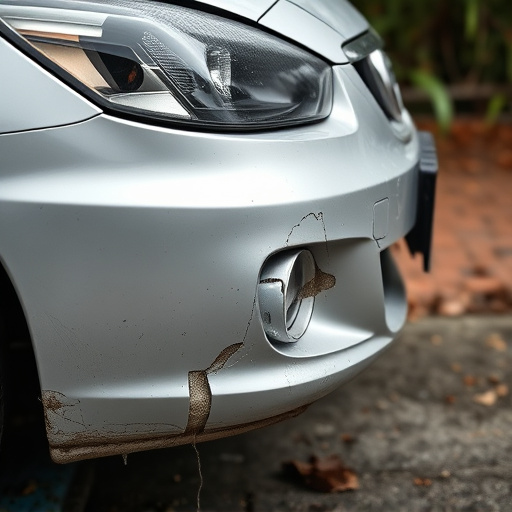
Before initiating the plastic welding process after a collision, thorough preparation of the affected surface is paramount. The first step involves meticulous cleaning to remove any debris, dirt, or foreign particles that could hinder the fusion. This can be accomplished through a combination of mechanical and chemical methods, ensuring every trace of contamination is eliminated.
Following cleaning, priming becomes crucial for achieving a strong weld. A suitable primer, designed specifically for plastic materials, is applied to create a bond between the damaged surface and the welding material. This step not only enhances adhesion but also fills in any microscopic pores or imperfections on the surface, promoting a more uniform and robust fusion during the plastic welding collision repair process. Moreover, effective moisture control is essential to prevent water intrusion, which could negatively impact the integrity of the weld.
Step-by-Step Welding Technique for Plastic Repair After Accidents
In the event of a collision, plastic welding is often required to restore damaged parts to their original state. This meticulous process involves a step-by-step approach to ensure precise and effective repairs. Here’s a breakdown of the technique:
1. Preparation: Begin by thoroughly cleaning and inspecting the damaged area. Remove any debris or foreign objects embedded in the plastic. For vehicle repair services, this might involve using specialized tools to carefully lift and separate the affected components, allowing access to the underlying structure.
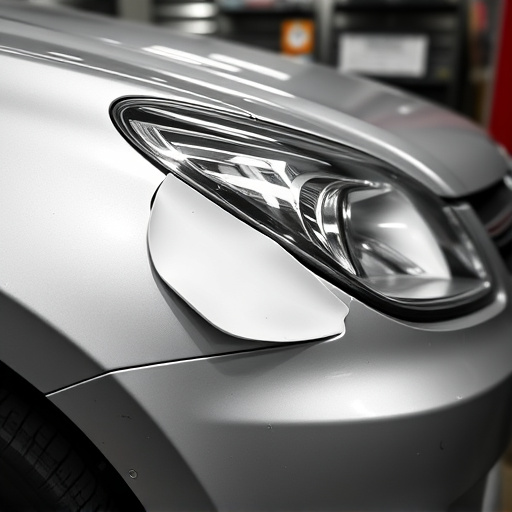
2. Clamping and Alignment: Proper clamping is crucial for successful welding. Securely clamp the repaired section using appropriate clamps designed for plastic materials. Ensure all parts are aligned precisely to maintain structural integrity. This step is vital in achieving a seamless finish during paintless dent repair, ensuring no visible gaps or misalignments.
3. Welding Process: Select the suitable plastic welding technique based on the material and extent of damage. Common methods include hot gas welding, ultrasonic welding, or laser welding. For instance, in collision repair services, hot gas welding is often employed to fuse the damaged part with a replacement piece, creating a strong bond.
4. Filling and Smoothing: After successful welding, fill any gaps or imperfections using compatible plastic fillers. Once set, smoothen the surface to match the original contour of the component. This meticulous step ensures a seamless integration of the repaired area into the vehicle’s overall structure.
In the event of a plastic welding collision, a meticulous approach is essential for successful repair. By thoroughly assessing damage, implementing safety measures, and adhering to a structured preparation process, including surface cleaning, priming, and moisture control, you lay the foundation for effective plastic welding techniques. Following these steps ensures not only robust repairs but also preserves the integrity and quality of the affected plastic components.