


Composite material repair in modern cars, like Mercedes Benz repairs, requires understanding specific issues. Proper identification guides DIY methods from adhesives for cracks to specialized body shop techniques for dents and delaminations. Safety and precision are key, using appropriate tools like cutting tools, sandpaper, safety gear, and respirators. DIY repair saves costs but demands care: clean area, follow manufacturer instructions, cure time, sand lightly, finish with matching coating. For extensive damage, professional auto repair services offer superior results.
Can you tackle composite material repair on your own? Yes, with the right knowledge and safety precautions, DIY repairs are feasible. This guide breaks down everything you need to know to successfully and safely repair composite materials. From understanding different types of damage to gathering essential tools and safety gear, we’ll walk you through each step of the process. By following these simple instructions, you’ll be able to fix cracks, chips, and other common issues like a pro.
- Understanding Composite Material Damage and Types
- Gather Tools and Safety Gear for the Repair Process
- Step-by-Step Guide: Effectively DIY Composite Repair
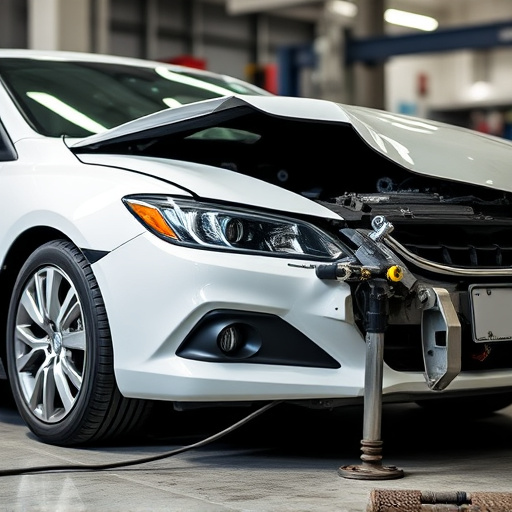
Understanding Composite Material Damage and Types
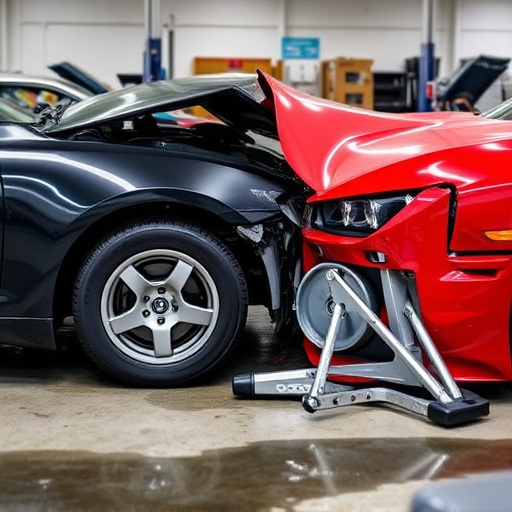
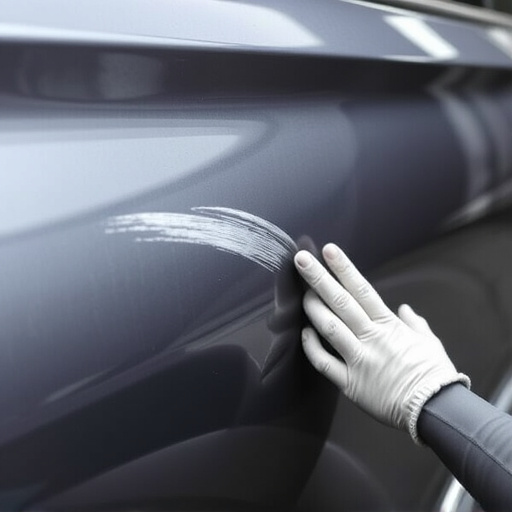
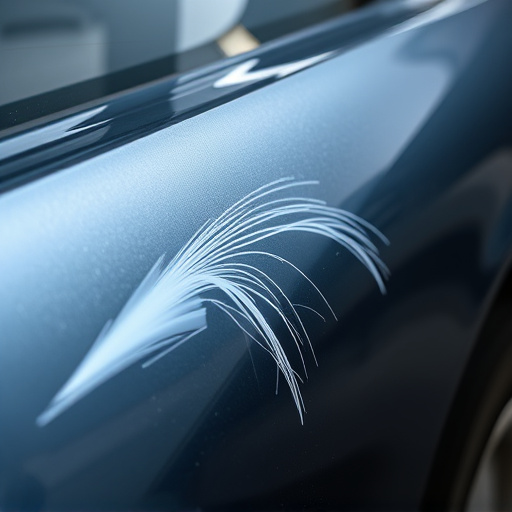
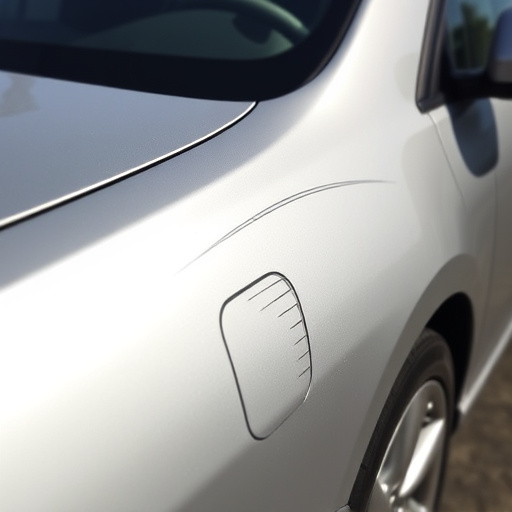
Composite materials, commonly used in modern car manufacturing, including Mercedes Benz repairs, offer durability and lightweight strength but present unique challenges when damaged. Understanding the types of damage is crucial for effective DIY composite material repair. Cracks, often appearing as fine lines or visible breaks, can range from shallow surface-level cracks to deeper, more complex fractures. Dents, which may seem like minor issues, can also be significant, especially if they affect structural components. These dents often require specialized techniques, such as the removal of dented panels for precise restoration.
Composite material damage can also include delaminations, where layers of the composite separate, and fiber displacement, leading to visible deformities. Proper identification is key; each type of damage may necessitate different DIY repair methods, from using special adhesives for cracks to advanced body shop techniques for significant dents and delaminations. Remember, when it comes to composite material repair, whether for a Mercedes Benz or any other vehicle, safety and precision are paramount.
Gather Tools and Safety Gear for the Repair Process
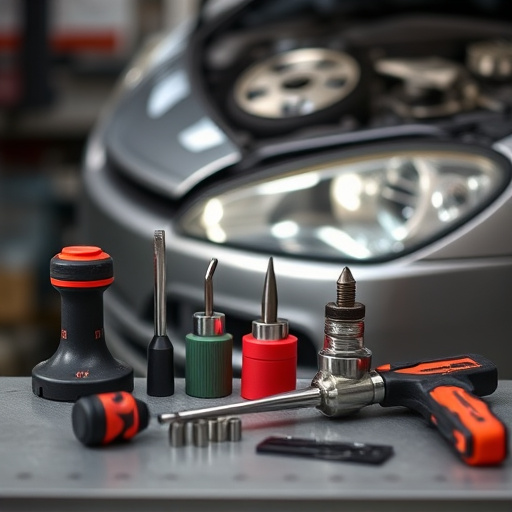
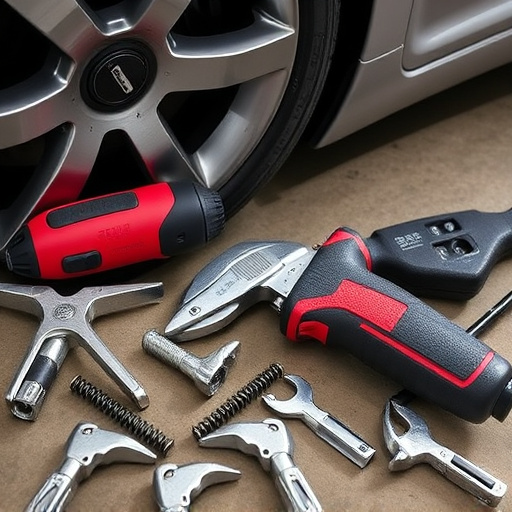
Before tackling any composite material repair, ensure you have the right tools and safety gear to accomplish the task safely and effectively. For composite materials commonly found in modern automobiles, such as those at an auto collision center for dent repair or car scratch repair, a variety of specialized tools will be required. This typically includes a kit with various sizes of scissors or cutting tools designed for composite materials, along with sandpaper of different grits to smooth out any rough edges. Safety glasses and work gloves are non-negotiable, as they protect against flying debris and potential skin irritation from the materials. A respirator is also advisable, as some composite repairs may involve dust or chemical fumes that need proper filtration.
Step-by-Step Guide: Effectively DIY Composite Repair

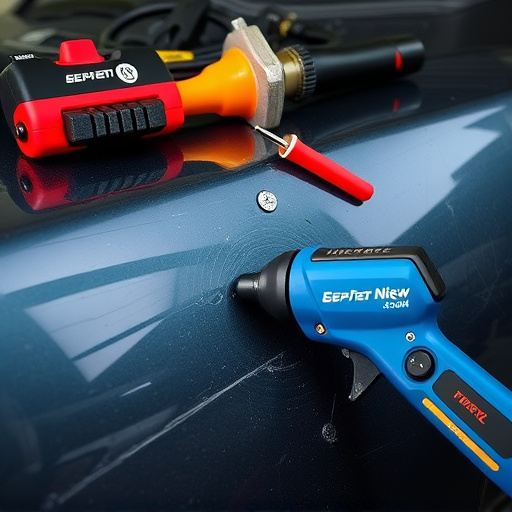
Repairing composite materials yourself can be a cost-effective solution for minor damage, but it requires precision and the right approach. Here’s a step-by-step guide to ensure your DIY composite repair project is safe and effective. Begin by gathering all necessary tools and supplies, including composite repair kits specific to your material type, along with sandpaper, brushes, and protective gear. Next, thoroughly clean the damaged area, removing any debris or contaminants using a suitable cleaner recommended for composites.
Once the surface is pristine, apply an adhesive designed for composite materials, following the manufacturer’s instructions precisely. After the adhesive sets, carefully fit and mold the repair kit’s components to match the surrounding surface. This may involve layering resin and reinforcement fibers, ensuring a seamless blend with the existing composite. Finally, allow adequate curing time before light sanding, and then finish by applying a suitable coating or paint that matches your composite material’s color for an undetectable repair. Remember, if the damage is extensive or you lack confidence in your skills, considering professional auto repair services like fleet repair or tire services nearby can be a wise choice for superior results.
DIY composite material repair can be a cost-effective solution for damaged components, but it requires proper understanding and safety precautions. By identifying different types of damage and gathering essential tools with suitable safety gear, you can effectively patch up small issues. Following a structured step-by-step guide ensures successful repairs without causing further harm to the composite structure. Remember, while DIY methods offer benefits, complex or extensive damage might necessitate professional assistance for optimal results in composite material repair.