
Tesla door-mounted camera issues often stem from disconnected or damaged harnesses, requiring careful inspection and professional repair for optimal vehicle security. This guide focuses on harness replacement, emphasizing tool preparation, safety precautions, step-by-step installation, and testing to ensure reliable camera functionality. Regular maintenance and prompt diagnosis are crucial for maximizing the effectiveness of these safety features.
Struggling with a disconnected or damaged harness on your Tesla’s door-mounted camera? This comprehensive guide is tailored for owners facing this common issue. We’ll help you understand the root causes, diagnose the problem, and provide a step-by-step tutorial for DIY repairs. By following these instructions, you’ll not only restore your vehicle’s security feature but also save on professional costs. Get ready to tackle this Tesla door mounted camera repair with confidence.
- Understanding Tesla Door Mounted Camera Issues
- Diagnosing Disconnected or Damaged Harness
- Step-by-Step Guide to Repair and Reinstallation
Understanding Tesla Door Mounted Camera Issues
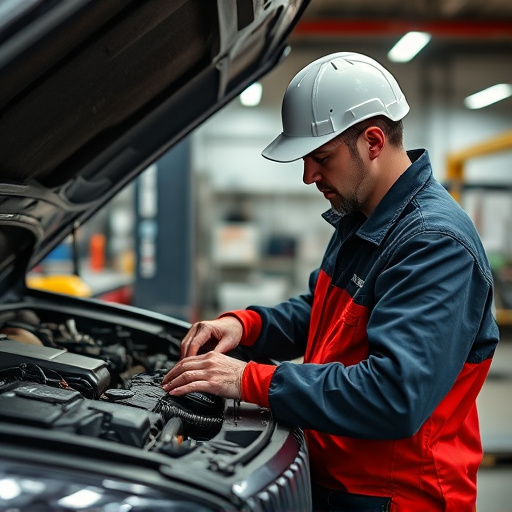
Tesla door mounted cameras are a convenient feature that allows drivers to monitor their vehicle’s surroundings, enhancing safety and security. However, issues with these cameras can arise due to various reasons such as rough weather conditions, accidental damage, or aging components. A common problem is a disconnected or damaged harness, leading to the camera not functioning properly. This may result in blind spots for the driver, compromising overall vehicle awareness.
Properly diagnosing and addressing Tesla door mounted camera issues is crucial for maintaining optimal safety standards. If you notice your camera is not operating as expected, consider whether the problem lies with the camera itself or its connection to the vehicle’s electrical system. In many cases, a simple repair or replacement of the harness can resolve the issue, ensuring your Tesla’s safety features remain reliable and effective. Turning to professional auto body services for help in these situations is often recommended due to their expertise in dealing with intricate vehicle electronics and hardware, including bumper repair and other auto body repairs.
Diagnosing Disconnected or Damaged Harness
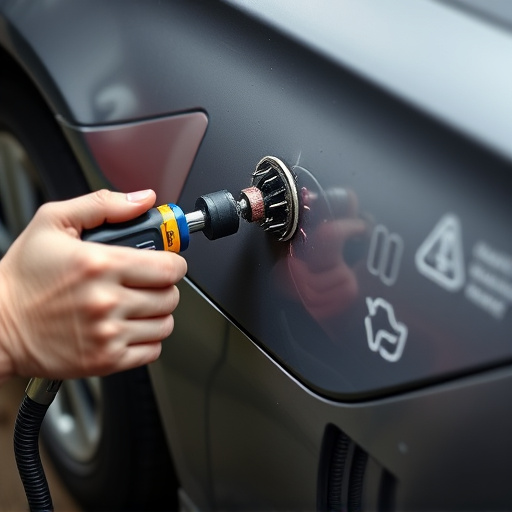
When diagnosing a Tesla door mounted camera issue, one of the most common problems is a disconnected or damaged harness. The first step in Tesla door mounted camera repair is to carefully inspect the camera and its surrounding area for any visible signs of damage, such as frayed wires or loose connections. Often, these issues can be easily identified by observing the camera’s functionality; if the camera is not activating or displaying an odd image, it could indicate a problem with the harness.
For auto repair near you that involves Tesla door mounted camera repair, it’s important to have a thorough understanding of car bodywork and electrical systems. A damaged harness may need to be replaced entirely, which requires specific tools and expertise. Unlike simple auto glass repair or routine maintenance tasks, this type of repair demands precision to ensure the camera functions properly and seamlessly integrates with your Tesla’s overall system.
Step-by-Step Guide to Repair and Reinstallation
Step-by-Step Guide to Repair and Reinstallation
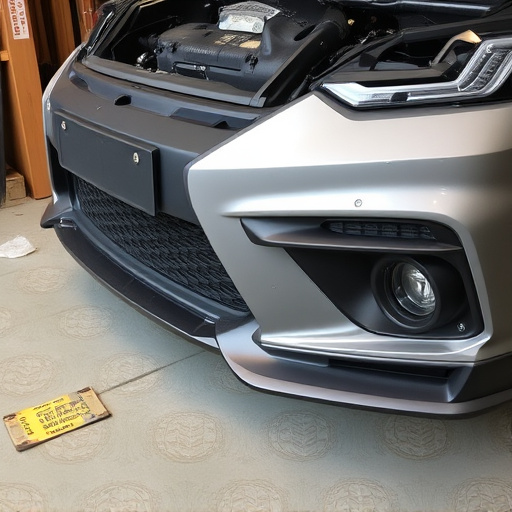
The first step in Tesla door mounted camera repair involves locating the harness. This is typically found along the edge of your vehicle’s door, often concealed by trim pieces. Once identified, carefully inspect for any signs of damage or fraying. If the harness appears disconnected or damaged, it needs to be replaced. Before starting the repair, gather the necessary tools: a replacement harness, pliers, and a small flathead screwdriver.
Next, disconnect the camera from the vehicle’s electrical system, ensuring safety by turning off your car’s power. Remove any covering trim pieces around the door mounted camera area. With the old harness identified, cut it away from the door, taking care not to damage surrounding components. Install the new harness, securing it tightly and reattaching any trimmed pieces. After confirming proper installation, reconnect the camera to the vehicle’s electrical system and test its functionality. If you’re experiencing issues or unsure about any step, consider seeking help from a reliable auto repair near me. Remember, classic car restoration isn’t just about aesthetics; it’s also ensuring each component functions optimally for your safety, like the Tesla door mounted camera. Even bumper repair, while seemingly unrelated, can impact overall vehicle stability and appearance.
If your Tesla’s door mounted camera is experiencing issues due to a disconnected or damaged harness, don’t worry – with a bit of DIY skill, you can have it up and running again in no time. By understanding the common problems, diagnosing the issue, and following a simple step-by-step guide, you’ll be well on your way to repairing and reinstalling your Tesla door mounted camera efficiently. Remember, proper maintenance ensures optimal performance, so keep an eye on any potential harness issues to prevent future disruptions.