


Parking lot dent removal addresses scratches to deep dents caused by shopping carts or vehicles. DIY methods work for minor cases, but severe dents require professional collision repair technicians using specialized tools like pneumatic hammers and precise templates. Key materials include dent pullers, sandpaper, degreaser, and car paint repair kits for accurate color matching. Hail damage techniques can be used, but severe cases demand professional services for precision and long-lasting results, enhancing vehicle appearance through a step-by-step guide focusing on tool selection and smoothing for a flawless finish.
Parking lot dent removal is a common concern for car owners, with many facing scratches and dents from narrow spaces and impatient drivers. This guide tackles parking lot dent removal head-on, offering practical insights into understanding various types of damage, gathering the right tools and materials, and following a step-by-step process for effective repair. Learn how to restore your vehicle’s appearance and avoid costly body shop visits.
- Understanding Parking Lot Dent Damage
- Tools and Materials for Repair
- Step-by-Step Guide to Effective Removal
Understanding Parking Lot Dent Damage
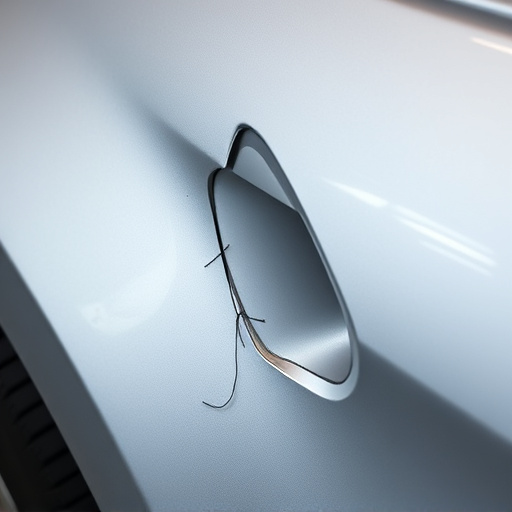
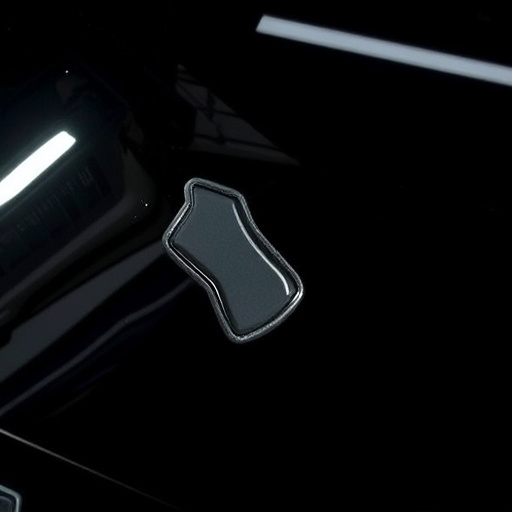
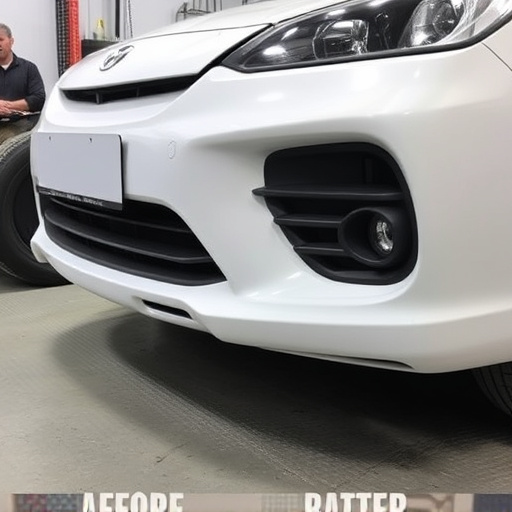
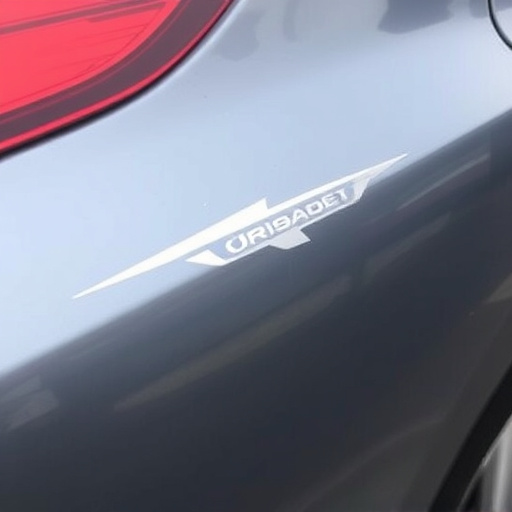
Parking lot dent damage is a common occurrence, often caused by shopping carts, delivery vehicles, or other cars in close proximity. These impacts can leave not only unsightly scratches but also more substantial dents that require professional attention. Understanding the extent of the damage is crucial before attempting any parking lot dent removal. Inspect the affected area closely to determine if it’s merely a shallow scratch or a deep depression that may involve damaging the car’s paintwork and even the metal panel underneath.
For minor scratches, DIY methods using specific polishes and buffers can be effective. However, for more severe dents, it’s best to leave parking lot dent removal to collision repair services. Skilled technicians have access to specialized tools, such as pneumatic hammers and precision-molded repair templates, that can restore the car’s surface closer to its original condition. Unlike auto glass replacement, which involves precise cutting and fitting, parking lot dent removal focuses on reshaping the damaged area without compromising the overall aesthetics of the vehicle, ensuring a seamless finish once the repairs are complete.
Tools and Materials for Repair
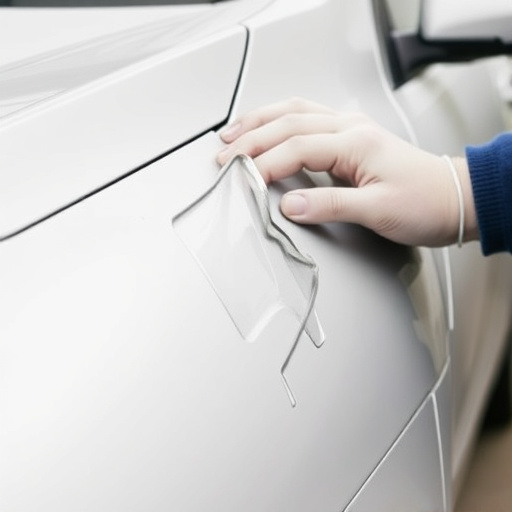
When it comes to parking lot dent removal, the right tools and materials are essential for achieving a professional fix. For minor dents and scratches, you’ll need a set of dent pullers or tools designed to gently press out the imperfection from the car’s panel. These tools often come in various sizes and shapes to accommodate different vehicle types, especially considering that mercedes benz repair might require specialized equipment.
Additionally, prepare your work area with sandpaper for smoothing the damaged surface, a degreaser for cleaning, and a high-quality car paint repair kit for matching the color accurately. Hail damage repair techniques can also be employed here, but remember, for more extensive repairs, professional services are recommended to ensure precision and longevity, especially in cases of severe parking lot dent removal.
Step-by-Step Guide to Effective Removal
Removing dents and scratches from a parking lot or driveway can significantly improve the aesthetic appeal of your vehicle. Here’s a step-by-step guide to effective parking lot dent removal:
1. Inspect the Damage: Carefully examine the dent to determine its size, depth, and location on the vehicle. Smaller, shallower dents are typically easier to fix at home while deeper or larger ones may require professional automotive repair from a car repair shop specializing in automotive body work.
2. Gather Your Tools and Materials: For minor dents, you’ll need a dent puller or a hammer (for softer materials like plastic), rubber mallet, and a towel. For more severe cases, consider using a professional dent removal kit which often includes a variety of tools designed for different types and sizes of dents. Remember, safety gear is also crucial during the process.
3. Prepare the Area: Clean the surface thoroughly to ensure there’s no dirt or debris. This step is crucial for achieving the best results. Dry the area well if using heat-based methods as moisture can compromise the repair.
4. Use a Dent Puller (for smaller dents): Apply the dent puller tool over the dent, aligning it perfectly with the surrounding panel. Gradually apply pressure until the dent starts to pop out. Be careful not to damage nearby parts or paint.
5. Manual Method (for deeper dents): If using a hammer and mallet, carefully tap around the edges of the dent to loosen it. Start at the highest point of the dent and work your way out. Keep tapping until you feel the dent begin to lift, then use the towel to protect the surface as you gently pull it out.
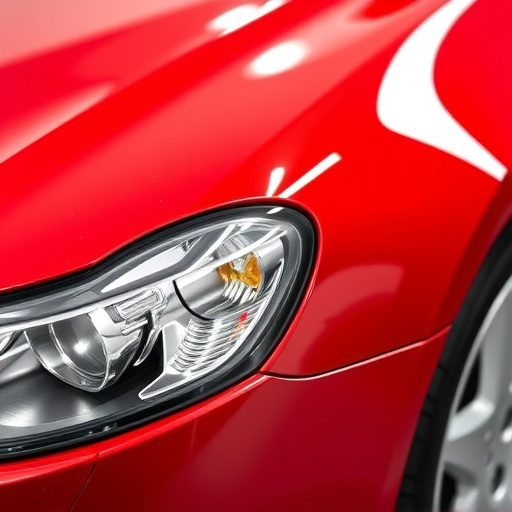
6. Smoothen and Polish: Once the dent is removed, smoothen the area using automotive-grade filler or putty if needed. Allow it to dry according to the product instructions. After sanding, polish the area until it matches the surrounding paint job for a seamless finish.
Parking lot dent removal doesn’t have to be a daunting task. By understanding the type of damage, gathering the right tools and materials, and following a step-by-step guide, you can effectively fix scratches and dents on your vehicle. With some patience and practice, you’ll be able to restore your car’s appearance and avoid costly body shop repairs. Remember, prompt action is key in minimizing damage, so don’t delay in taking care of those pesky parking lot dents.