

Assess dent severity: clean, dry, & sand fender. Apply automotive-grade putty for minimal removal & seamless results. Sand after curing, then prime & paint for a durable, factory finish in fender dent repair.
“Looking to fix a fender dent without removing the fender? This DIY guide walks you through a simple, effective process. First, assess and prepare the damaged area, ensuring a clean and smooth surface. Next, apply putty to the dent, carefully smoothing it out for a flawless finish. After sanding, priming, and painting, your fender will look like new. Learn these easy steps for quick and efficient fender dent repair.”
- Assess and Prepare the Fender Surface
- Apply Putty and Smoothen the Dent
- Sand, Prime, and Paint for a Perfect Match
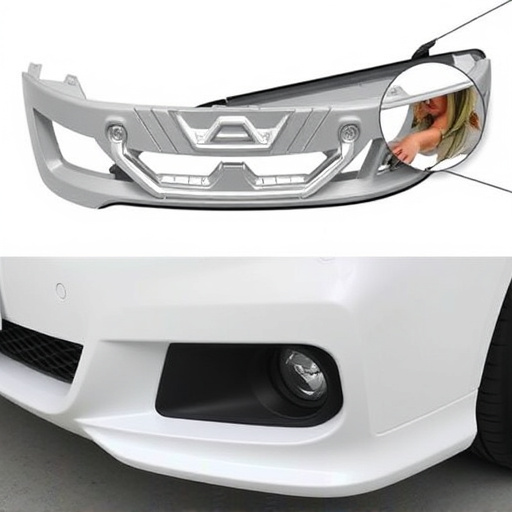
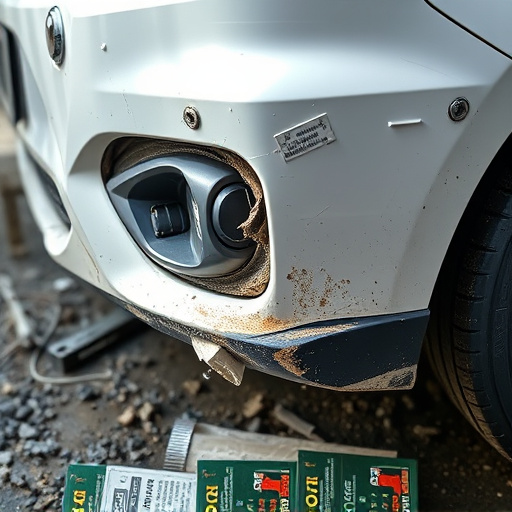
Assess and Prepare the Fender Surface
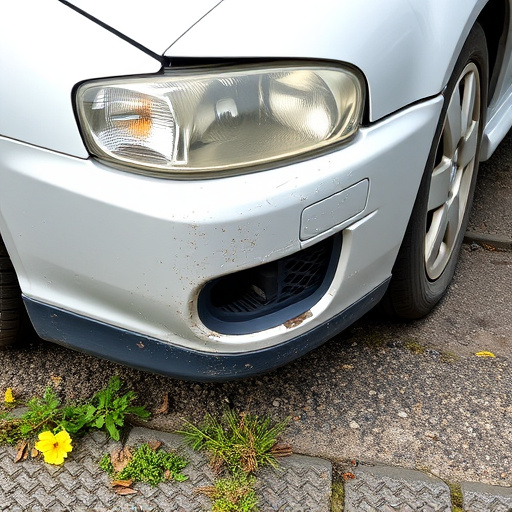
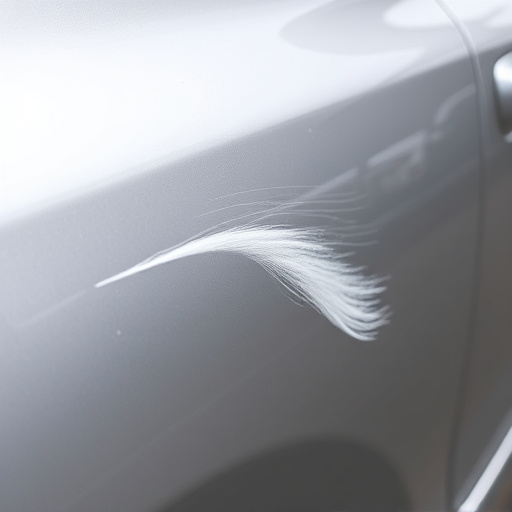
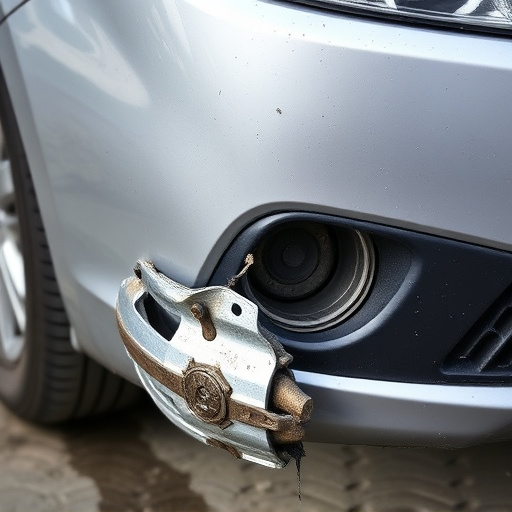
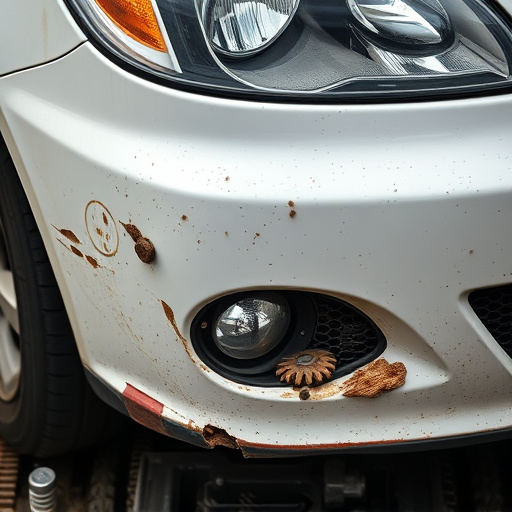
Before diving into the actual repair process, assessing and preparing the fender surface is a crucial step in fender dent repair. Start by thoroughly inspecting the dented area to understand its extent—how deep it goes, how wide it is, and if there are any associated damage like cracks or broken parts. This evaluation will guide your choice of repair techniques and tools. Remember, different methods suit varying levels of damage, so a precise assessment ensures you’re using the right approach.
To prepare the fender, clean it thoroughly to remove dirt, dust, or debris that might interfere with the repair process. This can be done using mild soap and warm water. Once clean, dry the surface completely, as moisture can hinder the bonding of new paint or repairs. You may also need to sand the area slightly to create a smooth base for your fix, especially if there are any rough edges or ridges left from the impact. Using the right tools and techniques for this step ensures that the final repair blends seamlessly with the rest of the fender and car, maintaining both aesthetic appeal and structural integrity—essential aspects of any successful fender dent repair, without needing to remove the fender.
Apply Putty and Smoothen the Dent
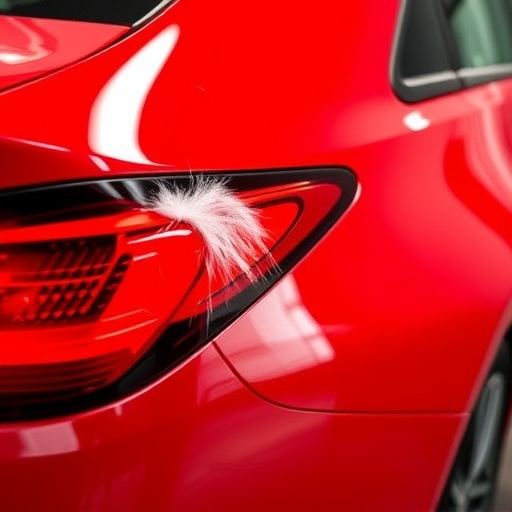
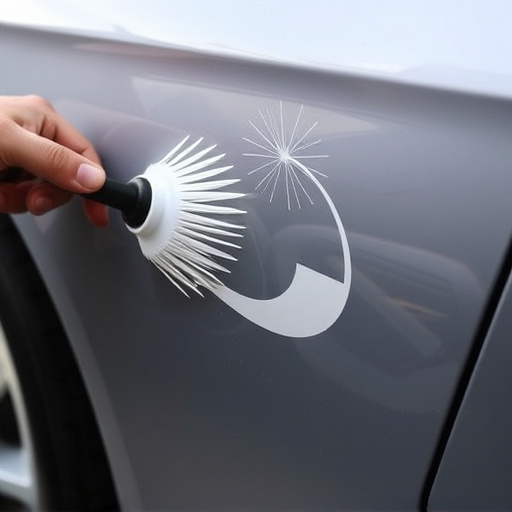
After preparing the dented area, it’s time to apply putty to fix the fender dent without removing the fender. Start by using a small amount of automotive-grade putty, ensuring it matches your car’s paint color for seamless results. Apply the putty over the dent, pressing it gently into place. Work quickly but carefully, as putty can set relatively fast. Smoothen the surface with your finger or a soft cloth to match the original contour of the fender. This step ensures that once cured, the repaired area will blend in perfectly with the rest of your car’s bodywork.
Allow the putty to cure according to the manufacturer’s instructions. Once hardened, sand the surface lightly with fine-grit sandpaper to remove any excess putty and achieve a smooth finish. This light sanding step is crucial for achieving professional-looking fender dent repair without having to take your car to a car body shop or deal with lengthy downtime at a car repair shop.
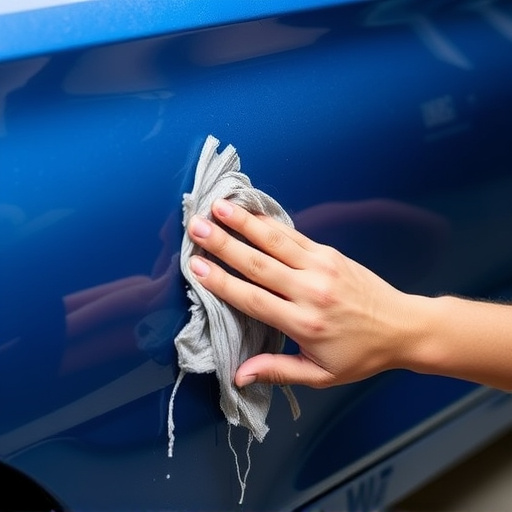
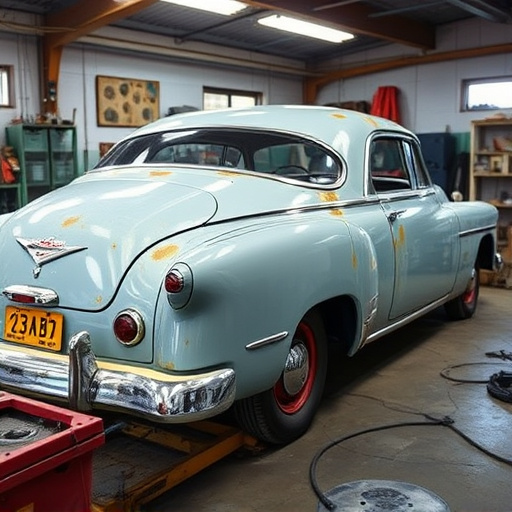
Sand, Prime, and Paint for a Perfect Match
After successfully removing the dent from your fender using methods like heat or a hammer, it’s crucial to prepare the area for painting to ensure a perfect match with your car’s original color. Start by sanding the repaired fender gently with fine-grit sandpaper, smoothing out any remaining ridges or marks left by the dent removal process. This step is essential for creating a smooth surface that will adhere to paint evenly.
Next, clean the area thoroughly to remove any dust or debris generated during sanding. Prime the fender using a high-quality automotive primer designed to match your car’s original color. This layer of primer acts as a bridge between the repaired metal and the final coat of paint, ensuring better adhesion and a more durable finish. Once the primer is dry, apply the final coat of paint specifically tailored to your car’s make and model—this could be a factory-matched color or a close replica from a trusted car paint repair service near you.
Repairing a fender dent without removing the fender is not only cost-effective but also allows you to maintain your vehicle’s original aesthetic. By carefully assessing and preparing the dented area, applying putty to smoothen the imperfection, and then sanding, priming, and painting with precision, you can achieve a perfect match that blends seamlessly with your car’s existing finish. With these steps, you’ll have successfully navigated fender dent repair, ensuring your vehicle looks as good as new without the need for extensive bodywork.