


Rain sensor glass repair is essential for vehicle safety and convenience, ensuring accurate automatic wiper activation during rain. This guide covers the process, from gathering high-quality parts to a systematic replacement and calibration procedure. Regular maintenance extends the life of the repaired sensor, minimizing accident risk.
“Discover the intricacies of accurate rain sensor glass repair with our comprehensive guide. Understanding the functionality of these sensors, crucial for modern vehicle windscreens, is the first step. Next, equip yourself with the essential tools and materials needed for a successful fix. We’ll then walk you through a step-by-step process, ensuring proper replacement for optimal performance. By mastering these key elements, you’ll be well-prepared to tackle rain sensor glass repair, enhancing your automotive maintenance skills.”
- Understanding Rain Sensor Glass Functionality
- Essential Tools and Materials for Repair
- Step-by-Step Guide to Effective Replacement
Understanding Rain Sensor Glass Functionality

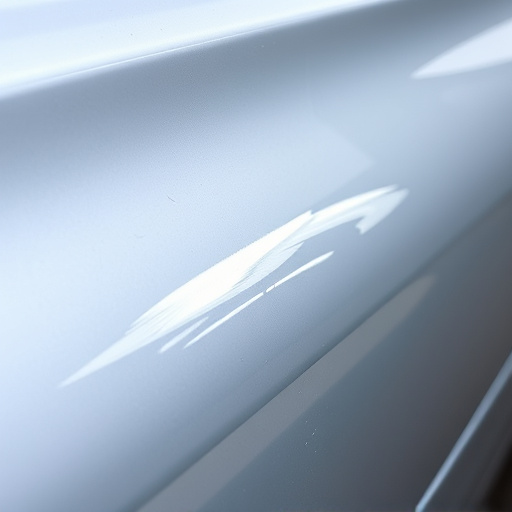
Rain sensor glass, a technological marvel in modern vehicles, plays a crucial role in enhancing safety and convenience. Its primary function is to detect the presence of rain on the windshield, triggering the car’s wipers for effective water removal. This sophisticated system ensures optimal visibility during adverse weather conditions, thereby preventing accidents and improving driving experience.
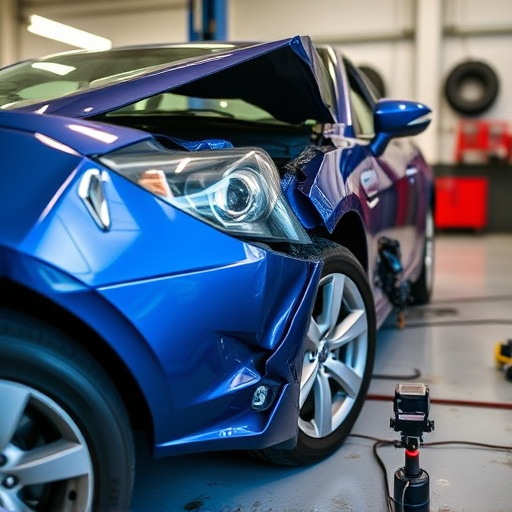
Understanding how this sensor operates is essential when considering repair services, especially after an automotive collision or scratch repair. The rain sensor glass repair process involves meticulous calibration and testing to ensure the sensor’s sensitivity remains precise. It requires specialized tools and knowledge of automotive electronics to replace or calibrate the sensor without compromising its functionality, ensuring the vehicle’s safety features function flawlessly.
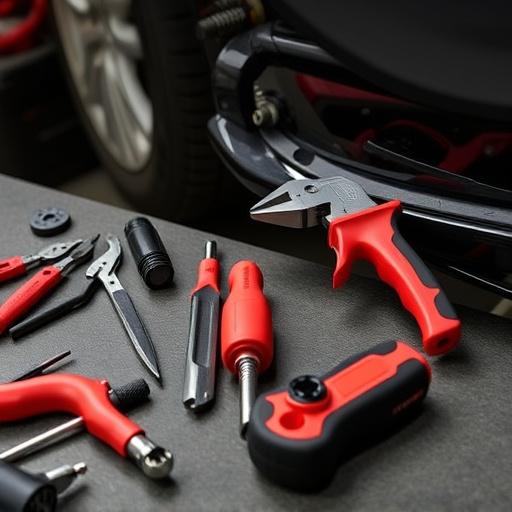
Essential Tools and Materials for Repair
For a successful rain sensor glass repair, certain essential tools and materials are indispensable. The first step requires gathering high-quality replacement parts, including a new rain sensor glass and any necessary sealing compounds. It’s crucial to source parts that are compatible with your vehicle model to ensure optimal performance. Additionally, you’ll need basic hand tools like screwdrivers, pliers, and a putty knife for precise work.
In the auto body repair process, having the right materials is equally vital. This includes cleaning solutions, gloves, safety goggles, and masks to protect against hazardous chemicals and debris. A reliable auto collision center or dedicated auto maintenance shop will stock these essentials, making the repair more accessible and efficient. With the proper tools and materials in hand, tackling rain sensor glass repairs head-on is feasible for both professionals and enthusiastic DIYers.
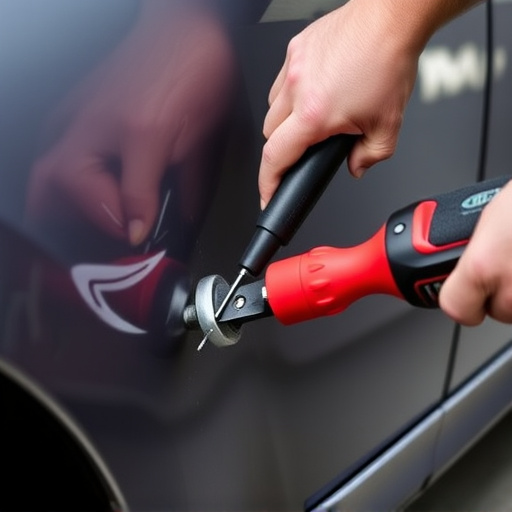
Step-by-Step Guide to Effective Replacement

Replacing a rain sensor glass requires careful precision and a systematic approach for accurate results. Here’s a step-by-step guide to ensure effective replacement, focusing on the core elements of rain sensor glass repair.
1. Prepare Your Workspace: Begin by setting up your workspace in a clean, well-lit area. Gather all necessary tools, including a new rain sensor glass, screws, and any cleaning supplies. Remove any debris or contaminants from the existing sensor to ensure accurate readings.
2. Disconnect Power Source: Before beginning any work, disconnect the power source to the vehicle’s electrical system, specifically the rain sensor circuit, to avoid short circuits or malfunctions during the repair process. This step is crucial in ensuring safe and effective mercedes benz collision repair for your vehicle.
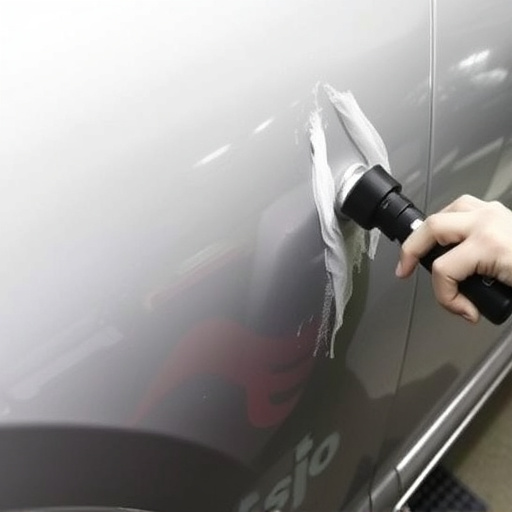
3. Remove Old Sensor: Carefully unscrew and remove the old rain sensor glass from its housing. Take note of the sensor’s orientation and any intricate connections to ensure proper reinstallation later. Clean the housing thoroughly to eliminate any buildup that might affect new sensor performance.
4. Install New Sensor: Insert the new rain sensor glass into the housing, ensuring it aligns perfectly with the existing mechanism. Secure it with the appropriate screws, following the vehicle’s specific installation guidelines. Double-check all connections for a tight fit.
5. Test and Calibrate: Once installed, reconnect the power source and test the new sensor to ensure its functionality. Calibrate as per manufacturer recommendations for optimal performance, ensuring accurate readings in various weather conditions. Regular vehicle body repair and maintenance will prolong the life of your newly replaced rain sensor glass.
Accurate rain sensor glass repair involves understanding the technology, gathering the right tools, and following a meticulous process. By mastering these key elements, as outlined in this guide, you can effectively replace damaged rain sensors, ensuring your vehicle’s safety and comfort. Remember, proper repair techniques are essential for maintaining optimal sensor performance and preventing future issues with your car’s rain-sensing wipers.