

Tesla owners need to prioritize undercarriage protection for performance and aesthetics. Regular inspections, tire services, and paintless dent repair are crucial. Proactive care prevents costly repairs. Choosing right Tesla undercarriage protection ensures safety and longevity. DIY installation guide provided for tailored fits and superior impact resistance against road hazards.
Tesla owners, concerned about their vehicle’s safety and longevity, increasingly turn to undercarriage protection. This article demystifies the installation process of Tesla undercarriage protection, guiding you from understanding the necessity to selecting the ideal option and providing a comprehensive, step-by-step guide for DIY enthusiasts eager to enhance their electric vehicle’s defense against road debris.
- Understanding Tesla Undercarriage Protection Needs
- Selecting the Right Protection for Optimal Safety
- Step-by-Step Installation Guide for DIY Enthusiasts
Understanding Tesla Undercarriage Protection Needs
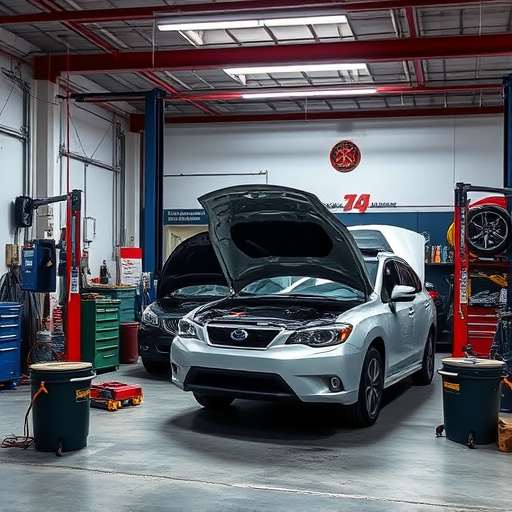
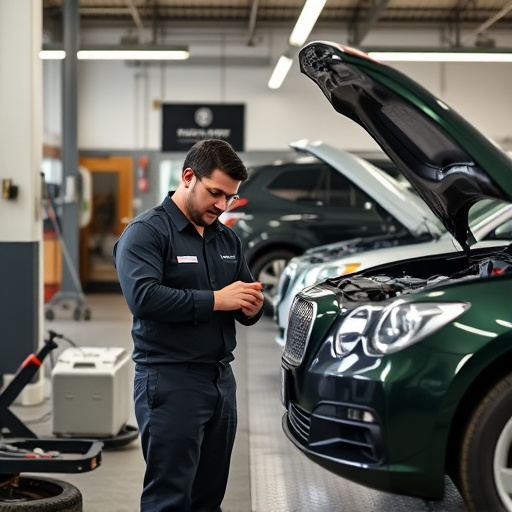
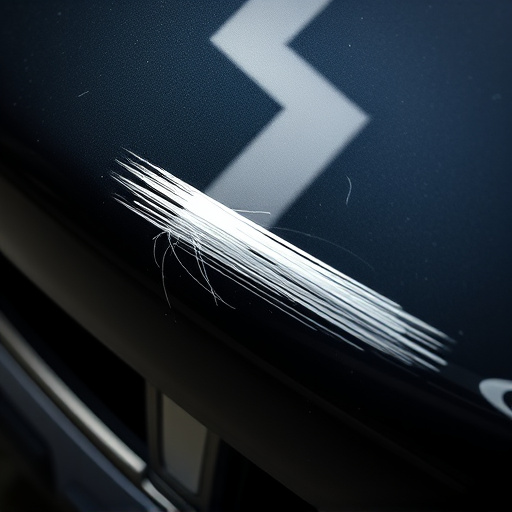
Every Tesla owner knows that their vehicle is an engineering marvel, but like any car, it requires maintenance and protection to preserve its performance and aesthetics. Understanding the needs of Tesla undercarriage protection is crucial for safeguarding against potential damage caused by road debris, rocks, and other hazards. The undercarriage, which includes essential components like exhaust systems, fuel lines, and brakes, is vital to the vehicle’s overall health and safety.
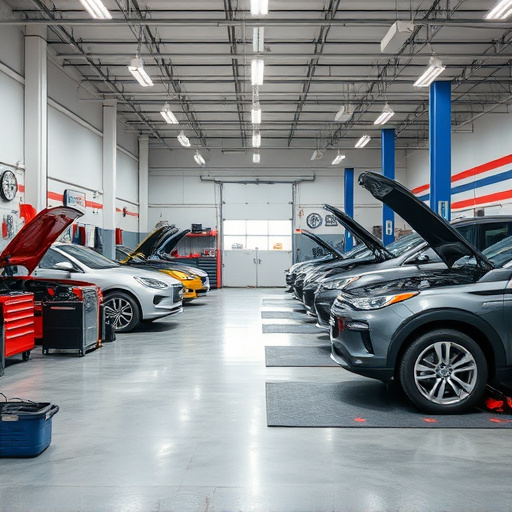
Regular inspections are key to identifying any vulnerabilities. Many automotive body shops offer specialized services tailored to Tesla owners, including tire services and paintless dent repair, which can help in maintaining the vehicle’s sleek design. By addressing undercarriage protection early, Tesla owners can ensure their vehicles remain reliable and efficient for years to come, avoiding costly repairs down the line.
Selecting the Right Protection for Optimal Safety
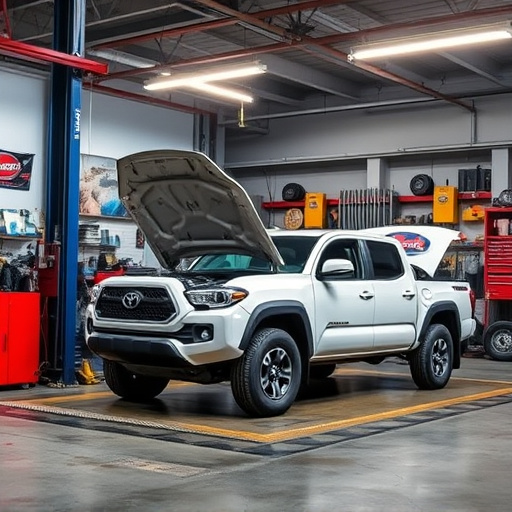
When it comes to Tesla undercarriage protection, choosing the right solution is paramount for optimal safety and vehicle longevity. The undercarriage, a vital component often overlooked, plays a crucial role in protecting your car from common road hazards like fender benders and debris. Selecting the appropriate undercarriage protection involves understanding the specific needs of your Tesla model and the environmental conditions it typically navigates.
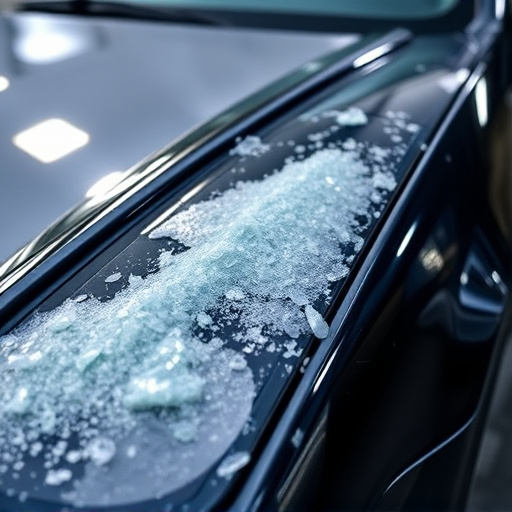
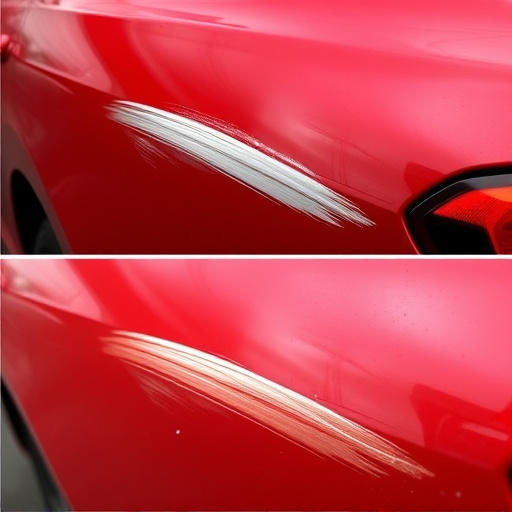
For instance, residents of areas prone to harsh weather conditions might require sturdier, more robust undercarriage guards compared to those in regions with milder climates. Moreover, considering factors like ease of installation and compatibility with your vehicle’s design can enhance both functionality and aesthetics. Many Tesla owners opt for specialized undercarriage protection kits available at collision centers, ensuring a tailored fit and superior impact resistance, thereby safeguarding against unsightly car dents repair and potential structural damage.
Step-by-Step Installation Guide for DIY Enthusiasts
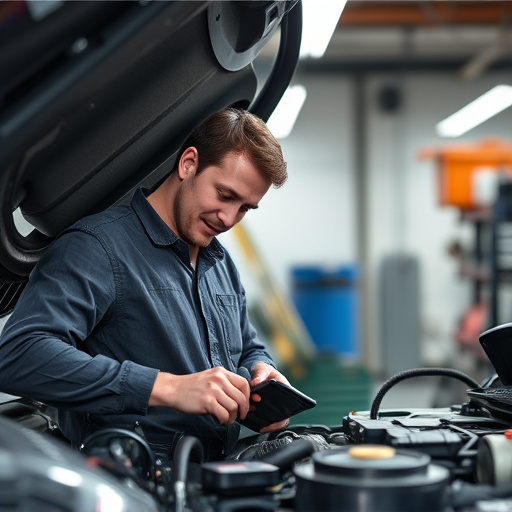
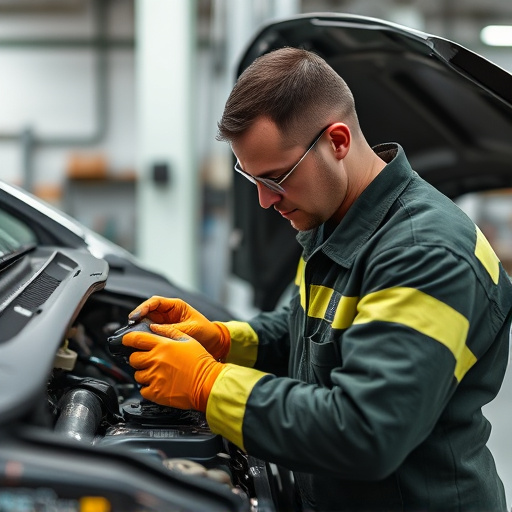
For DIY enthusiasts looking to enhance their Tesla’s protection against road debris and potential damage, installing undercarriage protection is a feasible task. Here’s a step-by-step guide to help you through the process:
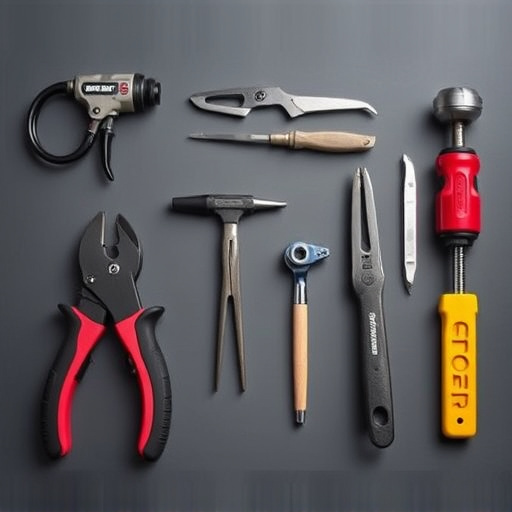
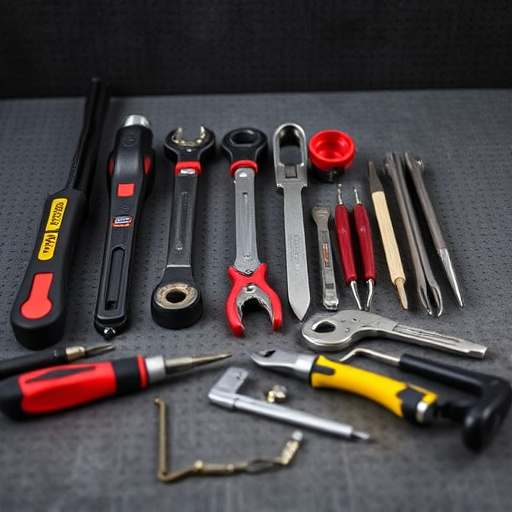
1. Prepare Your Workspace: Begin by clearing an area large enough to comfortably work on your Tesla. Ensure proper lighting and access to all necessary tools and materials, including your Tesla undercarriage protection kit.
2. Remove Wheels (if needed): Depending on your kit, you might need to remove the wheels for easier installation. Use a jack and jack stands for safety while loosening lug nuts with a wrench.
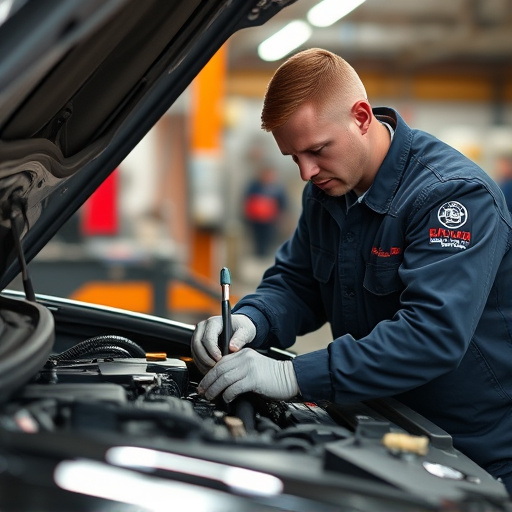
3. Inspect the Underbody: Clean the undercarriage thoroughly to ensure proper adhesion of the protection. Inspect for any existing damage or sharp edges that could interfere with the fitment, and address these issues before proceeding (considering auto body repair if necessary).
4. Measure and Cut (if applicable): Some kits require cutting the protective material to fit specific contours. Use a pair of clean scissors or a precision knife, following the manufacturer’s instructions for safe handling.
5. Apply Adhesive: If your kit includes an adhesive, apply it evenly along the designated areas using a rubber mallet or a smooth roller (never use a hard object to avoid damaging the car bodywork services).
6. Install Protection: Carefully position the undercarriage protection material, pressing firmly against the adhesive to ensure a secure fit. Smooth out any bubbles or wrinkles for an optimal seal.
7. Reattach Wheels: Once the adhesive has set (as per the manufacturer’s instructions), reattach the wheels, tightening them securely with a wrench.
Tesla undercarriage protection is an essential step in safeguarding your vehicle’s critical components. By understanding the specific needs and selecting the right protection, you can enhance safety and peace of mind. Following our comprehensive guide, DIY enthusiasts can confidently install their chosen undercarriage protection, ensuring a robust defense against road hazards. Implement these steps for a more secure Tesla experience on the road ahead.