


Composite material repair is crucial for restoring modern car bodies damaged in incidents, from minor fender benders to severe crashes. Effective damage assessment guides the repair approach. While DIY kits are available for simple repairs, complex cases like bumper restoration demand professional expertise. Before starting, secure necessary tools and safety gear, including gloves, glasses, mask, ear protection, and long sleeves. This guide provides a step-by-step process for car owners to repair composite material using a repair kit, sandpaper, degreaser, and proper preparation techniques to ensure seamless integration with the car body.
Can you tackle a DIY composite material repair project safely and effectively? This guide breaks down everything you need to know. First, understanding the common types of composite damage is crucial. Then, equip yourself with the right tools and safety gear for the job. Finally, follow our step-by-step guide to restore your composite surface to its former glory. Master these aspects, and you’ll be well on your way to successful DIY composite material repair.
- Understanding Composite Material Damage
- Tools and Safety Gear for DIY Repair
- Step-by-Step Guide to Composite Restoration
Understanding Composite Material Damage

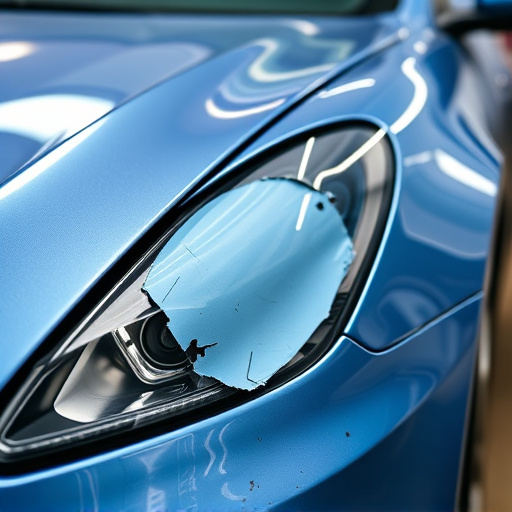
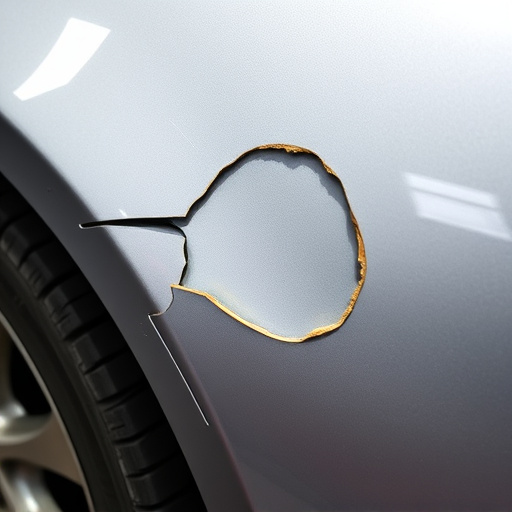
Composite materials, commonly used in modern car bodies like fenders and bumpers due to their lightweight and durability, can sustain damage from various incidents, including minor fender benders. Understanding how composite material repair works is crucial for effective restoration of car bodywork. Damage can range from surface scratches and dents to more severe cracks or delaminations that compromise structural integrity.
Proper assessment is key; inspect the damaged area thoroughly to determine the extent of the issue. Minor repairs, such as filling in small chips or dings, can often be done at home using dedicated composite repair kits. More complex cases, like significant bumper repair after a collision, may require professional expertise to ensure structural integrity and aesthetic appeal are maintained.
Tools and Safety Gear for DIY Repair

Before tackling any composite material repair, whether it’s for a damaged car bumper or a cracked motorcycle fender, ensure you’re equipped with the right tools and safety gear. For composite materials, this includes specialized tools designed to handle their unique properties, such as high-quality knives, scissors, and heat guns. These tools allow for precise cuts and shape alterations without damaging the underlying structure.
Safety is paramount when dealing with composites, as they can be hazardous if not handled correctly. Wear protective gear including gloves, safety glasses, and a mask to shield yourself from debris and fumes. In case of automotive collision repair or vehicle restoration projects, consider additional gear like ear protection and long sleeves to minimize exposure to potentially harmful materials and dust particles.
Step-by-Step Guide to Composite Restoration

Repairing composite material, often found on modern vehicle bodies, can be a challenging task for car owners, but with the right approach and materials, it’s achievable. Here’s your step-by-step guide to achieving a safe and effective composite restoration:
1. Assess the Damage: Start by inspecting the damaged area thoroughly. Identify any cracks, chips, or delaminations. This initial evaluation will dictate the extent of repair required, ensuring you have the right tools and materials for the job. Remember, early detection is key to a successful repair, preventing further deterioration.
2. Gather Materials and Tools: For composite material repair, gather specific tools and supplies, including a composite repair kit with adhesive, filler, and resin; sandpaper (various grits); a degreaser; a mask for protection against fumes; and clean rags or cloths. Consider seeking guidance from an auto collision center or automotive repair services to source the right products, especially if you’re new to this process.
3. Prepare the Surface: Clean the damaged area meticulously using the degreaser to remove any grease, dirt, or debris. Ensure the surface is dry and free of contaminants. Sanding can help smoothen the edges of the damage, providing a clean canvas for your repair. Start with coarse grit sandpaper, moving to finer grits until you achieve a smooth finish.
4. Apply Adhesive: Using the composite repair kit, apply an appropriate adhesive to the damaged area and the surrounding surface. This step ensures the new material bonds firmly with the existing composite. Follow the manufacturer’s instructions for application and curing times.
5. Fill and Resin: Pack the damage with filler, filling any gaps or cracks completely. Smoothen the filler using a tool designed for composite repairs to match the surrounding surface. Once filled, apply resin over the repaired area, ensuring even coverage. Allow it to cure as per the product’s instructions.
6. Sand and Finish: After curing, gently sand the repaired area with fine-grit sandpaper until it blends seamlessly with the rest of the vehicle body. Remove any residual filler or adhesive from the surface. Finally, clean the area thoroughly to ensure no debris remains, making it ready for painting or further auto body repair services if needed.
DIY composite material repair can be a feasible and cost-effective solution for minor damage, allowing you to restore your items to their original state. By understanding the type of damage, equipping yourself with the right tools and safety gear, and following a systematic approach, you can achieve successful results. With this guide, you now have the knowledge to tackle composite repairs confidently, ensuring your creations remain durable and aesthetically pleasing. For more extensive or complex damages, seeking professional assistance is always an option to consider.