


Taillight problems range from minor to severe, impacting safety and visibility. Common issues include burned-out bulbs, damaged wiring, cracked lenses, and faulty connectors. Regular maintenance is crucial, but when repairs are needed, seek professional auto body repair specialists for efficient taillight repair or replacement. Technicians use diagnostic tools like multimeters and visual inspection to identify problems. Holistic troubleshooting involves tracing wiring harnesses and understanding taillight integration with other components. This guide provides a detailed step-by-step process for successful taillight repair replacement, emphasizing initial inspection, correct part selection, safe removal of old lights, cleaning, installation, reconnection, and functionality testing.
Struggling with a dim or flickering taillight? This guide is your beacon! We’ll shine a light on common taillight issues, equipping you with knowledge. Technicians employ advanced diagnostic tools and techniques to pinpoint problems swiftly. From understanding faulty components to efficient replacement, this step-by-step process ensures your vehicle’s safety and brightness back on the road. Discover expert tips for a seamless taillight repair or replacement journey.
- Understanding Common Taillight Issues
- Diagnostic Tools and Techniques for Technicians
- Step-by-Step Guide to Efficient Replacement Process
Understanding Common Taillight Issues
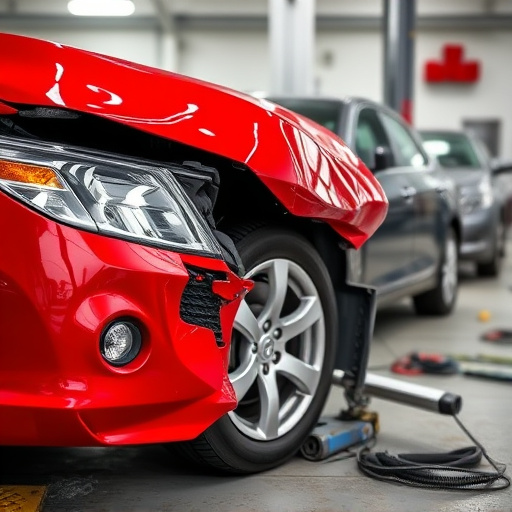
Taillight problems can range from minor to significant issues that affect a vehicle’s safety and visibility on the road. Common taillight concerns include burned-out bulbs, loose or damaged wiring, cracked or shattered lenses, and faulty connectors. These issues often require immediate attention as they can impair nighttime driving conditions and potentially lead to accidents.
Proper maintenance and regular checks are essential for preventing taillight problems. However, when a repair is needed, it’s crucial to seek professional help from experienced technicians. Auto body repairs specialists skilled in automotive collision repair or hail damage repair are well-equipped to diagnose and replace taillights efficiently, ensuring the safety of drivers and passengers alike.
Diagnostic Tools and Techniques for Technicians

Technicians employ a combination of advanced diagnostic tools and techniques to accurately identify taillight problems for replacement. These tools range from basic multimeters used to measure voltage, resistance, and current, to more sophisticated oscilloscopes that can detect subtle electrical anomalies. Visual inspection using high-powered magnifying glasses helps in examining the physical condition of the taillights, checking for cracks, chips, or signs of wear. Additionally, diagnostic scanners connected to a vehicle’s computer system enable technicians to retrieve error codes from the car’s ECU (Engine Control Unit), pinpointing the exact nature of the malfunction.
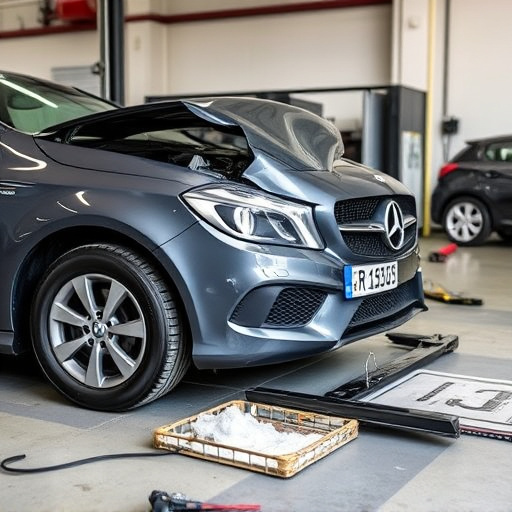
In many cases, especially when dealing with modern vehicles, technicians leverage their expertise in integrated vehicle systems to diagnose issues. This involves tracing wiring harnesses and connectors for damage or loose connections. Moreover, understanding the interplay between taillights and other vehicle components, such as the brake system, ensures a comprehensive approach to troubleshooting. For instance, a faulty taillight might be linked to an underlying problem with the vehicle’s bodywork or paintless dent repair processes, leading to a thorough evaluation of the entire assembly line in the vehicle body shop.
Step-by-Step Guide to Efficient Replacement Process

To efficiently replace a taillight, follow this step-by-step guide. First, locate the faulty taillight by inspecting the vehicle for any signs of damage or malfunction, such as flickering or non-functional lights. Once identified, ensure you have the correct replacement part, typically available at a car repair shop or auto collision center.
Next, disconnect the taillight electrically, usually by twisting and pulling the bulb to unplug it from the socket. Remove any retaining clips or screws securing the taillight in place using the appropriate tools. Gently pull the old taillight out of its housing. Clean the housing to ensure no debris remains, then install the new taillight by placing it firmly back into the housing and securing it with clips or screws. Reconnect the electrical connection and test the new taillight to confirm proper function. This streamlined process ensures a swift and effective taillight repair replacement.
Diagnosing and replacing taillights is a crucial aspect of vehicle maintenance, ensuring safety on the road. With a thorough understanding of common issues and the right diagnostic tools, technicians can efficiently identify problems, whether it’s a burnt-out bulb, faulty wiring, or sensor malfunctions. The step-by-step replacement guide provided offers a structured approach, making taillight repair and replacement accessible for professionals and do-it-yourselfers alike. Remember, timely maintenance of taillights is key to preventing accidents and keeping your vehicle running smoothly.