


Anti-flutter foam, vital for automobile safety and structural integrity, requires regular inspections and immediate replacement if damaged. Visual inspect for missing or torn foam, especially in impact-prone areas. Auto collision centers should replace it with high-quality, compatible alternatives, maintaining safety features during repair processes. Skilled technicians ensure proper installation for long-term protection.
Identifying missing or damaged anti-flutter foam is crucial for maintaining structural integrity and preventing costly repairs. This lightweight, insulating material plays a vital role in mitigating flutter and vibration in various structures. By understanding its importance, you can conduct effective visual inspections to detect signs of damage or missing foam. Armed with this knowledge, our guide outlines efficient replacement strategies, ensuring your anti-flutter foam remains in optimal condition.
- Understanding Anti-Flutter Foam Importance
- Visual Inspection: Signs of Damage or Missing Foam
- Effective Replacement Strategies for Anti-Flutter Foam
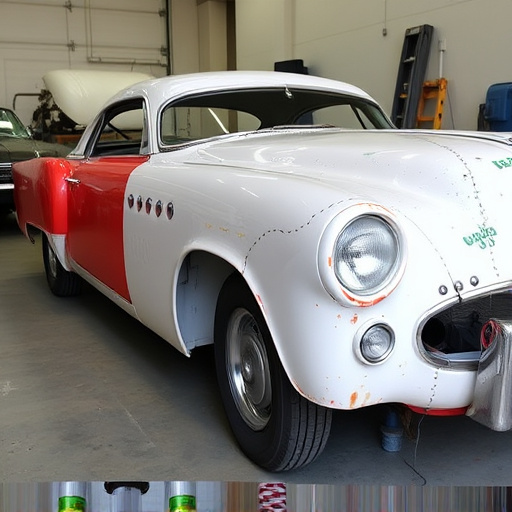
Understanding Anti-Flutter Foam Importance

Anti-Flutter foam plays a crucial role in automobile manufacturing, particularly in enhancing vehicle safety and structural integrity. This specialized foam is strategically placed within car bodies to absorb and dissipate energy during collisions, reducing the risk of damage and protecting occupants. By minimizing the impact force, anti-flutter foam contributes significantly to better crash protection, making it an essential component for modern vehicles.
For those concerned about maintaining their vehicle’s safety features, identifying missing or damaged anti-flutter foam is vital. If left unattended, these issues can compromise a car’s overall structural integrity and performance during accidents. Fortunately, regular inspections and prompt replacement of faulty foam are straightforward solutions, easily accessible through reliable auto repair services near me. Whether it’s a bumper repair or dent repair, ensuring the anti-flutter foam is in optimal condition is a proactive step towards enhancing vehicle safety and reliability.
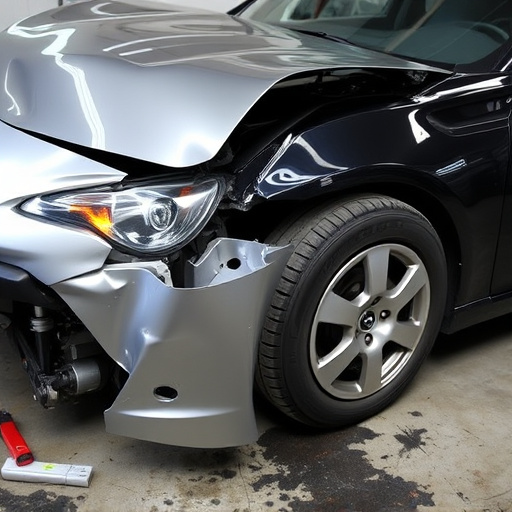
Visual Inspection: Signs of Damage or Missing Foam

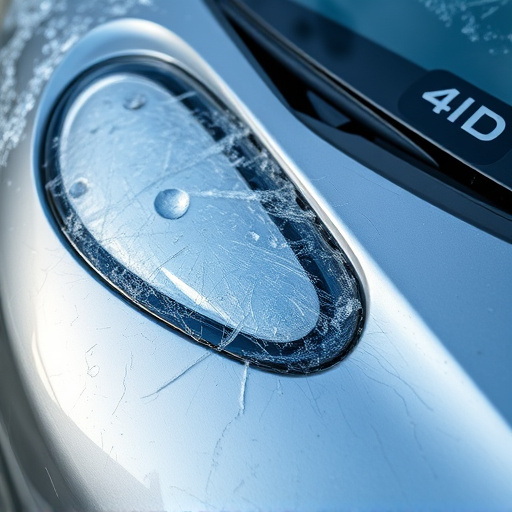
During your initial visual inspection, pay close attention to any visible signs of damage or missing anti-flutter foam. This crucial component is designed to prevent unwanted flutter and vibration within your vehicle, so any discrepancies can indicate potential issues. Look for gaps where foam should be, as this could be a sign of removal during previous repair work. Similarly, inspect the edges and corners for torn or frayed foam—a common occurrence in areas more prone to impact during car collision repair or vehicle collision repair incidents.
Additionally, keep an eye out for discolored or hardened foam, which might indicate exposure to moisture or heat. These visual cues can help you identify damaged or missing anti-flutter foam, prompting you to consider replacement options. If you notice any of these signs, visiting an auto collision center for professional assessment and potential anti-flutter foam replacement is recommended.
Effective Replacement Strategies for Anti-Flutter Foam

When replacing anti-flutter foam, it’s crucial to understand that this specific material plays a vital role in ensuring the structural integrity and performance of vehicles, especially during frame straightening and dent repair processes. Auto repair shops should not merely consider cost when choosing replacement options. Instead, they must opt for high-quality, compatible alternatives that can replicate the original foam’s properties.
Effective anti-flutter foam replacement strategies involve sourcing materials with similar density, flexibility, and shock absorption capabilities. This ensures the restored vehicle retains its structural balance and safety features, particularly in crucial areas like the chassis and body panels. Moreover, proper installation techniques are paramount to prevent future issues. Professional auto repair shops should employ skilled technicians who can meticulously follow manufacturer guidelines for a seamless fit, enhancing the overall effectiveness of the replacement process and ensuring customer satisfaction.
Identifying and addressing missing or damaged anti-flutter foam is crucial for maintaining efficient aviation operations. By understanding the significance of this component, conducting thorough visual inspections, and employing effective replacement strategies, you can ensure safe and reliable flights. Implement these measures to streamline the maintenance process and optimize performance, ultimately contributing to a seamless aviation experience. When it comes to anti-flutter foam replacement, knowing the signs, having the right tools, and following best practices are key to keeping your aircraft in top condition.