


Before replacing a Tesla emblem, thoroughly clean and inspect the surface for imperfections. Loosen the old adhesive with a heat gun on low settings, then carefully peel it off using a spudger. Repair scratches or damage, prepare the area with correct adhesives, and align the new emblem precisely for a professional finish that enhances vehicle aesthetics and maintains value.
Looking to refresh your Tesla’s look with a new emblem? This step-by-step guide covers everything you need for a successful Tesla emblem replacement. From preparing the surface for a clean install to safely removing the old emblem and correctly fitting the new one, we break down each process. Follow these detailed instructions for a seamless Tesla emblem replacement that restores your vehicle’s distinctive style.
- Prepare Surface for Tesla Emblem Replacement
- Remove Old Emblem Safely and Efficiently
- Install New Tesla Emblem Correctly
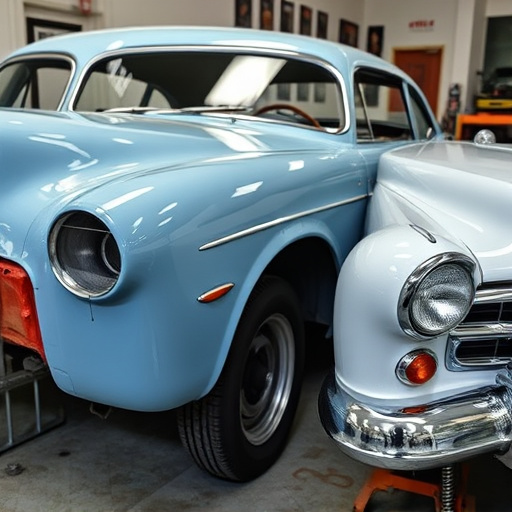
Prepare Surface for Tesla Emblem Replacement

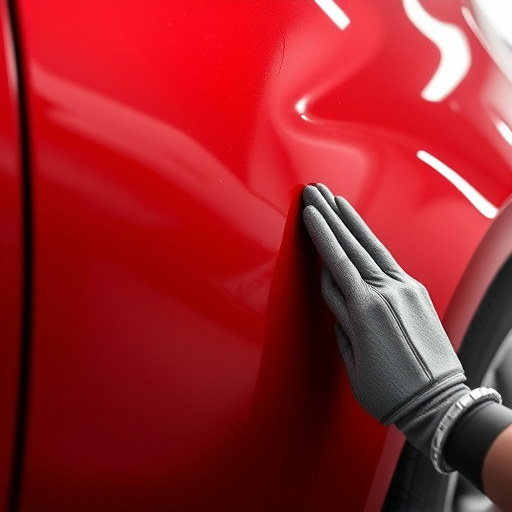
Before replacing your Tesla emblem, preparing the surface is a crucial step in ensuring a seamless and long-lasting installation. Start by thoroughly cleaning the area where the emblem will be placed. Use a soft cloth or sponge to remove any dirt, grease, or grime that may have accumulated over time. This is essential for achieving a proper bond between the new emblem and the vehicle’s surface.
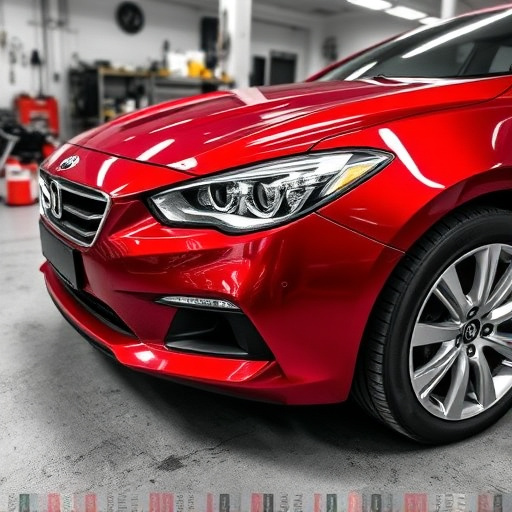
Once the surface is clean, inspect it for any imperfections such as dents, scratches, or rust. If there are visible damage, consider using auto body services that offer dent removal to restore the area to its original condition. Frame straightening techniques can also be employed to ensure the surface is even and smooth, providing an ideal base for your Tesla emblem replacement.
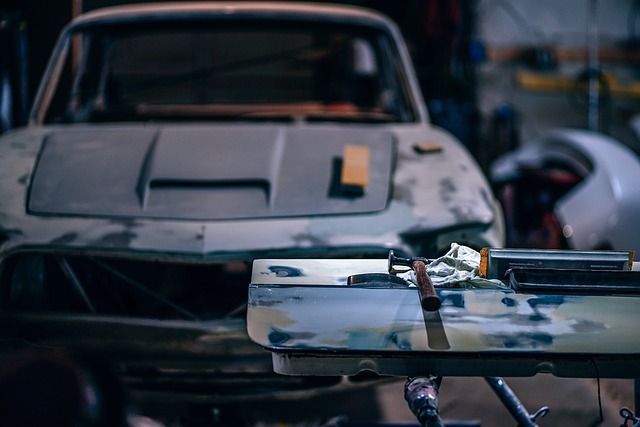
Remove Old Emblem Safely and Efficiently

When preparing for a Tesla emblem replacement, safely removing the old one is the first crucial step. It’s essential to avoid damaging the surrounding surface or paint during this process. The best approach is to use a heat gun on low settings to loosen the adhesive. This method prevents scraping and chipping that can occur with force-based removal techniques. Once the emblem starts to lift, carefully peel it off using a soft, flat tool like a spudger, ensuring not to apply excessive pressure.
For cars with minor scratches or hail damage repair needs, this meticulous process becomes even more critical. Proper surface prep, including repairing car scratches and restoring damaged areas, is essential before applying the new Tesla emblem. A smooth, clean surface guarantees a lasting bond between the emblem and the vehicle, enhancing its aesthetic appeal and protecting it from future car restoration challenges.
Install New Tesla Emblem Correctly

When replacing a Tesla emblem as part of auto body repairs, it’s crucial to ensure the new emblem is installed correctly for a clean and professional finish. Begin by preparing the surface, cleaning any dirt or debris around the area. This step is key to achieving a strong bond between the new emblem and the vehicle’s surface, ensuring longevity.
Follow the manufacturer’s instructions for application, using appropriate adhesives designed for automotive use. Align the emblem carefully, making sure it’s centered and level before securing it in place. With precise placement and proper adhesive, you can avoid unsightly bubbles or misalignments. Remember that a well-installed Tesla emblem not only enhances the vehicle’s aesthetics but also reflects the attention to detail that goes into autobody repairs.
Replacing your Tesla emblem is a straightforward process that can significantly refresh your vehicle’s look. By carefully preparing the surface, removing the old emblem with ease, and installing the new one correctly, you can achieve a professional result. Remember, proper surface prep is key to ensuring a secure fit for your new Tesla emblem replacement.