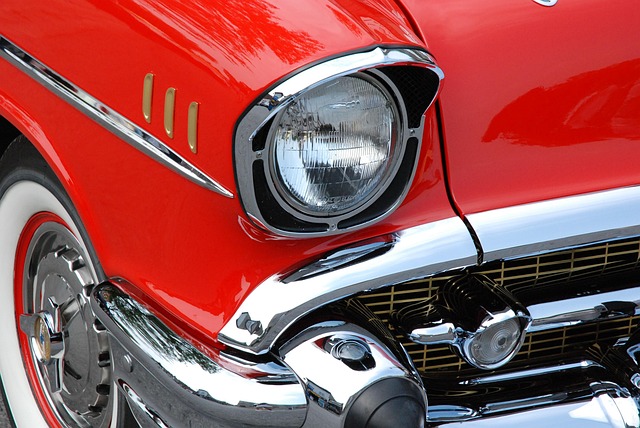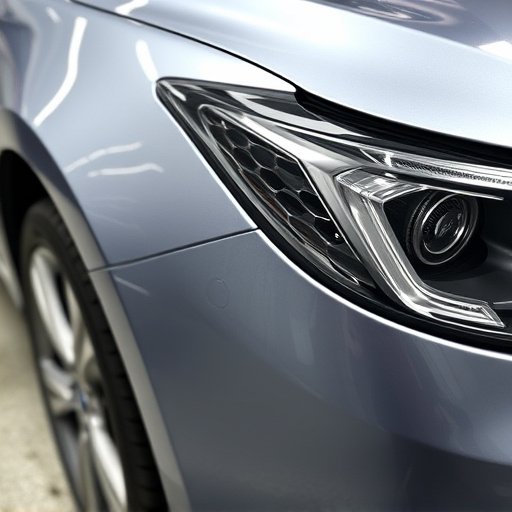


The Tesla Model 3 front fascia is susceptible to damage from road hazards and weather, requiring professional restoration for safety and aesthetic reasons. Repairs align with factory standards using high-quality paints, specialized tools, and templates. The process involves multiple steps, including inspection, cleaning, filling, sanding, priming, and painting tailored to the damage level.
“Looking to restore your Tesla Model 3 to its factory finish brilliance? This comprehensive guide is your go-to resource for mastering the art of Tesla Model 3 front fascia repair. From recognizing common damage types to selecting top-tier repair materials, we demystify the process. We’ll walk you through a step-by-step approach, ensuring your car regains its showroom sparkle. Whether an accident-induced dent or regular wear, this guide empowers you to achieve professional results, preserving your Tesla’s iconic aesthetic.”
- Understanding Tesla Model 3 Front Fascia Damage
- Choosing the Right Repair Materials and Tools
- Step-by-Step Guide to Restoring Factory Finish
Understanding Tesla Model 3 Front Fascia Damage
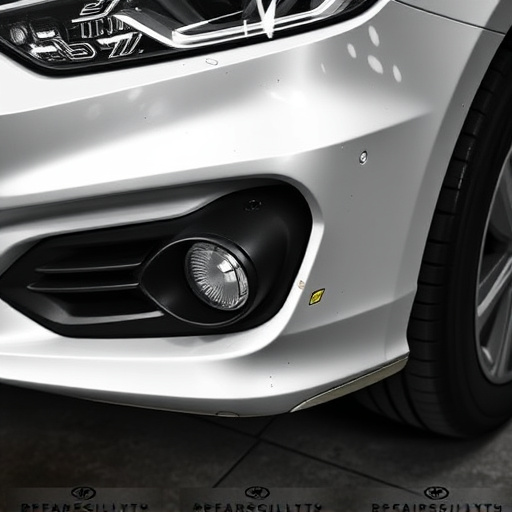
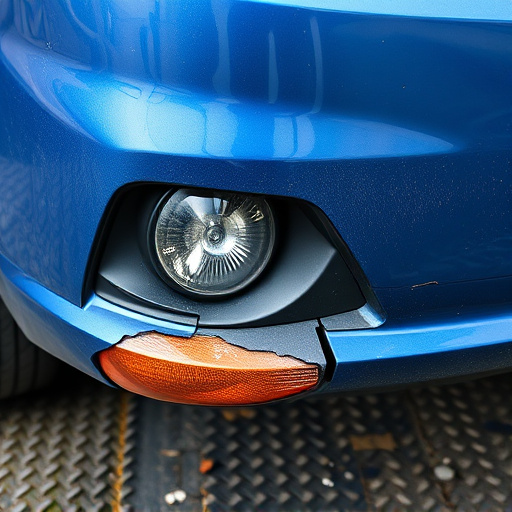
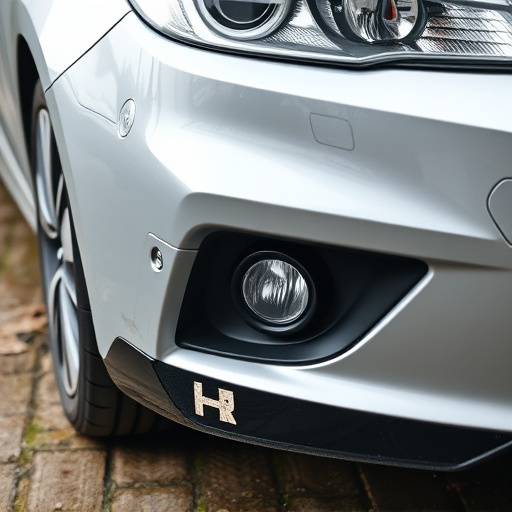
The Tesla Model 3 front fascia is a prominent feature that not only enhances the vehicle’s aesthetic appeal but also plays a crucial role in its overall safety. Over time, this component can suffer damage due to various factors such as road debris impact, minor collisions, or even exposure to harsh weather conditions. Understanding the types of damage common to the Model 3 front fascia is essential for anyone considering a Tesla Model 3 front fascia repair. Common issues include dents, scratches, cracks, and paint imperfections, which can detract from the vehicle’s factory-like finish.
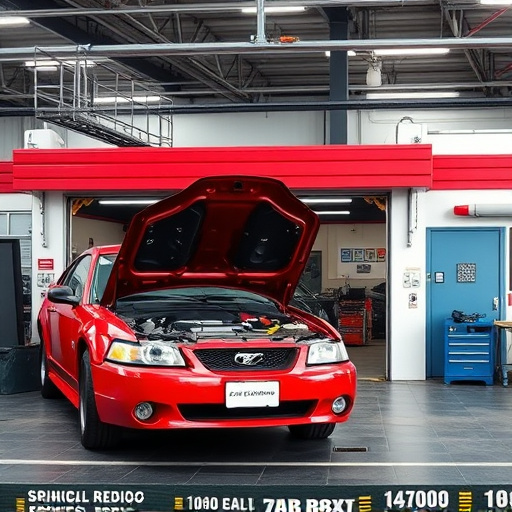
A visit to a reputable vehicle body shop specializing in auto painting services is often necessary to restore the Model 3 front fascia to its original condition. Skilled technicians employ advanced techniques and high-quality materials to ensure precise repairs that maintain the vehicle’s overall appearance and value. Whether addressing minor scuffs or significant damage, professional body shop services can help owners rejuvenate their Tesla Model 3 front fascia, ensuring it meets factory finish standards once again.
Choosing the Right Repair Materials and Tools
When undertaking a Tesla Model 3 front fascia repair, selecting the appropriate tools and materials is paramount to achieving factory finish standards. The market offers various options for both, each with its unique properties. For instance, high-quality automotive paints specifically designed for Teslas ensure an accurate match in color and texture. These advanced paints are formulated to withstand the rigors of daily driving while maintaining their glossy, factory-like appearance.
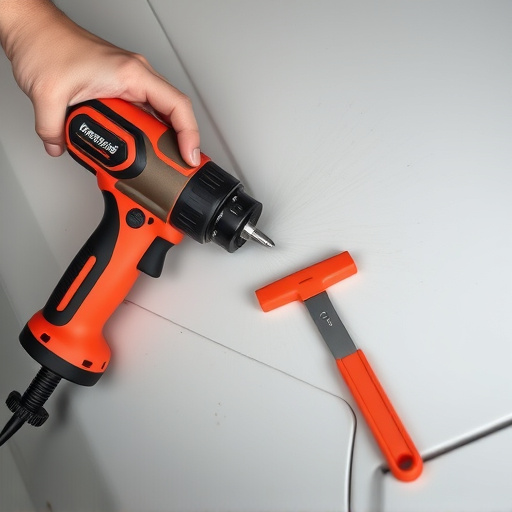
In addition to paint, specialized tools like precision scissors, putty knives, and sandpaper are essential. These tools facilitate the meticulous removal of damaged or faded parts while ensuring a clean surface for new paint application. Moreover, considering the car’s intricate design, using templates or pre-cut panels from reputable manufacturers can streamline the repair process, aligning perfectly with the Model 3’s sleek aesthetics—a key aspect often associated with Mercedes Benz collision repair and car restoration at large.
Step-by-Step Guide to Restoring Factory Finish

Restoring the factory finish on your Tesla Model 3 front fascia is a meticulous process that requires precision and attention to detail. Here’s a step-by-step guide for achieving professional results, similar to what you’d expect from an automotive body shop:
1. Safety First: Before beginning, ensure the vehicle is securely parked and all power sources are disconnected. Put on protective gear, including gloves and safety glasses, as a precautionary measure.
2. Inspect and Assess: Carefully examine the front fascia for any scratches, dents, or other imperfections. This step is crucial in determining the extent of repair needed. For minor scratches, car paint services might be sufficient; however, deeper damage may require more extensive Tesla Model 3 front fascia repair techniques.
3. Prepare the Surface: Clean the affected area thoroughly to remove any dirt, grease, or debris. Sand lightly if necessary to create a smooth surface, but be careful not to overdo it and cause further damage.
4. Fill and Sand: Apply an appropriate body filler to cover any dents or depressions. Allow it to dry completely, then sand gently until the surface is smooth and even with the surrounding fascia.
5. Apply Primer: Use a high-quality automotive primer designed for Tesla vehicles. This step ensures proper adhesion of the subsequent paint layers. Allow the primer to fully cure as per the manufacturer’s instructions.
Restoring your Tesla Model 3’s factory finish through a meticulous front fascia repair is achievable with the right knowledge and materials. By understanding common damage types, selecting appropriate tools and components, and following a structured guide, owners can tackle this task confidently. With dedicated care and attention to detail, you’ll not only enhance your vehicle’s aesthetic appeal but also maintain its value. Remember, a well-executed Tesla Model 3 front fascia repair is a testament to your DIY skills and a step towards preserving the vehicle’s original, vibrant finish.