


Inspect and assess quarter panel dents for size, depth, and type. Gather tools like a dent puller, putty knife, sandpaper, primer, paint, and protective gear. For minor dents, use a dent puller tool to pop out the indent. Smooth edges, prime, let dry, then match and apply vehicle paint for a seamless finish.
Looking to fix a damaged quarter panel yourself? This comprehensive guide offers DIY tips and techniques for successful quarter panel dent repair. From understanding the type of damage to choosing the right tools and materials, we break down the process step-by-step. Save time and money by learning how to address quarter panel dents effectively with these expert recommendations.
- Understanding Quarter Panel Dent Damage
- Tools and Materials for Repair
- Step-by-Step Guide to DIY Fix
Understanding Quarter Panel Dent Damage
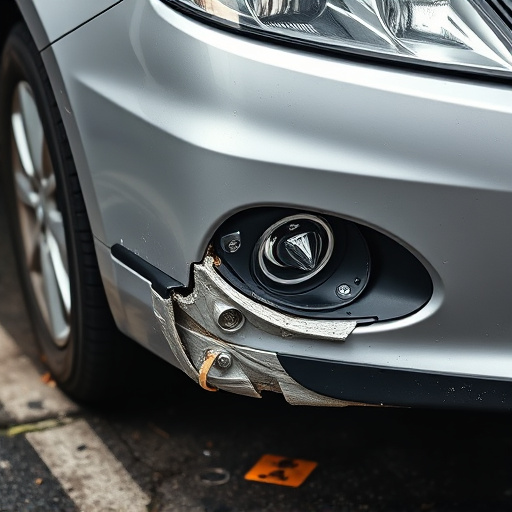
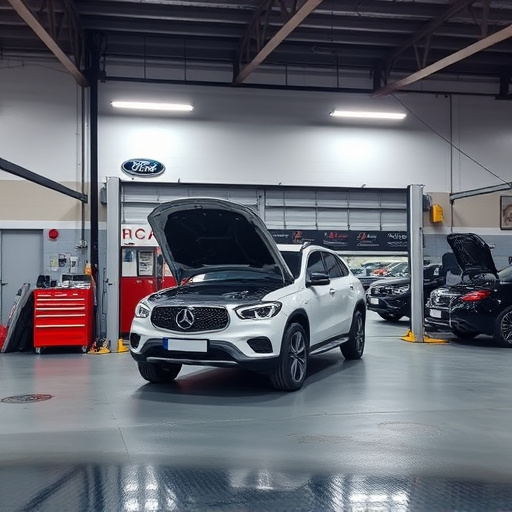
Quarter panel dent damage is a common issue among vehicle owners, often occurring due to minor collisions, parking mishaps, or even bird droppings. This type of dent can range from shallow indentations to more severe, uneven depressions that affect the car’s overall appearance. Understanding the extent of the damage is crucial before attempting any quarter panel dent repair, whether it’s a DIY project or a trip to a collision center.
Inspecting the dent involves assessing its size, depth, and the surrounding area for any signs of associated damage. Minor dents might be only superficial, while more significant ones could affect the structural integrity of the panel. For car restoration enthusiasts, identifying the type of dent (e.g., straight-line, corner, or complex) is essential in selecting the appropriate repair techniques from various car repair services available, ensuring a smooth and effective quarter panel dent repair process.
Tools and Materials for Repair

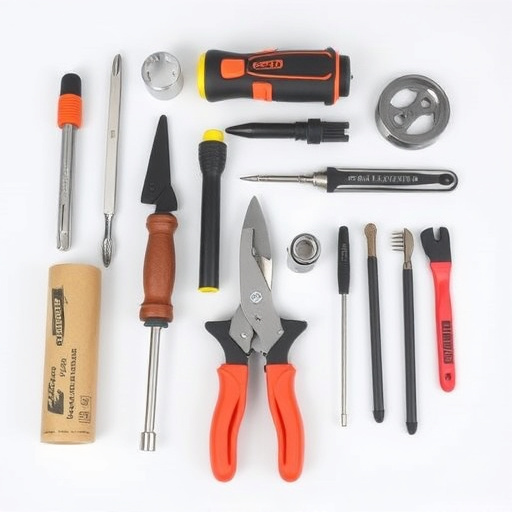
When tackling a quarter panel dent repair, the right tools and materials are essential for achieving a seamless finish. For this DIY project, you’ll need a set of specialized tools designed for precision work, such as a dent puller or a hammer with a rubber mallet. These tools allow you to carefully manipulate the metal without causing further damage. In addition to these, a variety of materials will be required, including body filler, primer, and paint that matches your vehicle’s color.
For effective quarter panel dent repair, consider using a putty knife for applying the body filler, ensuring even distribution. After allowing the filler to set, a fine-grit sandpaper is crucial for smoothing out any imperfections. Finally, don’t underestimate the importance of high-quality paint and a clear coat for a durable, professional finish—a must-have for both modern vehicles and classic car restoration projects.
Step-by-Step Guide to DIY Fix
Repairing a dented quarter panel on your vehicle can be accomplished with the right tools and techniques. Here’s a straightforward guide for those considering taking on this DIY project. Begin by gathering all necessary materials, including a dent puller tool, putty knife, sandpaper, primer, paint, and protective gear. Ensure proper ventilation in your work area due to the use of chemical products.
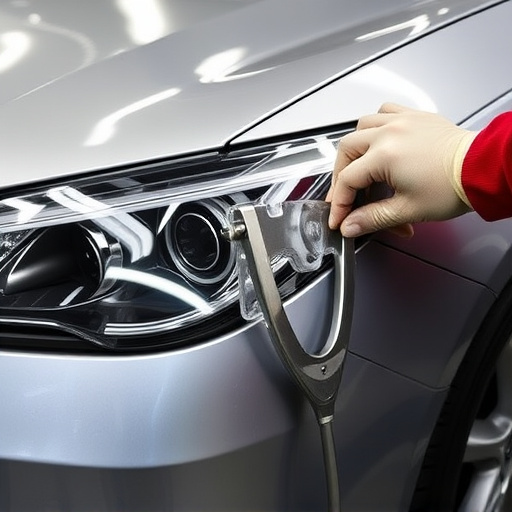
Inspect the damage closely to determine the best approach. For minor dents, the dent puller tool is ideal. Gently insert the tool behind the damaged panel, applying even pressure until the dent begins to pop out. Be cautious not to force it too vigorously to avoid damaging surrounding parts. After removing the dent, use sandpaper to smoothen any rough edges and prepare the surface for painting. Apply a thin layer of primer, allowing it to dry completely before moving on. Finally, match your vehicle’s paint color accurately and apply coats until the quarter panel is seamless with the rest of your car’s bodywork.
Repairing a quarter panel dent can be a challenging but rewarding DIY project. By understanding the damage, gathering the right tools and materials, and following a step-by-step guide, you can effectively restore your vehicle’s exterior to its pre-dent condition. Remember, proper techniques and patience are key to achieving a professional-looking repair. With these tips in hand, you’re now equipped to tackle quarter panel dent repair with confidence.