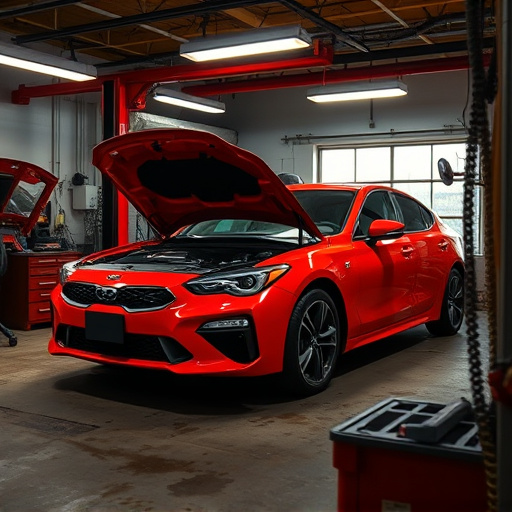


Flexible bumper repair begins with thorough damage assessment to guide repair approach. Inspect for scratches and dents, determining severity for buffing or advanced techniques. Gather essential tools and prepare area by cleaning for better filler adhesion. Use fillers designed for flexible bumpers, sanding and wiping down before clear coating for seamless restoration.
“Discover how to effortlessly fix scratches and dents on your flexible bumper with this comprehensive guide. Understanding damage assessment is key; inspecting and categorizing scratches and dents allows for targeted repairs. Gather essential tools tailored for flexible bumper repair, ensuring a successful transformation.
Our step-by-step process will restore your bumper’s original appearance, offering practical tips for each stage. Embrace the art of restoration and bid farewell to unsightly damage. Learn the secrets to a seamless, like-new finish—all within the realm of flexible bumper repair.”
- Assess Damage: Inspect and Understand Scratches and Dents
- Gather Tools: What You Need for Flexible Bumper Repair
- Step-by-Step Guide: Restoring Your Bumper's Appearance
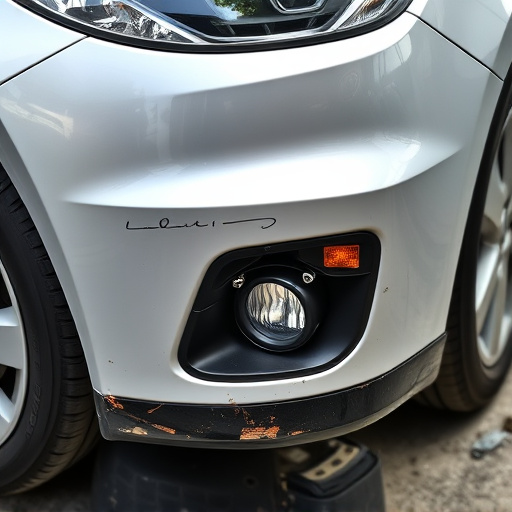
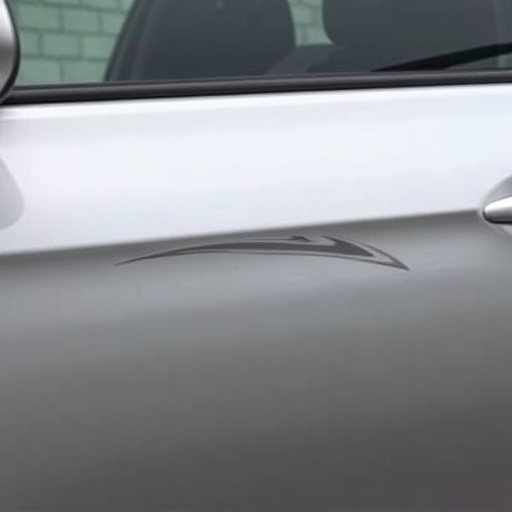
Assess Damage: Inspect and Understand Scratches and Dents

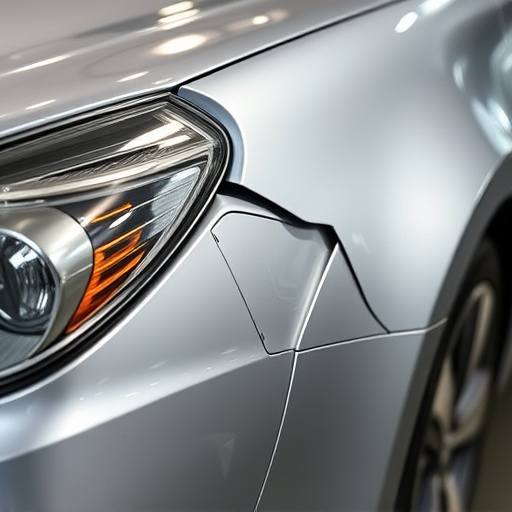
Before attempting any repair work on your flexible bumper, it’s crucial to assess the damage thoroughly. Start by inspecting the scratches and dents closely. Note their depth, size, and pattern—are they shallow scuffs or deep gouges? This understanding is key because it dictates the repair approach. For instance, minor scratches might be fixed with simple buffing and polishing, while more severe dents may require advanced techniques such as heat treatment or even replacement parts for classic car restoration.
Flexible bumper repair differs from regular vehicle paint repair in that it considers the material’s unique properties. Since flexible bumpers are designed to absorb impact energy, their repair should reinforce this function without compromising aesthetics. Consider seeking professional advice if you’re unsure about any aspect of the damage assessment or if the repairs involve extensive vehicle repair services.
Gather Tools: What You Need for Flexible Bumper Repair
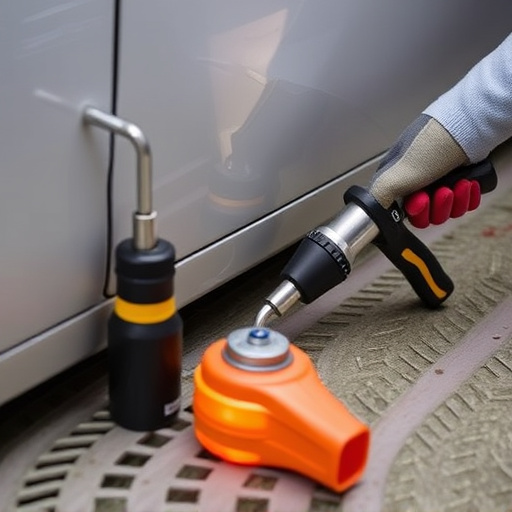
Before tackling any flexible bumper repair, ensure you have all the necessary tools to achieve a seamless fix. The basics include a set of precision screwdrivers, pliers, and a putty knife for applying fillers. For removing dents, consider getting a dent puller or a rubber mallet, which are handy for gently shaping the bumper back to its original form without causing further damage. Additionally, prepare surface cleaners, sandpaper (fine-grit), and a clear coat to ensure the repair blends smoothly with the rest of the car’s exterior. If you’re aiming for a professional Mercedes Benz repair or want to keep your vehicle in top condition, having these tools ready will make the process much smoother.
Remember, the key to successful auto body services lies in preparation. Cleaning the affected area thoroughly before filling and sanding ensures better adhesion for your chosen filler. Car scratch repair techniques often involve using fillers tailored to match the flexible bumper’s material, making it crucial to select the right product from the get-go. With the right tools and a bit of patience, you can restore your bumper to its pre-dent condition, maintaining your vehicle’s aesthetic appeal.
Step-by-Step Guide: Restoring Your Bumper's Appearance

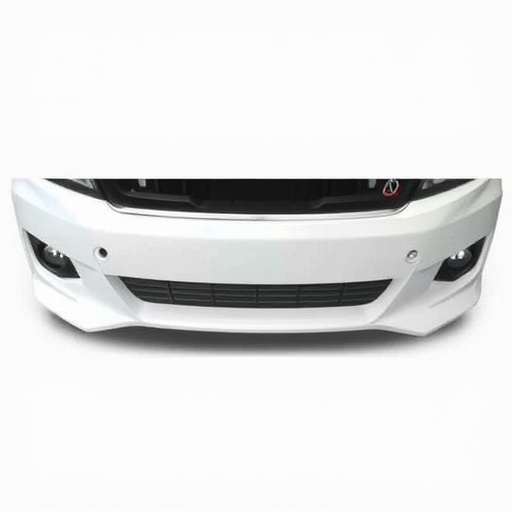
To restore your flexible bumper’s appearance, follow these easy steps. Begin by inspecting the damage carefully to determine the extent of the scratches or dents. Next, gather the necessary tools and materials: a mild soap solution, a soft cloth, sandpaper (fine grit), filler compound (for deeper dents), a putty knife for applying the filler, and a clear coat or paint matching your bumper’s color.
Clean the affected area thoroughly using the soap solution to remove any dirt or debris. Dry it completely before proceeding. For minor scratches, use fine-grit sandpaper to lightly buff the surface until smooth. For deeper dents, apply the filler compound using the putty knife, filling the dent and smoothing the surface. Let it dry according to the product instructions, then sand again for a seamless finish. After sanding, wipe down the area with a damp cloth. Finally, apply a thin layer of clear coat or paint, allowing it to dry completely. Repeat as needed until your bumper looks like new, just like an expert in automotive body work would.
Repairing scratches and dents in flexible bumpers is a straightforward process that can significantly enhance your vehicle’s aesthetic appeal. By understanding the damage, gathering the right tools, and following a simple guide, you can restore your bumper to its original condition. With a bit of patience and care, you’ll be well on your way to achieving a flawless finish, ensuring your flexible bumper repair is both effective and efficient.