


Tesla chrome delete issues stem from environmental damage and everyday wear, impacting aesthetics and resale value. Professional repair techniques offer durable, high-quality results using modern collision methods. For busy individuals, Tesla chrome delete repair provides a quick, efficient solution, focusing on aesthetic enhancements with minimal panel replacement. DIY kits are available, but final inspection at a body shop is recommended for optimal results.
“Keep your Tesla in top shape despite a busy schedule with this comprehensive guide to quick and efficient Tesla chrome delete repairs. Many Tesla owners face the issue of chrome fading or detaching, commonly known as ‘chrome delete,’ but fear not! This article offers a streamlined solution. We’ll walk you through understanding the problem, an efficient repair process tailored for the time-strapped individual, and even provide a step-by-step guide to restoring your Tesla’s original gleam. Learn how to tackle this common issue head-on.”
- Understanding Tesla Chrome Delete Issues
- Efficient Repair Process for Busy Individuals
- Restoring Your Tesla's Look: Step-by-Step Guide
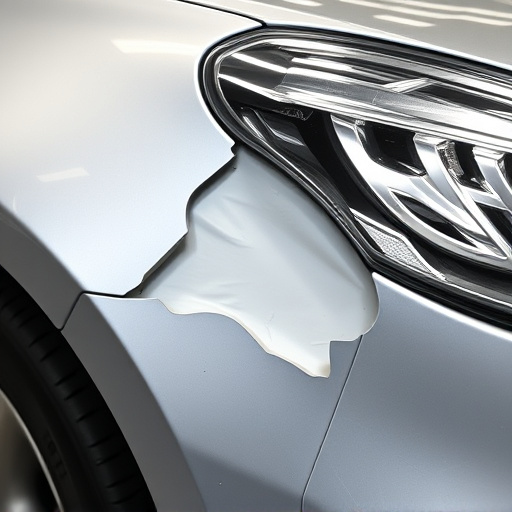
Understanding Tesla Chrome Delete Issues
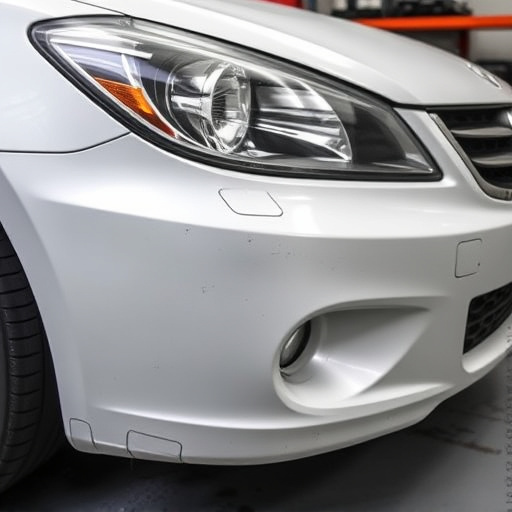
Tesla Chrome Delete issues have become a common concern among Tesla owners, especially those with busy schedules who rely on their vehicles for daily transportation. This issue arises from the delicate nature of the chrome trim on Tesla models, which is susceptible to chipping, peeling, or fading over time due to various environmental factors and everyday use. While it might seem like a minor cosmetic problem, ignoring these issues can lead to more significant damage, impacting the overall aesthetics and resale value of your Tesla.
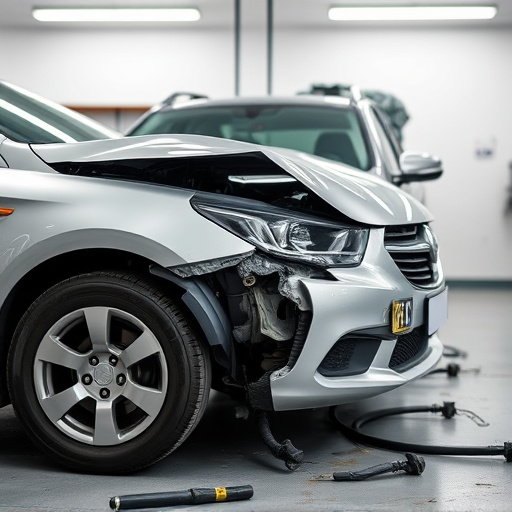
Proper understanding of these problems is the first step towards efficient Tesla chrome delete repair. It’s not just about fixing the visible damage but also addressing the root causes. Many owners might opt for quick fixes or temporary solutions, such as painting over the damaged areas. However, a more durable and aesthetically pleasing outcome can be achieved through professional vehicle paint repair techniques that ensure proper preparation, application of high-quality paints, and careful finishing, mimicking the original factory finish. Even in cases where damage is extensive, requiring collision repair, modern technologies and techniques allow for precise restoration of the car body, minimizing the need for excessive panel replacement and preserving the vehicle’s overall integrity.
Efficient Repair Process for Busy Individuals
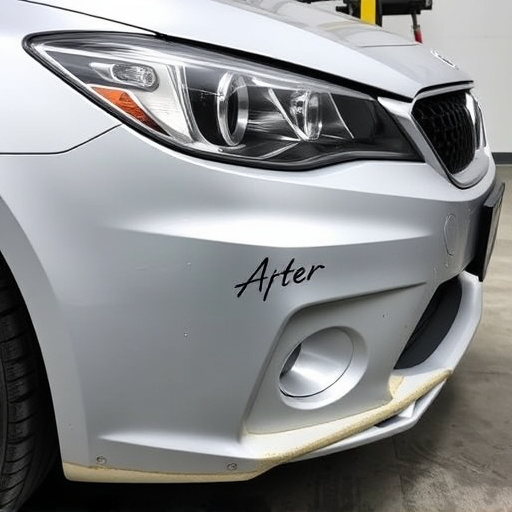
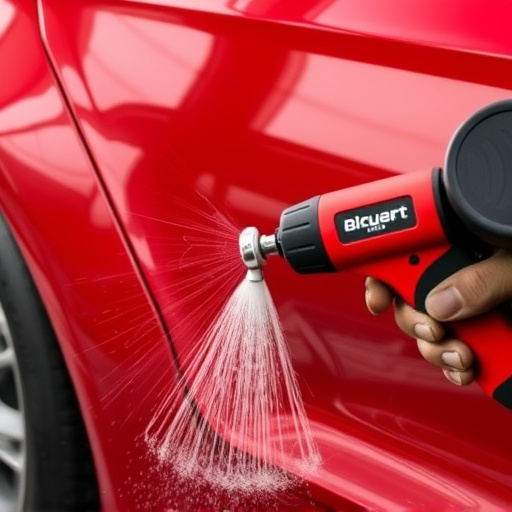
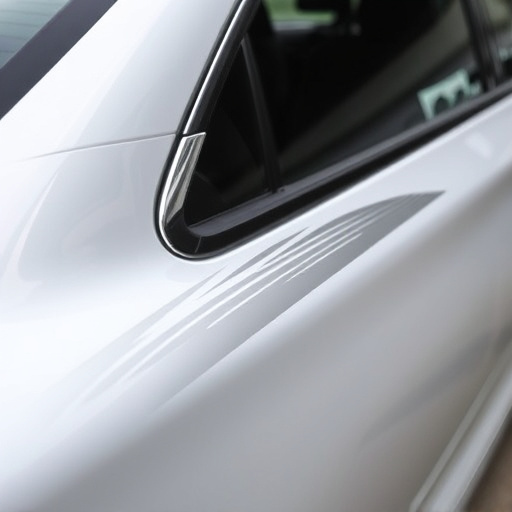
For individuals with hectic schedules, finding the time to address cosmetic issues on their vehicles can be challenging. That’s where a quick and efficient Tesla chrome delete repair comes into play. This specialized service is designed to cater to the needs of busy folks who still want their cars to look pristine. The process involves skilled technicians expertly removing damaged or faded chrome trim, restoring its original gloss and sleek appearance.
Unlike traditional collision damage repair or vehicle dent repair, Tesla chrome delete repair focuses solely on aesthetic enhancements. It’s a game-changer for those dealing with minor scuffs or outdated styling, enabling them to achieve a modern, refreshed look without the hassle of lengthy wait times often associated with general vehicle collision repair.
Restoring Your Tesla's Look: Step-by-Step Guide
Restoring Your Tesla’s Look: Step-by-Step Guide
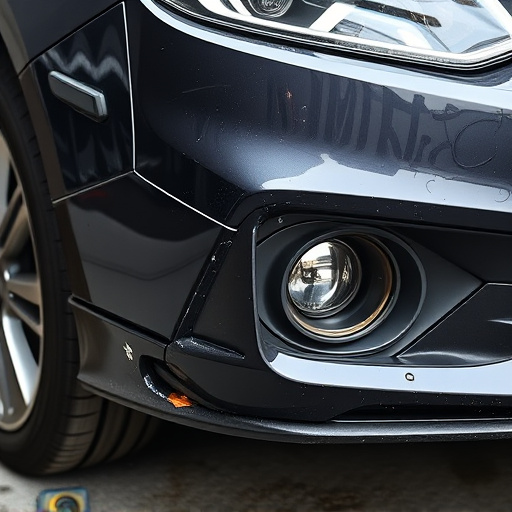
The Tesla chrome delete repair process can be a quick and effective way to revive your vehicle’s appearance, especially for those with busy schedules who can’t dedicate much time to extensive repairs. This DIY project is designed to eliminate those unsightly chrome deletions caused by stone chips or minor scratches, enhancing the overall aesthetic of your Tesla without breaking the bank. Start by gathering the necessary tools: a high-quality chrome restoration kit, including abrasive pads, polishing compounds, and a dual-action polisher (or a dedicated chrome cleaning tool). Next, prepare the area by washing and drying your Tesla thoroughly to ensure no residue or moisture interferes with the process.
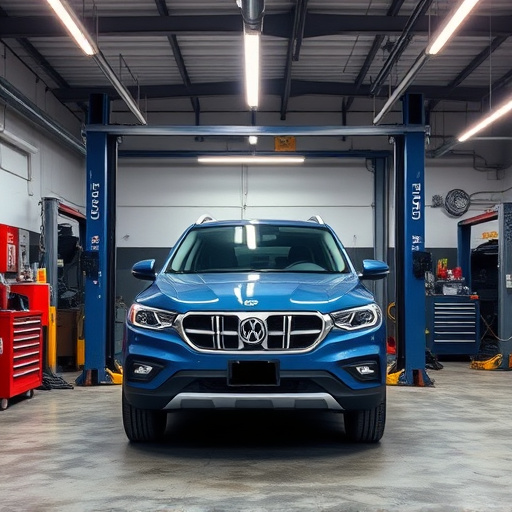
Begin by lightly sanding the damaged areas using the provided abrasives to remove any loose chrome and create a clean surface for restoration. After sanding, wipe down the area again to eliminate dust particles. Apply the polishing compound following the kit’s instructions, using the dual-action polisher for even distribution and effective removal of scratches. Continue polishing until the deleted areas are filled and seamlessly integrated with the rest of your Tesla’s chrome accents. For a professional touch, consider taking your restored Tesla to a car body shop or collision center for a final inspection and detail.
For those with busy schedules, repairing a Tesla chrome delete issue need not be a daunting task. By understanding the problem and following an efficient, straightforward process, you can restore your Tesla’s original look in no time. This step-by-step guide provides a quick and effective solution, ensuring your vehicle regains its sleek and modern appeal without compromising your busy lifestyle.