
Before clear coat application, prepare workspace, clean area, organize tools, and select/mix appropriate clear coat for vehicle's paint type. Allow 24-48 hours for curing at ideal temperature and humidity to ensure durable results in collision repair and car dent removal services.
“Unleash your creativity with a professional-grade clear coat application—a perfect way to protect and enhance your projects. This comprehensive guide breaks down the process into simple steps, ensuring a flawless finish every time. From preparing your workspace and surface to selecting the right clear coat and achieving even cure, you’ll master the art of clear coat application. Elevate your skills and give your creations that glossy, protective touch.”
Prepare Surface and Workspace
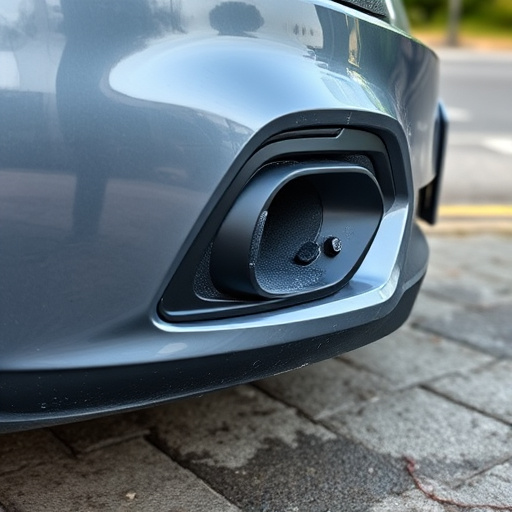
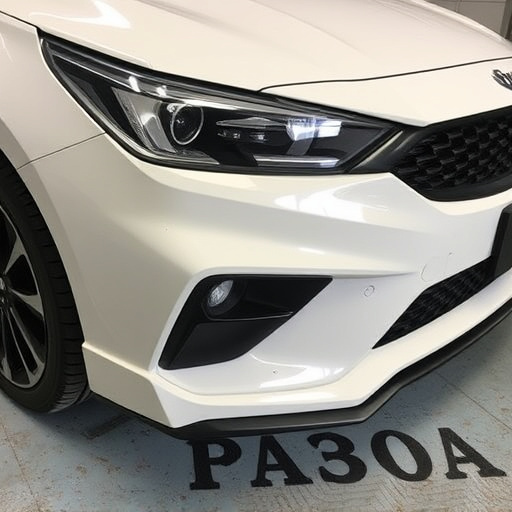
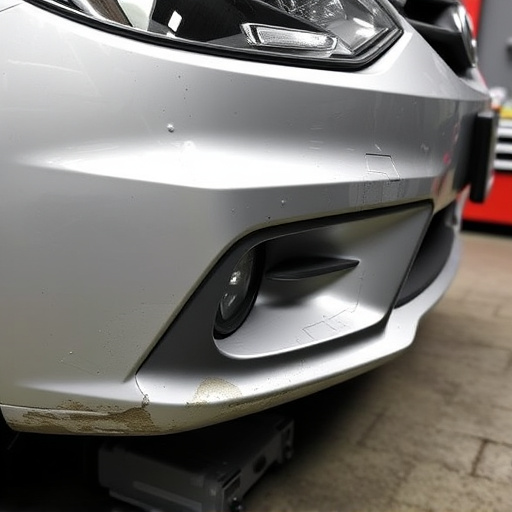
Before starting the clear coat application process, it’s crucial to prepare both your surface and workspace for optimal results. Begin by thoroughly cleaning the area where you’ll be working. Remove any dust, dirt, or grease with appropriate solvents and ensure the surface is dry. This meticulous step ensures that your clear coat adheres properly.
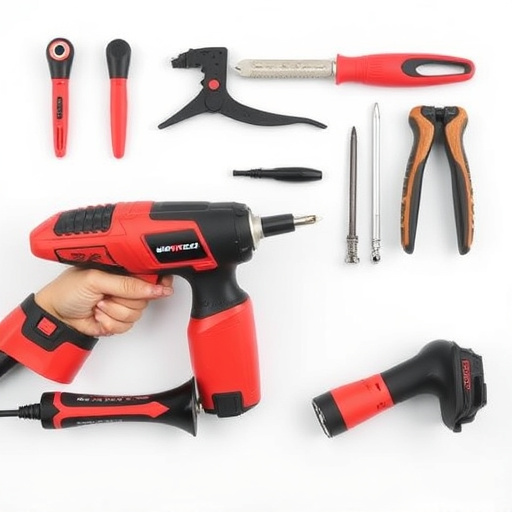
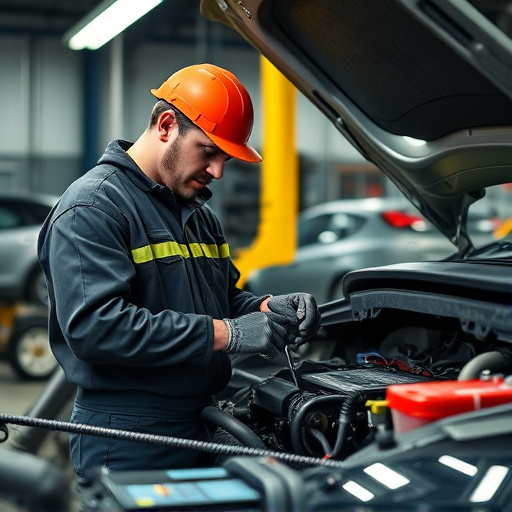
For a seamless clear coat application, setting up a dedicated workspace is essential. Ensure ample space for your project, especially if it involves larger vehicles like Mercedes Benz models in need of collision damage repair. Arrange tools and materials within easy reach to streamline the process. Proper preparation includes having the right tire services equipment, such as masks and protective gear, to safeguard against fumes during application.
Select and Mix Clear Coat
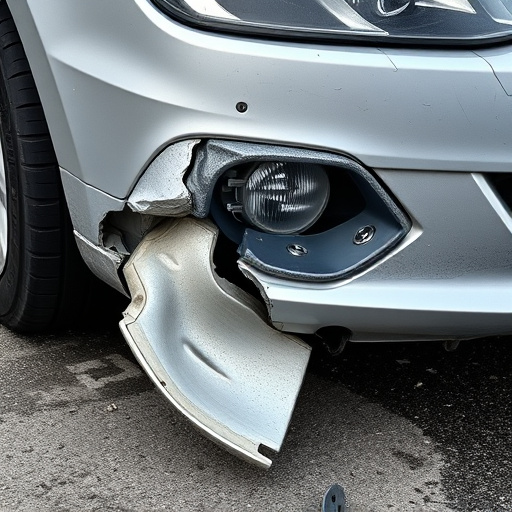
When it comes to achieving a smooth, glossy finish in car bodywork services or fender repair projects, selecting the right clear coat is key. The clear coat application process begins with choosing the appropriate product that matches your vehicle’s paint color perfectly. It’s crucial to consider factors like the type of paint (single stage, base/clear, etc.), the condition of the existing surface, and the desired final appearance. Once you’ve selected the ideal clear coat, mixing it properly is the next step.
Proper mixing ensures that the clear coat is uniformly blended, achieving the correct viscosity for optimal application. This involves following the manufacturer’s guidelines for dilution ratios, using specific tools designed for this task, and taking care to avoid introducing air bubbles into the mixture. With the right clear coat selected and mixed perfectly, you’re ready to move on to the subsequent steps in your car repair services, ensuring a professional and durable finish.
Apply and Cure Coating Evenly
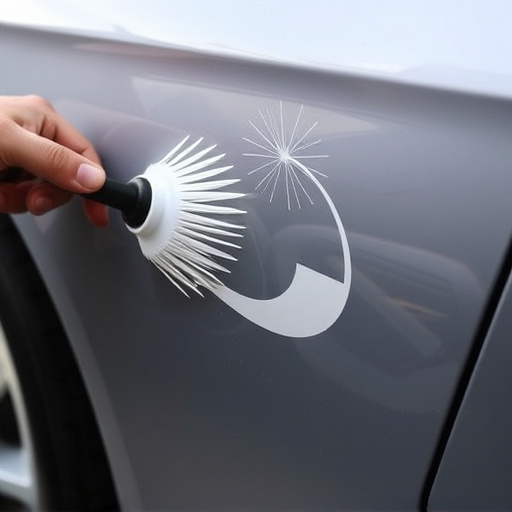
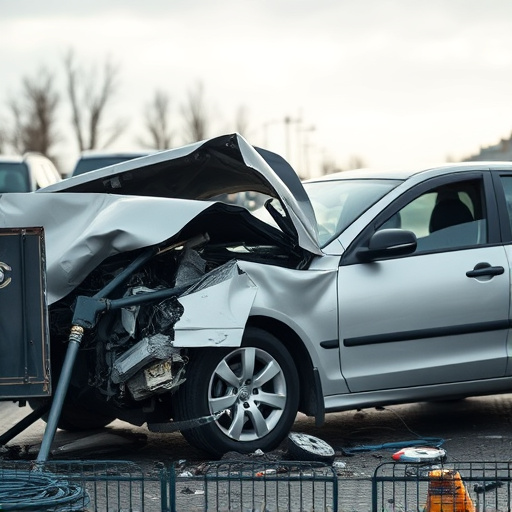
After evenly spreading the clear coat on the damaged area using a professional applicator or spray gun, it’s crucial to allow the coating to cure properly. This process involves letting the paint dry and set, ensuring that it achieves its full potential as a protective layer. Time is essential here; most clear coats require 24 to 48 hours for complete curing, depending on the product and environmental conditions. During this period, maintain optimal conditions in terms of temperature and humidity to facilitate even drying.
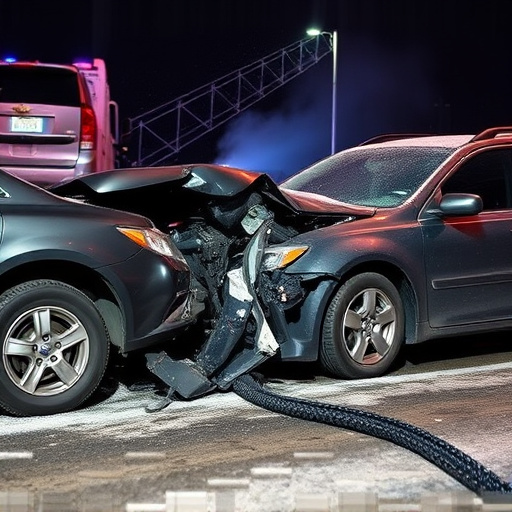
Remember, proper application and curing are key aspects of successful collision repair services or vehicle/car dent removal processes. An unevenly applied and uncured clear coat may not only fail to protect the repaired area but also lead to further issues, compromising the overall quality of work.
Clear coat application is a precise process that, when followed correctly, can transform any surface. By preparing your workspace and surface meticulously, selecting the right clear coat, and applying it evenly, you’ll achieve a sleek, protective finish. Remember to allow ample curing time for optimal results. With these steps as your guide, you’re now equipped to tackle clear coat application with confidence.