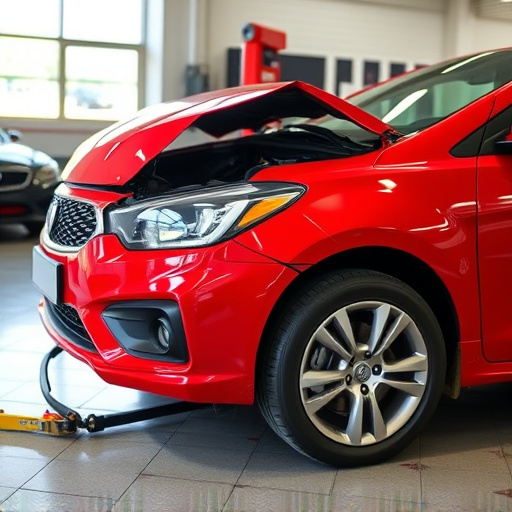


Tesla taillights often fog due to moisture intrusion from compromised seals and gaskets caused by damage or environmental shifts. Regular maintenance helps but persistent issues may signal a need for professional Tesla taillight assembly repair. A step-by-step guide assists owners in disassembling, cleaning, and reassembling the light. Complex cases require detailed guides or collision shop services.
Experiencing condensation or fogging issues with your Tesla’s taillights? You’re not alone. This comprehensive guide tackles common problems with Tesla taillight assemblies, offering clear explanations and a step-by-step repair process. We’ll help you diagnose the root cause—whether it’s excessive moisture, faulty gaskets, or poor ventilation—and provide essential maintenance tips to prevent future fogging. Get ready to restore clarity to your Tesla’s tail lights.
- Understanding Tesla Taillight Assembly Condensation
- Diagnosing Fogging Issues in Your Taillights
- Step-by-Step Guide to Repair and Maintenance
Understanding Tesla Taillight Assembly Condensation
Condensation and fogging in Tesla taillight assemblies are common issues that can be attributed to several factors. The unique design and materials used in Tesla vehicles often lead to challenges when it comes to managing moisture. Condensation occurs when warm, humid air from inside the vehicle comes into contact with the colder exterior, causing water vapor to condense on the lens or housing. This is especially noticeable during or after driving in rainy conditions or high humidity. Over time, persistent condensation can contribute to fogging of the taillights, reducing visibility and compromising safety.
Regular maintenance and proper ventilation are key to mitigating these issues. However, when condensation becomes severe or frequent, it may indicate a problem with the Tesla taillight assembly’s sealing or drainage system. In such cases, considering professional automotive collision repair services can be beneficial. A skilled vehicle body shop specializing in Tesla taillight assembly repair can diagnose and address the root cause of the fogging issue, ensuring optimal performance and safety for your vehicle.
Diagnosing Fogging Issues in Your Taillights
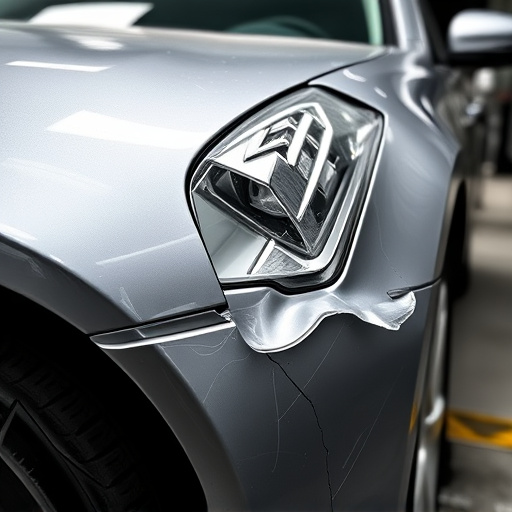
Many Tesla owners often encounter fogging issues with their taillights, which can be frustrating and potentially dangerous. The first step in diagnosing this problem is to inspect the taillight assembly for any signs of damage or moisture intrusion. Check for cracks, chips, or loose connections, as these could allow water to enter and cause the fogging effect. It’s also crucial to ensure that the gaskets and seals around the taillight are intact and not damaged, as they play a vital role in keeping moisture out.
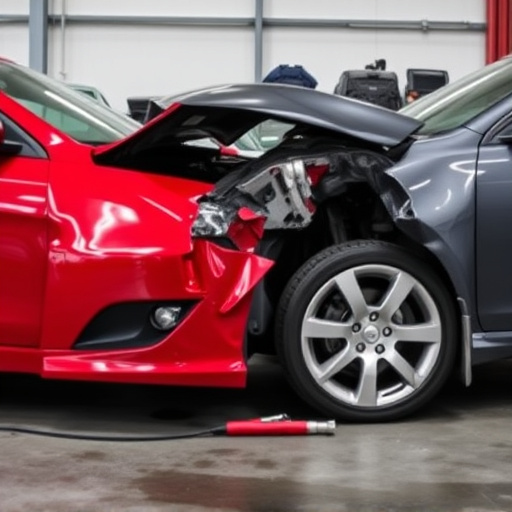
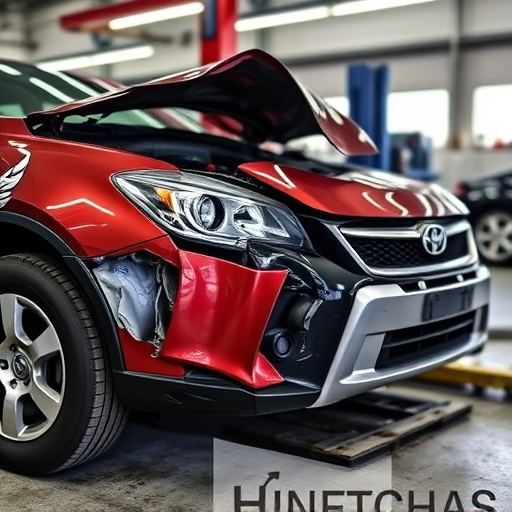
One common cause of tail light fogging is a breach in the waterproof sealing system, which can occur due to various reasons, including accidents or exposure to extreme weather conditions. If you’ve had a collision or experienced significant temperature fluctuations, it’s advisable to visit a reputable collision repair shop for a thorough inspection. Auto glass repair experts can also assist in diagnosing and repairing any related issues, ensuring your taillights function optimally and safely.
Step-by-Step Guide to Repair and Maintenance
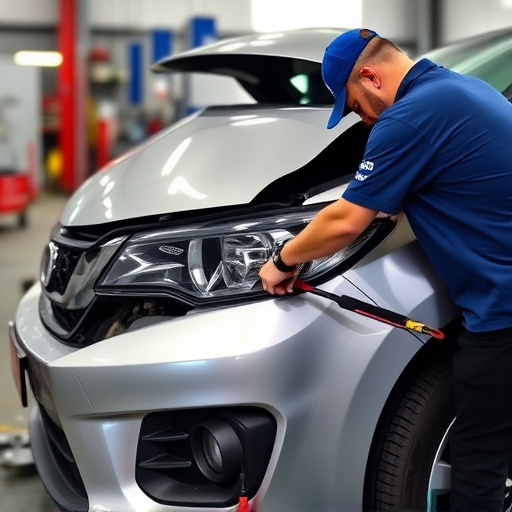
Fixing your Tesla’s taillight assembly when it experiences condensation or fogging issues is a do-able task for owners. Here’s a step-by-step guide to navigate this process. Begin by locating the taillight assembly, typically on the rear bumper. Next, carefully remove any debris or particles blocking the light path using a soft brush or compressed air. Inspect the area around the taillights for any signs of damage from a car collision repair, as this could be the cause of moisture ingress.
Disassemble the affected taillight according to your vehicle’s specific model instructions. This might involve unscrewing brackets and removing seals. Clean all components thoroughly with a suitable cleaner to eliminate any residual moisture or dirt. Replace any worn-out parts, such as gaskets or seals, using high-quality automotive substitutes. Reassemble the taillight assembly, ensuring all components are securely fastened. Consider consulting detailed guides or seeking guidance from professional body shop services for complex cases. Regular maintenance, including periodic cleaning and inspection, can prevent future fogging issues.
Repairing your Tesla taillight assembly for condensation and fogging issues is a feasible DIY project with the right knowledge. By understanding the causes behind these problems, diagnosing them effectively, and following a structured step-by-step guide, you can significantly enhance the longevity and performance of your vehicle’s taillights. Remember, proper maintenance not only ensures better visibility but also contributes to your overall driving safety. For any complex cases or those without mechanical experience, professional assistance is always recommended. Dive into regular upkeep, and take control of your Tesla’s taillight assembly repair for a smoother, safer ride ahead.