

Tesla's ultrasonic sensor cover protects delicate sensors crucial for advanced driver assistance systems (ADAS). Regular replacement through automotive repair services enhances safety and reliability after collisions. DIYers can replace covers by locating sensors, removing old covers, inspecting sensors, installing new covers with precise alignment and adhesive, and testing functionality. Proper panel gap inspection ensures even spacing, enhancing aesthetics and safety.
Are you a Tesla owner concerned about maintaining optimal safety features? This comprehensive guide delves into the crucial aspect of Tesla ultrasonic sensor functionality and its protective covers. We provide a detailed step-by-step process for successful cover replacements, ensuring your vehicle’s advanced driver-assistance systems (ADAS) remain operational. Additionally, learn effective panel gap inspection techniques to maintain seamless aesthetics and functionality. Master these tasks and keep your Tesla’s ultrasonic sensor cover in top condition.
- Understanding Tesla Ultrasonic Sensor Functionality
- Step-by-Step Cover Replacement Guide
- Panel Gap Inspection Techniques and Tips
Understanding Tesla Ultrasonic Sensor Functionality

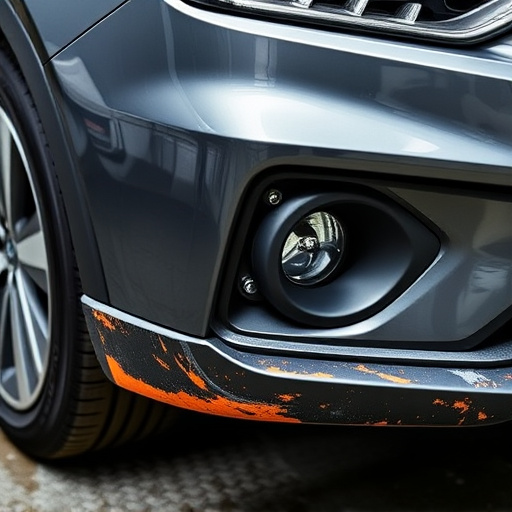
Tesla’s ultrasonic sensors play a crucial role in their advanced driver-assistance systems (ADAS). These sensors use sound waves to detect objects and measure distances, enabling features like automatic emergency braking, lane departure warning, and parallel parking assistance. The ultrasonic sensor cover, a vital component, protects these delicate instruments from dirt, debris, and potential damage, ensuring optimal performance.
When considering Tesla ultrasonic sensor cover replacement or panel gap inspection, it’s essential to understand the intricate relationship between the sensors and the vehicle’s safety features. Regular maintenance and timely replacements, like those offered in automotive repair services, can significantly contribute to the overall safety and reliability of Mercedes Benz models, keeping them competitive even after collision repair.
Step-by-Step Cover Replacement Guide
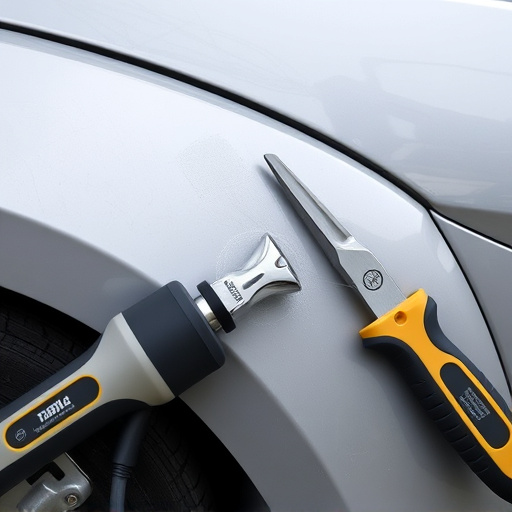
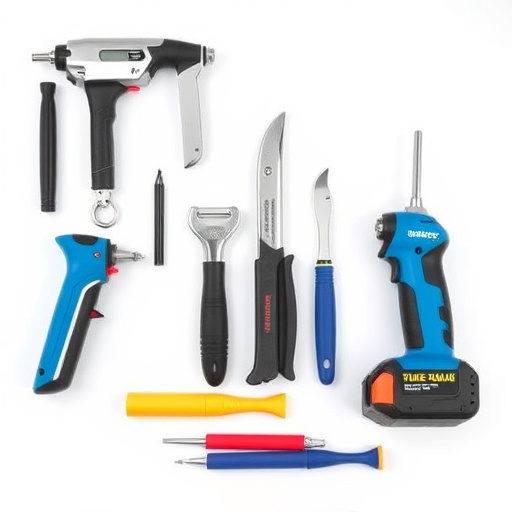
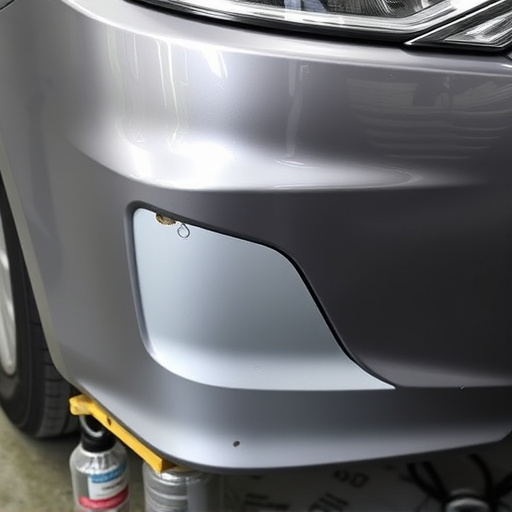
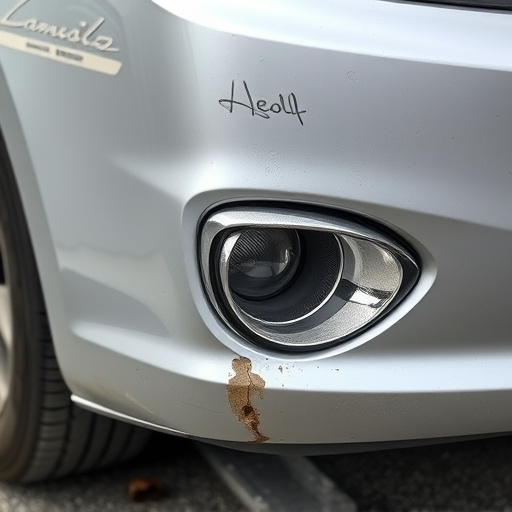
Replacing a Tesla ultrasonic sensor cover is a straightforward process that can be accomplished by most car enthusiasts with basic tools and a step-by-step guide. First, locate the ultrasonic sensors along the vehicle’s perimeter—they are typically positioned near the front, rear, and sides. Then, using a suitable tool, carefully pry off the old cover without damaging the sensor beneath. Once exposed, inspect the sensor for any signs of damage or debris accumulation.
Next, gather your replacement parts: a new ultrasonic sensor cover and, if needed, adhesive or sealing material. Align the new cover precisely over the sensor, ensuring it fits snugly. Secure it in place using the recommended adhesive or sealant, following the manufacturer’s instructions. Finally, test the sensor functionality by activating the vehicle’s parking aid system to ensure proper operation before completing your car collision repair or auto body restoration project.
Panel Gap Inspection Techniques and Tips

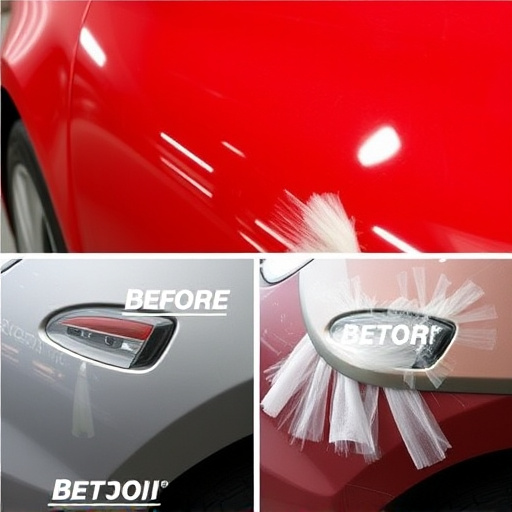
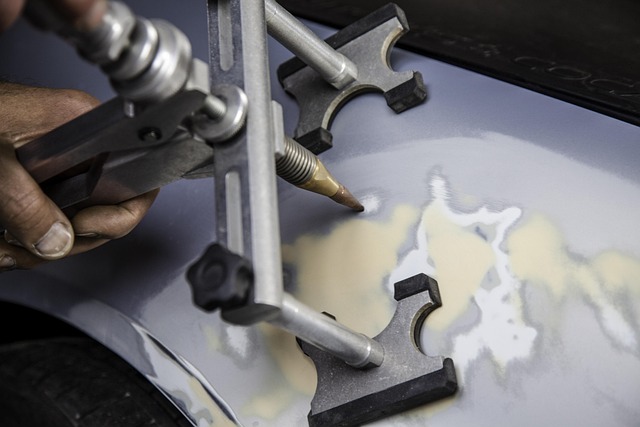
Proper panel gap inspection is crucial when performing a Tesla ultrasonic sensor cover replacement or any auto body services. Start by using a straight edge or a ruler to measure the gaps between panels, ensuring even spacing across all surfaces. This technique helps identify uneven areas that may indicate damage or misalignment.
For more accurate results, employ the use of lighting to highlight variations in panel gaps. A simple torch or even your phone’s flashlight can reveal hidden issues. Inspect from different angles and under various lighting conditions to catch any irregularity. Remember, meticulous auto maintenance often lies in the details, so take your time to ensure every gap is consistent, thereby enhancing the overall aesthetics and safety of your Tesla’s exterior.
Tesla owners can now effortlessly address both their vehicle’s sensory and aesthetic needs with a simple upgrade: the Tesla ultrasonic sensor cover replacement. By following the detailed step-by-step guide and learning panel gap inspection techniques, you’ll not only enhance your car’s safety by ensuring proper sensor functionality but also achieve a sleek, factory-like finish. This DIY process allows you to take control of your vehicle’s upkeep, saving time and money while keeping your Tesla in top condition.